Giriş
The Sony Vaio T13 series of laptops were designed with low-profile, membrane keyboards that allowed for easy use. The space between keys allowed for comfortable positioning and quick typing, scoring it points with the students and business professionals of the world.
Neye ihtiyacın var
-
-
Carefully grab the edges of the laptop and flip it over to reveal the back panel.
-
The battery is located on the lower half of the back panel, and contains three 10mm flat-head screws.
-
Unscrew the three 10mm flat-head screws using a flat-head screw driver.
-
Lift the battery from the lip closest to the middle screw to remove the battery entirely.
-
-
-
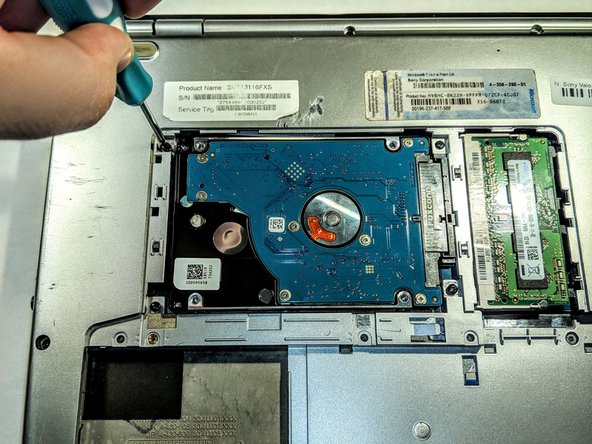
The middle Phillips head screw is 10mm in length and will only fit in this thread. Unscrew the 10mm Phillips head screw and keep it separate from the other two screws in this step.
-
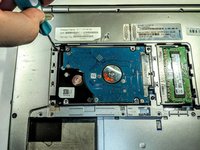
Unscrew the two remaining 5mm Phillips head screws on the left and right side of the hard drive bay cover.
-
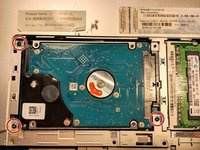
Lift the panel to remove it.
-
-
-
-
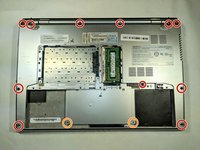
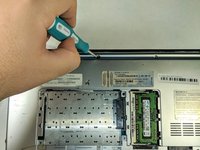
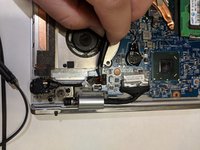
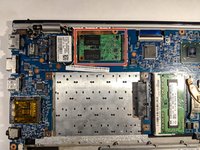
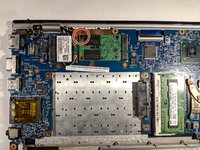
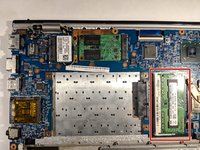
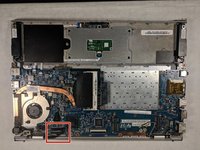
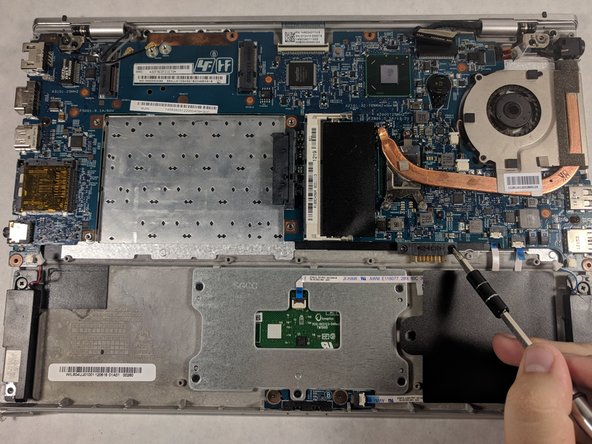
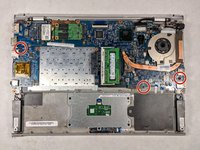
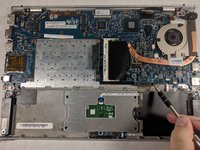
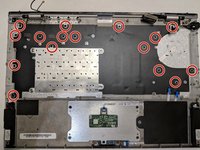
Unscrew the sixteen 3mm Phillips head screws that secure the metal back plate to the keyboard.
-
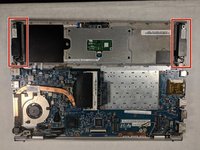
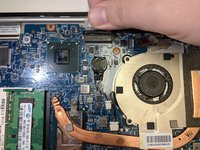
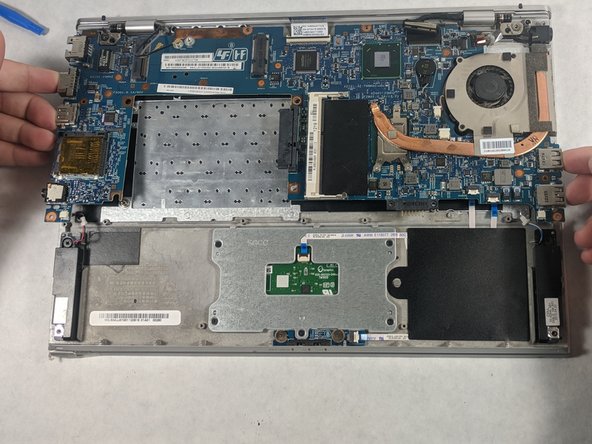
Grab the edges of the metal back plate that covers the keyboard and remove it.
-
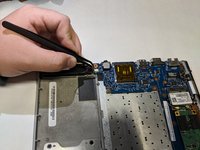
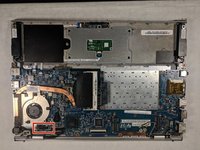
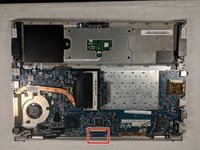
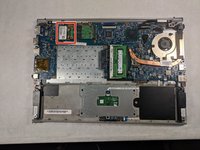
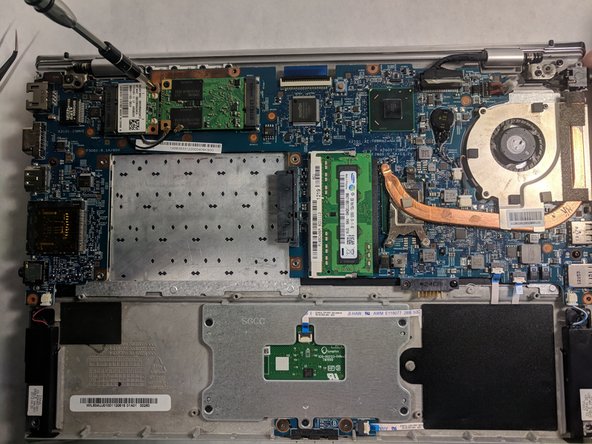
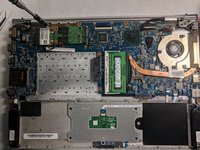
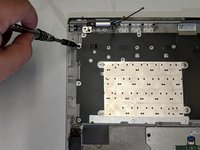
The keyboard will be exposed at this point, simply lift the keyboard from the edges to remove it from the bottom panel of the laptop.
-


To reassemble your device, follow these instructions in reverse order.
İptal et: Bu kılavuzu tamamlamadım.
3 farklı kişi bu kılavuzu tamamladı.
Ekip

UMass Dartmouth, Team S4-G5, Julie Fall 2017 UMass Dartmouth, Team S4-G5, Julie Fall 2017 üyesi
UMASSD-JULIE-F17S4G5
3 Üyeler
10 adet Kılavuz yazıldı