Giriş
This guide will show you how to remove the keyboard from your Sony Vaio VGN-FS640 laptop.
Neye ihtiyacın var
-
-
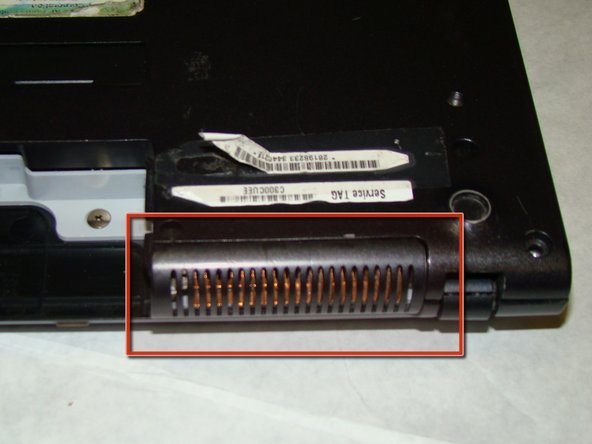
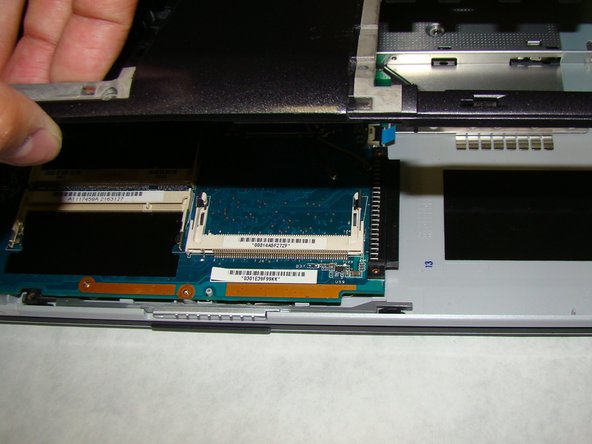
With the bottom of the laptop facing up, locate the RAM cover.
-
The RAM is covered by the panel with four columns of vents.
-
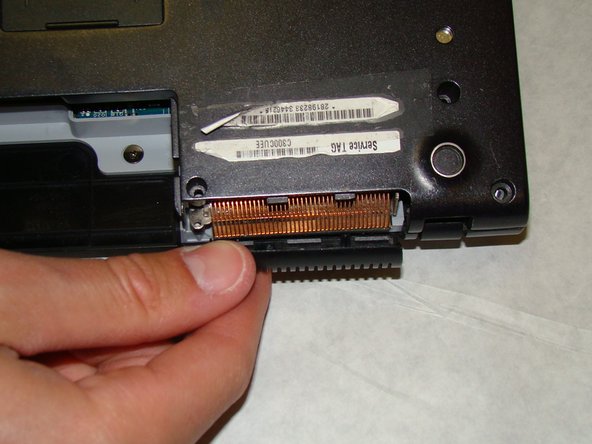
Locate the screw (Length: 4.8 mm) holding down the panel, which is near the edge of the laptop. Unscrew it with your phillips #0 screwdriver.
-
-
-
Locate and remove the screw (Length: 7.7mm) for the hard drive cover.
-
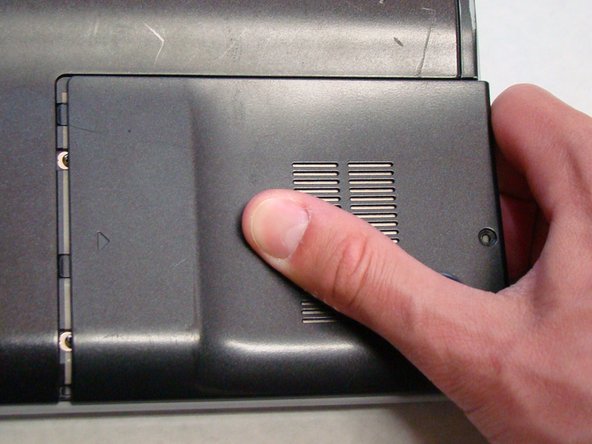
Slide the cover until it is free from the laptop case.
-
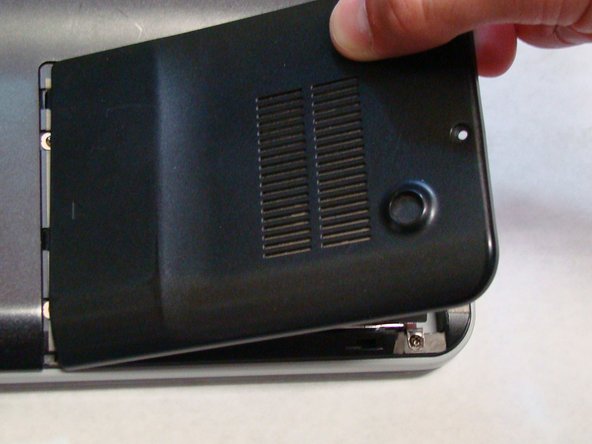
Lift the cover to remove.
-
-
-
-
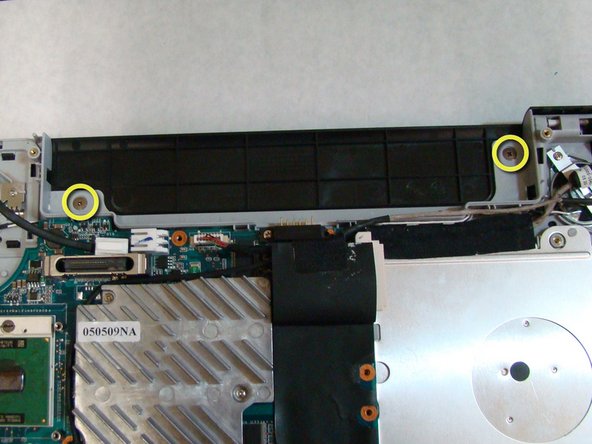
Locate the screws highlighted here. There are 16 total.
-
Using a Phillips #0 screwdriver, remove the screws (Length: 6.8mm) and place them on a tray for later use.
-
-
-
After the back cover is removed, lay the laptop on a flat surface, with the bottom facing up.
-
-
-
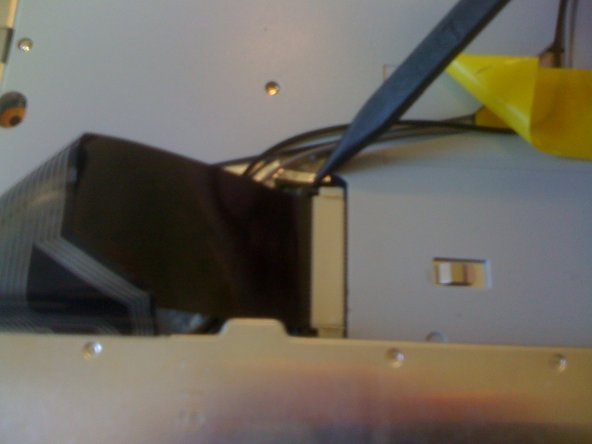
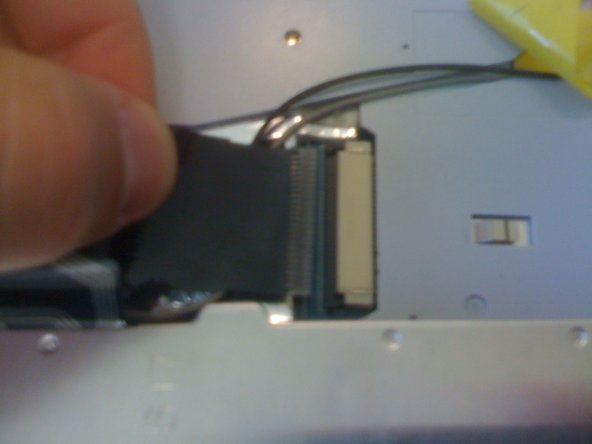
On each side of the white plastic connector, there is a tiny black tab that locks the ribbon into place.
-
Use the sharp edge of a spudger to slide the black tabs away from from the white plastic connector.
-
Once the tabs have been extended away from the connector, the ribbon can be removed from the keyboard.
-
The keyboard is now completely disconnected from the laptop.
-
To reassemble your device, follow these instructions in reverse order.
To reassemble your device, follow these instructions in reverse order.
İptal et: Bu kılavuzu tamamlamadım.
3 farklı kişi bu kılavuzu tamamladı.
Bir Yorum
You only need to remove the 2 screws in the battery compartment to complete this replacement. The student may be brilliant but he sure enjoys doing unnecessarily long, overly complex, and potentially damaging tasks. ;-)


