Bu sürüm, hatalı düzenlemeler içerebilir. En son doğrulanmış bellek kopyası dönün.
Neye ihtiyacın var
-
Bu adım çevrilmemiş. Çevrilmesine yardım edin
-
Flip the laptop over so the Vaio logo is facing down.
-
Locate the battery at the top and Find the release and unlock slides on the battery.
-
Slide the unlock tab to the unlock position.
-
Slide the release tab in the direction of the arrow, i.e. towards the unlock tab.
-
-
Bu adım çevrilmemiş. Çevrilmesine yardım edin
-
With the tabs still in the unlock position, slide the battery away from the main case.
-
-
Bu adım çevrilmemiş. Çevrilmesine yardım edin
-
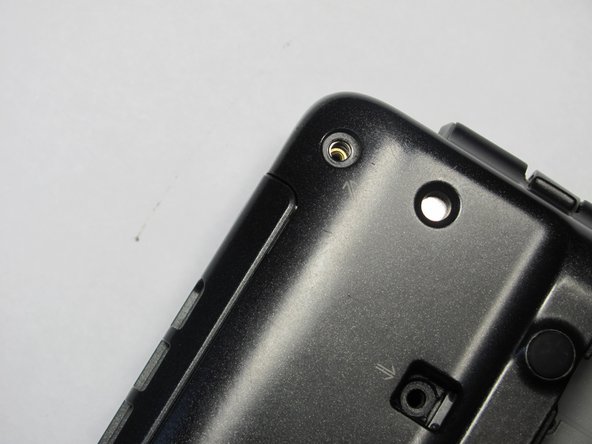
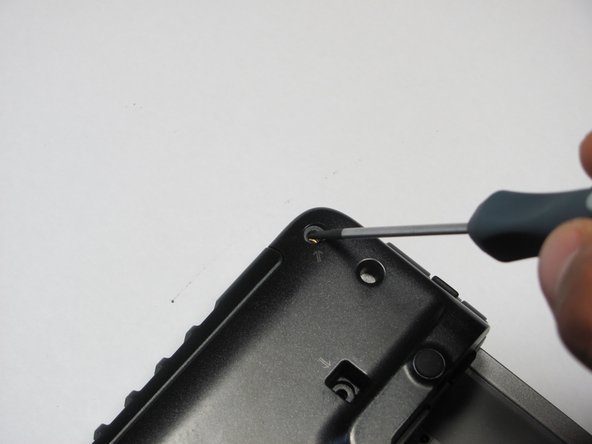
Flip the computer over so the Vaio logo is facedown.
-
Unscrew the 2 screws next to the battery.
-
-
Bu adım çevrilmemiş. Çevrilmesine yardım edin
-
Flip the computer over again so the Vaio logo is face up.
-
Open the lid.
-
-
-
Bu adım çevrilmemiş. Çevrilmesine yardım edin
-
Press down on the outer gray shell around the keyboard.
-
Use the spudger to gently lift keyboard.
-
-
Bu adım çevrilmemiş. Çevrilmesine yardım edin
-
Lift up lever underneath the ribbon to detach the keyboard.
-
-
Bu adım çevrilmemiş. Çevrilmesine yardım edin
-
Flip so the Vaio Logo is face down.
-
Locate and remove a total of 8 screws on the bottom.
-
-
Bu adım çevrilmemiş. Çevrilmesine yardım edin
-
Find and remove 5 screws (they all have arrows next to them) from cover.
-
-
Bu adım çevrilmemiş. Çevrilmesine yardım edin
-
Flip the laptop over so the Vaio logo is face up.
-
Use the spudger to pop up the upper casing.
-
Remove the wires that are attaching the upper casing to the motherboard.
-


İptal et: Bu kılavuzu tamamlamadım.
2 farklı kişi bu kılavuzu tamamladı.

Ekip

Cal Poly, Team 16-4, Maness Spring 2010 Cal Poly, Team 16-4, Maness Spring 2010 üyesi
CPSU-MANESS-S10S16G4
4 Üyeler
30 adet Kılavuz yazıldı