Giriş
This guide will walk you through tearing down the Sony WH-1000 XM5 headphones in order to access the daughter board containing the 3.5mm Jack, Power Button and Noise Cancelling button. Accessing this board will allow you to replace the entire board, replace individual components on it, or safely remove any plug debris that may be lodged within the 3.5mm jack.
Neye ihtiyacın var
-
-
Place the edge of an iFixit opening tool under the earpad cushion.
-
Slide it alongside the edge of the cushion until it detaches from the rest of the headphones
-
-
-
Orient the Left earcup so that the cushion is pointed up, towards you.
-
Insert a plastic pry tool, spudger, or similar implement behind the ear cushion. Gently pry the first clip free from the earcup.
-
Make your way around the perimeter of the earcup, releasing the rest of the plastic clips.
-
-
-
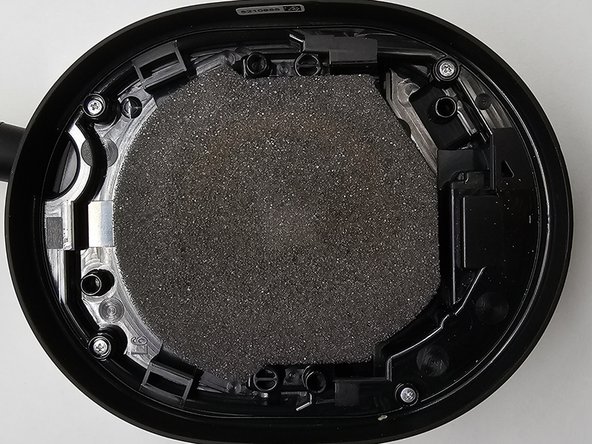
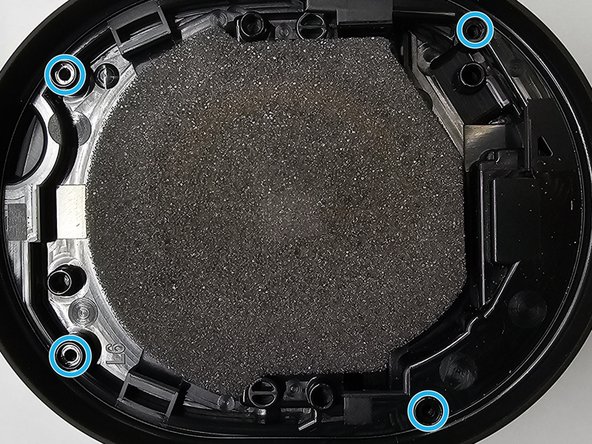
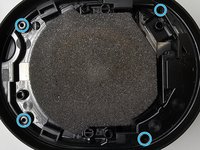
With the ear cushion removed, you will have access to the first 4 screws holding the earcup together.
-
Using a Phillips #000 screwdriver, remove all 4 of these screws.
-
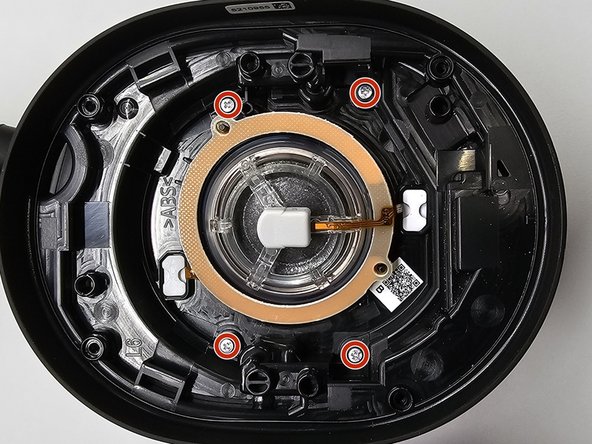
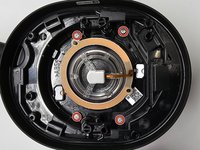
Removing the piece of foam in the middle of the earcup will reveal the main driver, as well as 4 more screws.
-
Using a Phillips #000 screwdriver, remove the last four screws within the interior of the earcup.
-
-
-
-
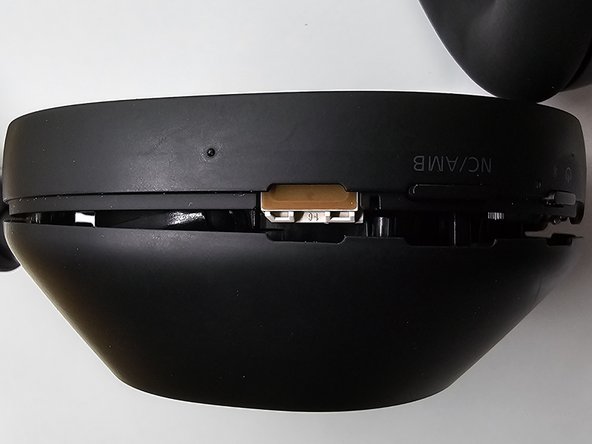
With all 8 screws removed, the shell of the earcup will be loose.
-
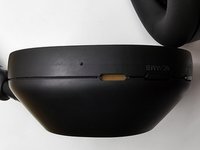
Carefully remove the shell of the earcup. There are no adhesives or screws left holding the assembly together, so no force should be necessary.
-
If the shell does not immediately feel lose, Stop. Go back and ensure all 8 screws have been removed.
-
-
-
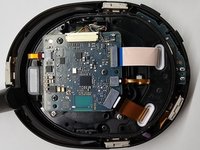
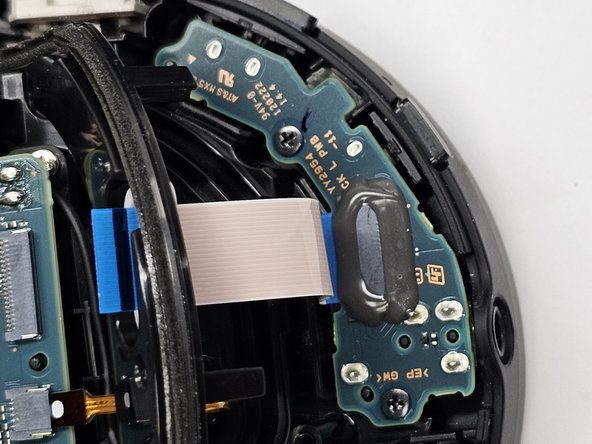
With the shell removed, you can now access the majority of the components housed within the left earcup.
-
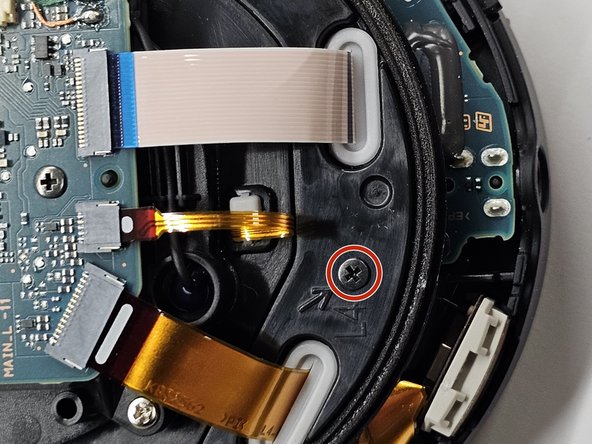
Locate the small screw located between the two ribbon cables. It is marked "L4" and identifiable by the arrow pointing directly at it. Using a Phillips #000 screwdriver, remove this screw.
-
Carefully disconnect both ribbon cables from the top-most circuit board. Be careful not to bend or puncture either of these cables.
-
-
-
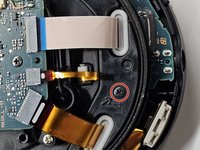
With the "L4" screw removed and the ribbon cables disconnected, you can safely pull up the small plastic frame with the two white gaskets.
-
You can fully remove the ribbon cables from their gaskets, but it is not necessary for accessing the 3.5mm jack.
-
-
-
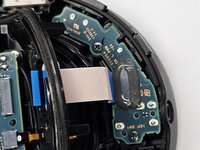
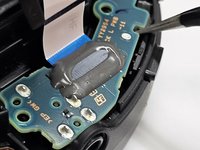
Using a Phillips #000 screwdriver, remove the 2 screws holding the daughter board into the earcup.
-
-
-
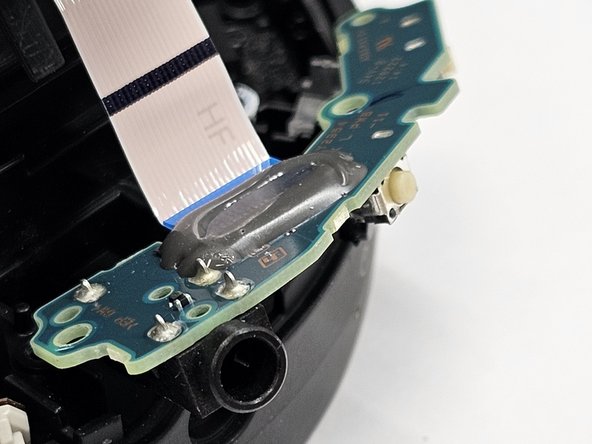
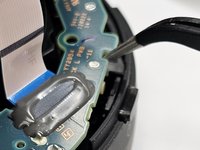
With the screws removed from the board, you can now pry the daughter board from the earcup.
-
Using a plastic pry tool, spudger or tweezers, carefully pry the board up and out of the housing.
-
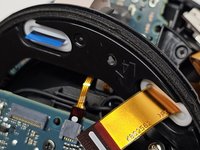
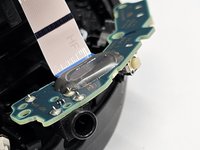
Be careful when removing the board from the housing, as the ribbon cable is still attached to the main board. As long as it has been disconnected on the other end, you should have plenty of slack to safely remove the board.
-
-
-
With the board removed, you can now safely replace any of the components on it, or even the entire assembly.
-
If removing plug debris, gently push any lodged debris out using tweezers. Ensure that you push any debris out towards the "entrance" of the jack.
-


To reassemble your device, follow these instructions in reverse order.
To reassemble your device, follow these instructions in reverse order.
