Giriş
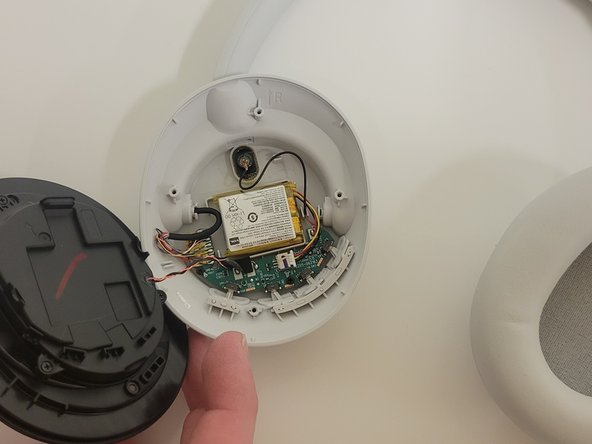
This repair guide will detail how to replace the speakers on the Sony WH-CH720. This repair guide uses the right speaker, but the process is the same for both sides. This is necessary in the event the speakers stop working entirely or the audio begins cutting out when using the headphones.
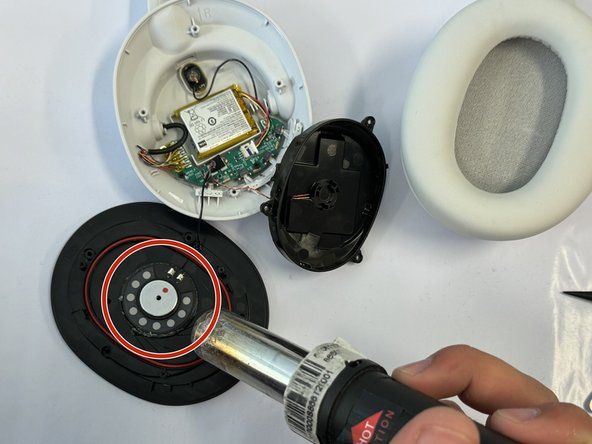
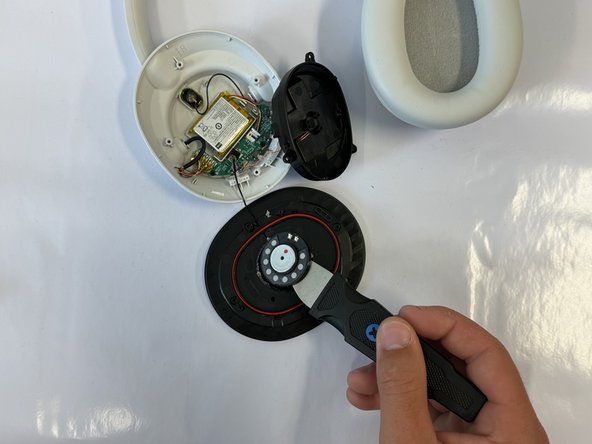
Take caution in using the soldering iron and heat gun. Ensure the device is powered off for safety.
Neye ihtiyacın var
-
-
-
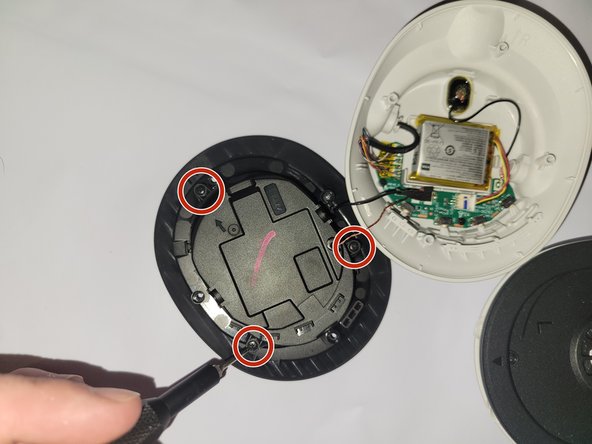
Remove the four 5 mm screws holding the speaker housing onto the headphones.
-
Move the now detached speaker housing to the side, being careful of the wires.
-


To reassemble your device, follow these instructions in reverse order.
To reassemble your device, follow these instructions in reverse order.

Ekip

Western Carolina University, Team 1-2, Virtue Spring 2024 Western Carolina University, Team 1-2, Virtue Spring 2024 üyesi
WCU-VIRTUE-S24S1G2
4 Üyeler
5 adet Kılavuz yazıldı