Ana içeriğe geç

Sony Walkman NWZ-S764 Audio Port Replacement

Neye ihtiyacın var

  1. Sony Walkman NWZ-S764 Audio Port Replacement, Removing the back cover: adım 1, 3 resimden 1. Sony Walkman NWZ-S764 Audio Port Replacement, Removing the back cover: adım 1, 3 resimden 2. Sony Walkman NWZ-S764 Audio Port Replacement, Removing the back cover: adım 1, 3 resimden 3.
    • Remove the two black 6.4mm Phillips screws from the back of the device.

  2. Sony Walkman NWZ-S764 Audio Port Replacement: adım 2, 3 resimden 1. Sony Walkman NWZ-S764 Audio Port Replacement: adım 2, 3 resimden 2. Sony Walkman NWZ-S764 Audio Port Replacement: adım 2, 3 resimden 3.
    • Using a plastic opening tool, work your way around the edges of the device, carefully prying off the front panel.

  3. Sony Walkman NWZ-S764 Audio Port Replacement: adım 3, 2 resimden 1. Sony Walkman NWZ-S764 Audio Port Replacement: adım 3, 2 resimden 2.
    • Remove the two 2.8 mm phillips screws located on either side of the device near the top.

  4. Sony Walkman NWZ-S764 Audio Port Replacement: adım 4, 2 resimden 1. Sony Walkman NWZ-S764 Audio Port Replacement: adım 4, 2 resimden 2.
    • Carefully pull the top piece away from the device.

  5. Sony Walkman NWZ-S764 Audio Port Replacement, Audio Port: adım 5, 3 resimden 1. Sony Walkman NWZ-S764 Audio Port Replacement, Audio Port: adım 5, 3 resimden 2. Sony Walkman NWZ-S764 Audio Port Replacement, Audio Port: adım 5, 3 resimden 3.
    • Remove the two 2.8mm silver Phillips screws on the sides of the frame.

    • The two 2.8mm screws are on each side of the device.

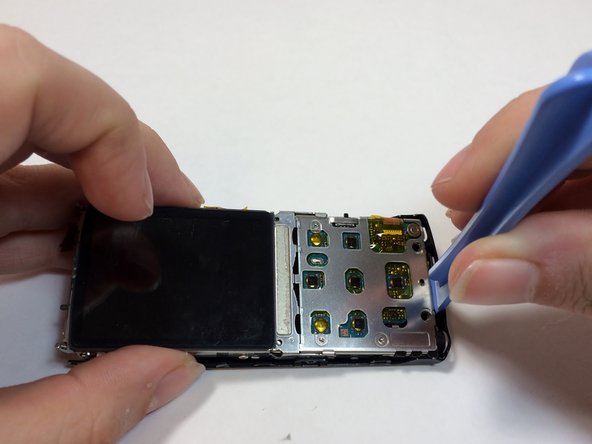
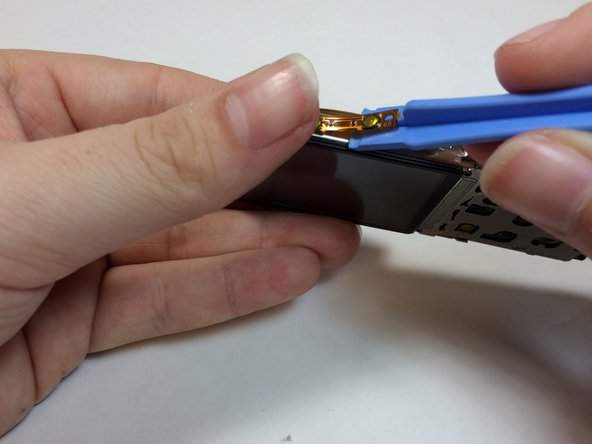
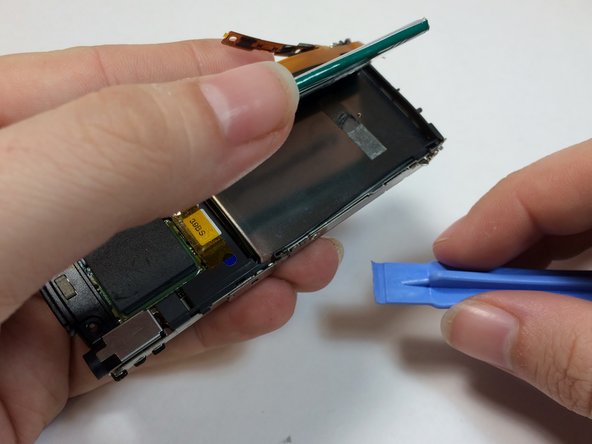
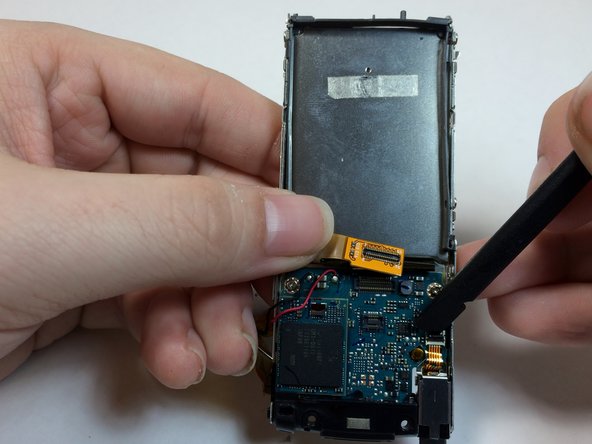
    • Insert a plastic prying tool between the bottom of the case and the motherboard.

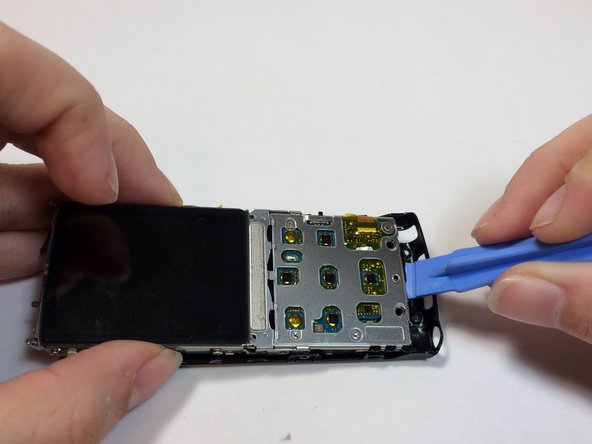
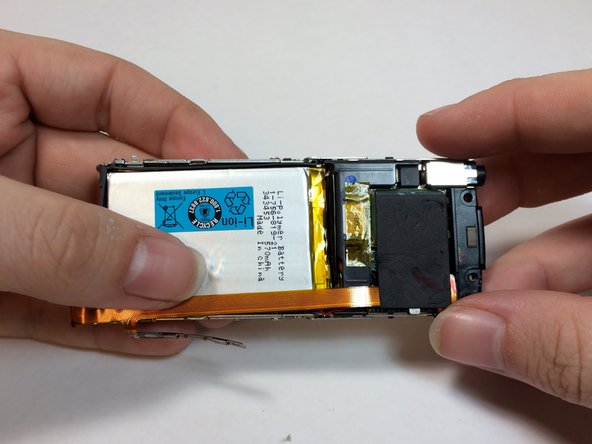
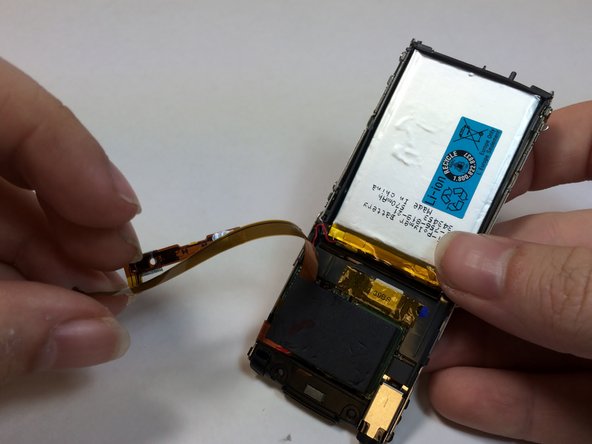
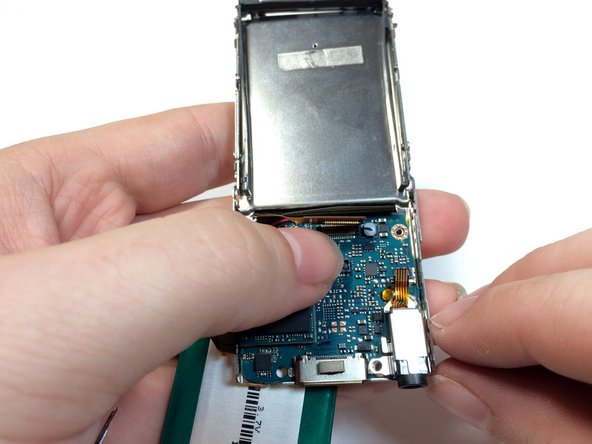
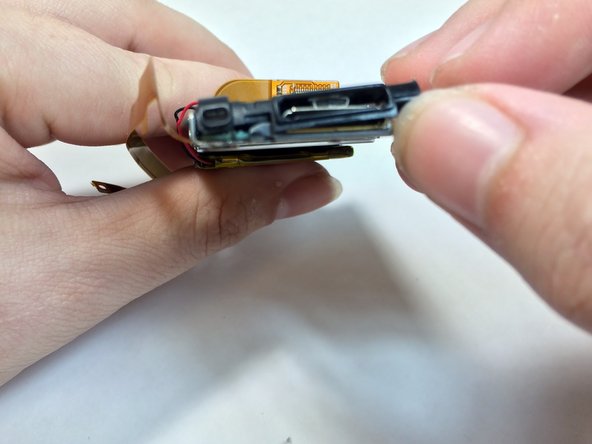
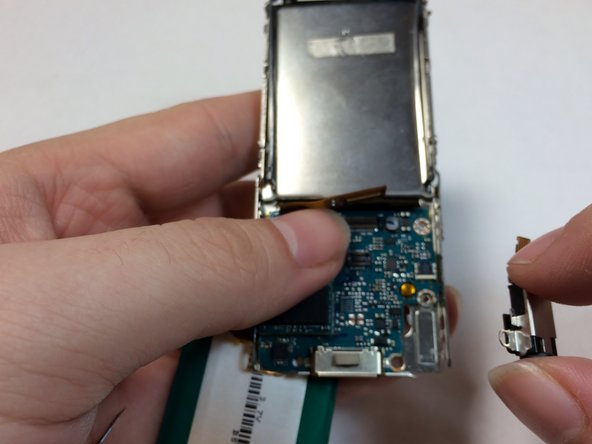
    • Pry up the assembly and lift it away from the case.

  6. Sony Walkman NWZ-S764 Audio Port Replacement: adım 6, 3 resimden 1. Sony Walkman NWZ-S764 Audio Port Replacement: adım 6, 3 resimden 2. Sony Walkman NWZ-S764 Audio Port Replacement: adım 6, 3 resimden 3.
    • Remove the yellow tape from the battery and volume control module.

    • Save tape for reassembly.

  7. Sony Walkman NWZ-S764 Audio Port Replacement: adım 7, 3 resimden 1. Sony Walkman NWZ-S764 Audio Port Replacement: adım 7, 3 resimden 2. Sony Walkman NWZ-S764 Audio Port Replacement: adım 7, 3 resimden 3.
    • Use a prying tool to pry under the volume control module.

    • This module is glued on, using too much force may damage or warp the module.

  8. Sony Walkman NWZ-S764 Audio Port Replacement: adım 8, 3 resimden 1. Sony Walkman NWZ-S764 Audio Port Replacement: adım 8, 3 resimden 2. Sony Walkman NWZ-S764 Audio Port Replacement: adım 8, 3 resimden 3.
    • Remove the tape from EMF shield and the LCD housing.

    • Lift up on the volume control ribbon.

  9. Sony Walkman NWZ-S764 Audio Port Replacement: adım 9, 3 resimden 1. Sony Walkman NWZ-S764 Audio Port Replacement: adım 9, 3 resimden 2. Sony Walkman NWZ-S764 Audio Port Replacement: adım 9, 3 resimden 3.
    • Insert a plastic opening tool under the battery and lift up to remove it.

    • The battery is glued on, too much force may damage the battery casing.

    • The battery is soldered to the motherboard, care should be taken to not place too much stress on the wires.

  10. Sony Walkman NWZ-S764 Audio Port Replacement: adım 10, 3 resimden 1. Sony Walkman NWZ-S764 Audio Port Replacement: adım 10, 3 resimden 2. Sony Walkman NWZ-S764 Audio Port Replacement: adım 10, 3 resimden 3.
    • Remove the black shielding tape from above the Hard Drive.

    • Peel the foam cover away from the hard drive.

    • Use a plastic opening tool to remove the EMF chip from the motherboard.

    • The hard drive is soldered onto the device. Be careful not to pull too hard on the hard drive.

  11. Sony Walkman NWZ-S764 Audio Port Replacement: adım 11, 3 resimden 1. Sony Walkman NWZ-S764 Audio Port Replacement: adım 11, 3 resimden 2. Sony Walkman NWZ-S764 Audio Port Replacement: adım 11, 3 resimden 3.
    • Remove the plastic bracket by pushing up with your thumb to expose the display connection.

  12. Sony Walkman NWZ-S764 Audio Port Replacement: adım 12, 3 resimden 1. Sony Walkman NWZ-S764 Audio Port Replacement: adım 12, 3 resimden 2. Sony Walkman NWZ-S764 Audio Port Replacement: adım 12, 3 resimden 3.
    • Use the flat end of a spudger to flip up the retaining flap on the audio jack module.

  13. Sony Walkman NWZ-S764 Audio Port Replacement: adım 13, 2 resimden 1. Sony Walkman NWZ-S764 Audio Port Replacement: adım 13, 2 resimden 2.
    • Peel back the ribbon for the audio jack and remove the 1.8mm silver Phillips screw.

  14. Sony Walkman NWZ-S764 Audio Port Replacement: adım 14, 3 resimden 1. Sony Walkman NWZ-S764 Audio Port Replacement: adım 14, 3 resimden 2. Sony Walkman NWZ-S764 Audio Port Replacement: adım 14, 3 resimden 3.
    • Remove the mic casing by pushing up and in.

    • Remove the headphone jack and the bottom casing.

Sonuç

To reassemble your device, follow these instructions in reverse order.

2 farklı kişi bu kılavuzu tamamladı.

John Ferguson

Üyelik tarihi: 01/21/15

657 İtibar

5 adet Kılavuz yazıldı

Ekip

USF Tampa, Team 4-2, Brown Winter 2015 USF Tampa, Team 4-2, Brown Winter 2015 üyesi

USFT-BROWN-W15S4G2

4 Üyeler

6 adet Kılavuz yazıldı

2 Yorum

Awesome! But where did you get the port itself?

heaver - Yanıt

Yeah where do I get a replacement jack?

petermedz - Yanıt

Yorum Ekle

İstatistikleri Görüntüle:

Son 24 Saat: 0

Son 7 gün: 2

Son 30 gün: 8

Her zaman: 2,393