Ana içeriğe geç

Sony Xperia M2 Logic Board Replacement

Neye ihtiyacın var

Videoya Genel Bakış

  1. Sony Xperia M2 Logic Board Replacement, Rear Cover: adım 1, 3 resimden 1. Sony Xperia M2 Logic Board Replacement, Rear Cover: adım 1, 3 resimden 2. Sony Xperia M2 Logic Board Replacement, Rear Cover: adım 1, 3 resimden 3.
    • Warm the Back Cover. You can use a hairdryer.

    • Be careful, the Cover is plastic.

    • Use a small suction cup and plastic tools for separating the Rear panel.

    • Before installing the new cover, you must clean the phone from the old adhesive tape and install a new one if your spare part has come without double sided adhesive tape.

  2. Sony Xperia M2 Logic Board Replacement, Battery: adım 2, 3 resimden 1. Sony Xperia M2 Logic Board Replacement, Battery: adım 2, 3 resimden 2. Sony Xperia M2 Logic Board Replacement, Battery: adım 2, 3 resimden 3.
    • Disconnect the Battery Cable.

    • The battery is stuck to the phone fame. Use the white tape to remove it.

    • Li-Polymer Battery, 2230 mAh

    • Part number: LIS1551ERPC

    • Please SUBSCRIBE to my channel ツ

  3. Sony Xperia M2 Logic Board Replacement, Logic Board: adım 3, 2 resimden 1. Sony Xperia M2 Logic Board Replacement, Logic Board: adım 3, 2 resimden 2.
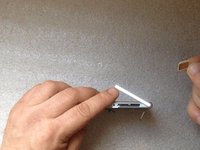
    • Remove the SIM and the memory cards.

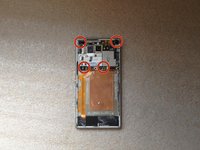
    • Remove x4 T5 Torx Corner screws & x2 T5 Torx Screws on the Board

  4. Sony Xperia M2 Logic Board Replacement: adım 4, 1 resimden 1.
    • Disconnect one by one:

    • Touchscreen flex cable

    • Proximity sensor flex cable

    • Power on, Volume buttons cable

    • SIM & Micro SD flex cable

    • Coaxial antenna cable

  5. Sony Xperia M2 Logic Board Replacement: adım 5, 2 resimden 1. Sony Xperia M2 Logic Board Replacement: adım 5, 2 resimden 2.
    • Disconnect the LCD Display flex cable. The connector is on the other side of the board, under the Power/Volume buttons flex cable connector.

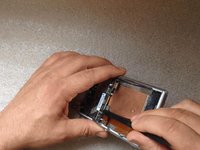
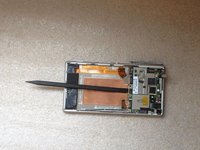
    • Put one plastic spudger between the Logic board and the Main frame.

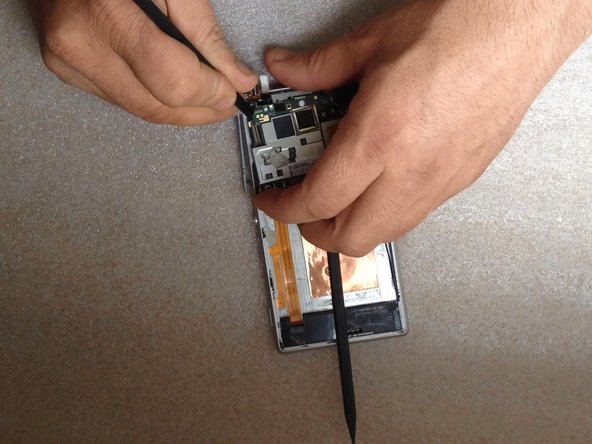
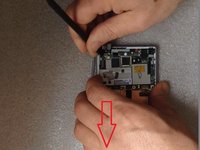
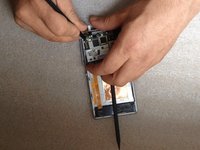
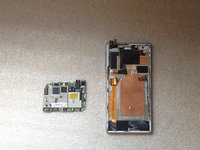
  6. Sony Xperia M2 Logic Board Replacement: adım 6, 3 resimden 1. Sony Xperia M2 Logic Board Replacement: adım 6, 3 resimden 2. Sony Xperia M2 Logic Board Replacement: adım 6, 3 resimden 3.
    • Step one: move aside less the left side of the board - down.

    • Step two: the left side of the Logic board must go out of the main frame.

    • For this manipulation use only plastic tools.

    • Please SUBSCRIBE to my channel ツ

Sonuç

To reassemble your device, follow these instructions in reverse order.

16 farklı kişi bu kılavuzu tamamladı.

ZFix

Üyelik tarihi: 12/09/13

194.171 İtibar

330 adet Kılavuz yazıldı

Ekip

Master Techs Master Techs üyesi

Community

326 Üyeler

1.672 adet Kılavuz yazıldı

2Kılavuz Yorumları

My mobile charge bin problem how to find that problem , no charged my mobile…

jeeva jeeva - Yanıt

Removing the motherboard is unnecessarily difficult on this model! Why make it like this? One would figure the screws would do a good enough job of securing it to the frame. I guess having to wiggle it out is just part of the fun, right?

Also, getting parts for this model (and it’s water-resistant twin) sucks. I’m currently in the market for a display+touch assembly and it seems I’ll have to resort to importing from AliExpress.

Luis Alejandro Araúz - Yanıt

Yorum Ekle

İstatistikleri Görüntüle:

Son 24 Saat: 0

Son 7 gün: 2

Son 30 gün: 30

Her zaman: 14,520