Ana içeriğe geç
Onarım Topluluğuna Katılın - Hesap Oluşturun

Sony Xperia Z Display Assembly Replacement

Neye ihtiyacın var

Videoya Genel Bakış

  1. Sony Xperia Z Display Assembly Replacement, Touch Screen Glass Digitizer & LCD Display: adım 1, 3 resimden 1. Sony Xperia Z Display Assembly Replacement, Touch Screen Glass Digitizer & LCD Display: adım 1, 3 resimden 2. Sony Xperia Z Display Assembly Replacement, Touch Screen Glass Digitizer & LCD Display: adım 1, 3 resimden 3.
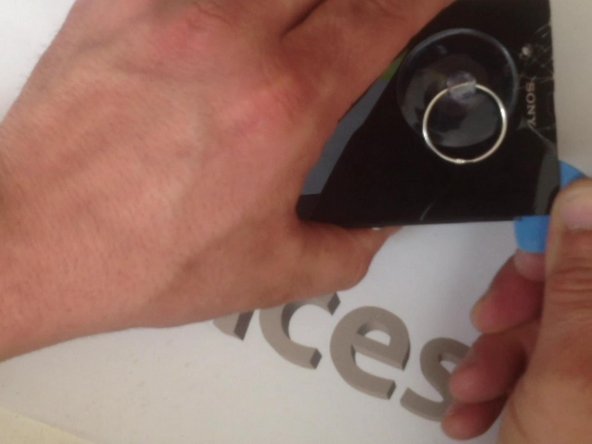
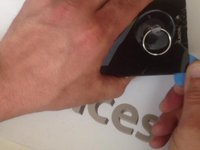
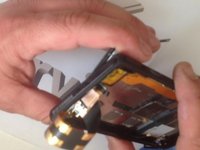
    • Warm the Battery cover before disassemble it.

    FixBot'a Sor
  2. Sony Xperia Z Display Assembly Replacement: adım 2, 3 resimden 1. Sony Xperia Z Display Assembly Replacement: adım 2, 3 resimden 2. Sony Xperia Z Display Assembly Replacement: adım 2, 3 resimden 3.
    • 'Carefully' warm the battery too

    FixBot'a Sor
  3. Sony Xperia Z Display Assembly Replacement: adım 3, 3 resimden 1. Sony Xperia Z Display Assembly Replacement: adım 3, 3 resimden 2. Sony Xperia Z Display Assembly Replacement: adım 3, 3 resimden 3.
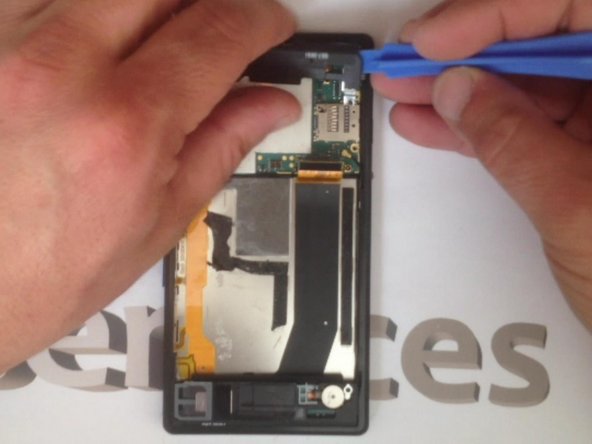
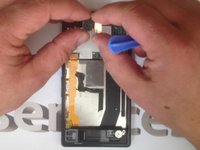
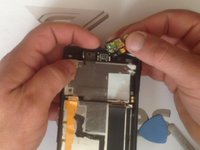
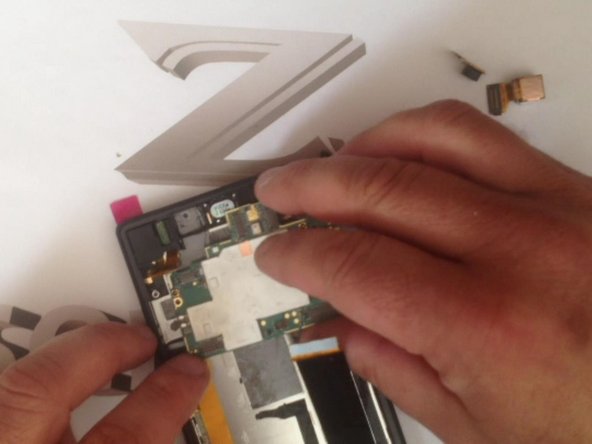
    • Unscrew 4x screws and disconnect 3x flex cables in case to free the mother board.

    FixBot'a Sor
  4. Sony Xperia Z Display Assembly Replacement: adım 4, 3 resimden 1. Sony Xperia Z Display Assembly Replacement: adım 4, 3 resimden 2. Sony Xperia Z Display Assembly Replacement: adım 4, 3 resimden 3.
    • This are: main Camera, front Camera and antenna wire Flex cable.

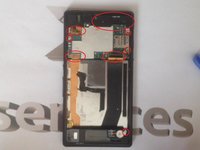
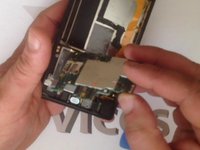
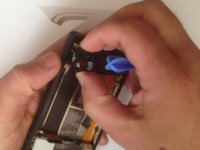
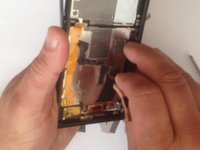
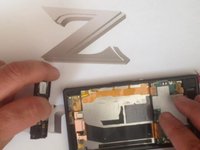
    • Now we can remove the Motherboard.

    FixBot'a Sor
  5. Sony Xperia Z Display Assembly Replacement: adım 5, 3 resimden 1. Sony Xperia Z Display Assembly Replacement: adım 5, 3 resimden 2. Sony Xperia Z Display Assembly Replacement: adım 5, 3 resimden 3.
    • The Headphone connector and the Ringer / Cover / Signal Antenna module.

    FixBot'a Sor
  6. Sony Xperia Z Display Assembly Replacement: adım 6, 3 resimden 1. Sony Xperia Z Display Assembly Replacement: adım 6, 3 resimden 2. Sony Xperia Z Display Assembly Replacement: adım 6, 3 resimden 3.
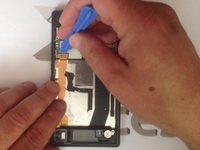
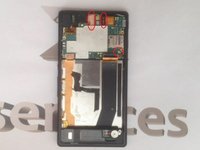
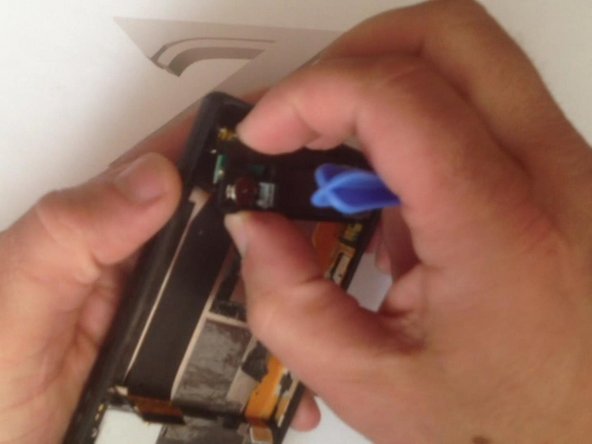
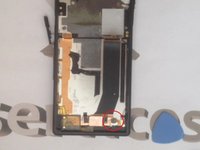
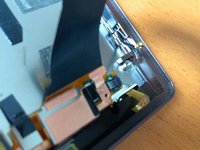
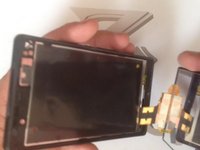
    • Disconnect the LCD light flex cable by lifting up the black plastic and removing the flex cable from the right side and we are ready to go.
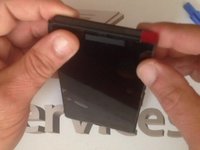
    FixBot'a Sor
  7. Sony Xperia Z Display Assembly Replacement: adım 7, 3 resimden 1. Sony Xperia Z Display Assembly Replacement: adım 7, 3 resimden 2. Sony Xperia Z Display Assembly Replacement: adım 7, 3 resimden 3.
    • Warm the Touch screen before you start to disassemble it.

    FixBot'a Sor
  8. Sony Xperia Z Display Assembly Replacement: adım 8, 3 resimden 1. Sony Xperia Z Display Assembly Replacement: adım 8, 3 resimden 2. Sony Xperia Z Display Assembly Replacement: adım 8, 3 resimden 3.
    • Let's assemble the new spare part.

    FixBot'a Sor
  9. Sony Xperia Z Display Assembly Replacement: adım 9, 3 resimden 1. Sony Xperia Z Display Assembly Replacement: adım 9, 3 resimden 2. Sony Xperia Z Display Assembly Replacement: adım 9, 3 resimden 3.
    FixBot'a Sor
Sonuç

To reassemble your device, follow these instructions in reverse order.

76 farklı kişi bu kılavuzu tamamladı.

ZFix

Üyelik tarihi: 12/09/13

197.189 İtibar

330 adet Kılavuz yazıldı

Ekip

Master Techs Master Techs üyesi

Community

333 Üyeler

1.479 adet Kılavuz yazıldı

54Kılavuz Yorumları

Same procedure with Sony Xperia Z2?

Fredrik - Yanıt Paylaş

How do you warm it? With what and what temperature ?

Jeroen - Yanıt Paylaş

with a hairdryer for like 3 min on high

Peter Tembo - Yanıt Paylaş

With hair dryer.

ZFix - Yanıt Paylaş

Same procedure with Sony Xperia Z1? Where do i get the screen parts?

chrgro - Yanıt Paylaş

Yorum Ekle

İstatistikleri Görüntüle:

Son 24 Saat: 4

Son 7 gün: 14

Son 30 gün: 109

Her zaman: 240,825