Bu çeviri bir makine tarafından oluşturulmuştur ve henüz bir kişi tarafından incelenmemiştir. Bu dili konuşuyor musunuz? İnceleme için.
Neye ihtiyacın var
-
-
-
Gamebit 4.5 mm tornavidayı kullanarak sistemin alt tarafında bulunan altı vidayı çıkarın.
 FixBot'a Sor
-
-
-
Cihazı dikkatlice tekrar ters çevirin.
-
Birleşme noktasını bulun. Kasanın üst yarısını alt yarısından ayırarak kaldırın.
-
-
-
-
-
Güç düğmesini anakarta bağlayan iki adet 11,7 mm Yıldız/Phillips standardı #2 vidayı çıkarın.
-
-
-
Konnektörü, anakart üzerindeki soketinden dikkatlice çekin. Çekerken yerinden oynatarak çıkarmanız gerekebilir.
-
-
-
-
-
-
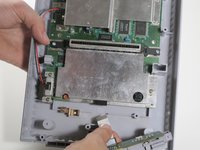
Kontrolcü portlarını kasadan kaldırarak çıkarın; bu işlem fazla kuvvet gerektirmeden yapılmalıdır. Ribbon kablo bağlantısının konumuna dikkat edin.
-
-
-
-
-
Ön kalkanı anakarta bağlayan iki adet 11,6 mm Yıldız vidayı çıkarın.
-
-
-
62 pinli konnektörün her iki yanındaki iki adet 15,6 mm gümüş renkli Yıldız #2 vidayı çıkarın.
-
-


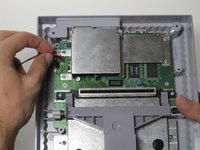
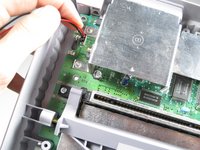


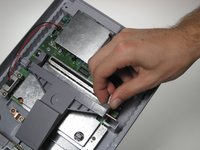
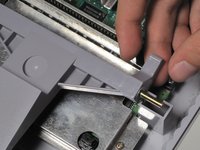


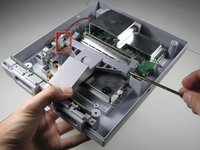
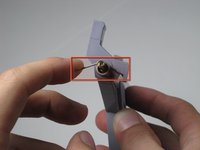
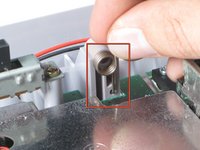


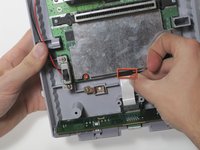


Cihazınızı tekrar toplamak için bu talimatları ters sırayla uygulayın.
İptal et: Bu kılavuzu tamamlamadım.
48 farklı kişi bu kılavuzu tamamladı.

Ekip

Cal Poly, Team 4-47, Amido Fall 2010 Cal Poly, Team 4-47, Amido Fall 2010 üyesi
CPSU-AMIDO-F10S4G47
4 Üyeler
60 adet Kılavuz yazıldı
4Kılavuz Yorumları
There are several versions of the Super Nintendo. Steps for my version are a bit different.
This seems to be a newer super nintendo. If you have one of the older ones, there will be a bit more screws but still basically the same steps.
There are two versions of the Super Nintendo- the one pictured here, and one with a sound chip board behind the game cartridge reader. These two models have different shells that are not interchangeable (important to know if you're looking to buy a replacement housing for your SNES)
It’s possible they may be referring to the European/Japanese version of the Super Nintendo/Super Famicom. Either that, or it’s one of the weird, misshapen “reskins”.
