Ana içeriğe geç

Supersonic Matrix SC-91MID Back Cover Replacement

Neye ihtiyacın var

  1. Supersonic Matrix SC-91MID Back Cover Replacement, Back Cover: adım 1, 1 resimden 1.
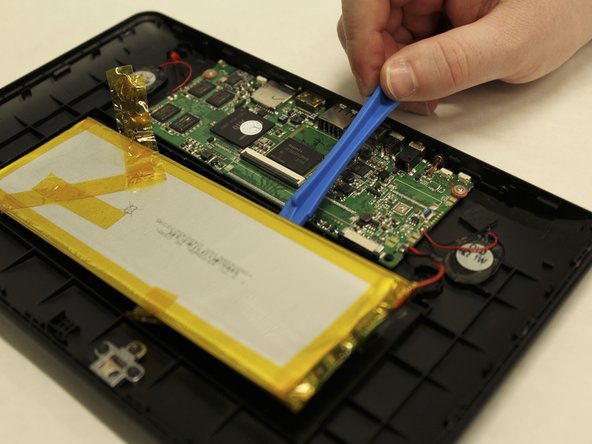
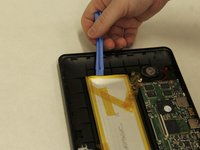
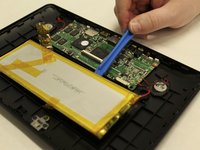
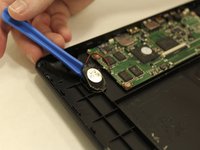
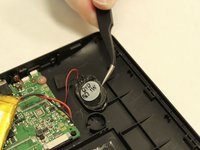
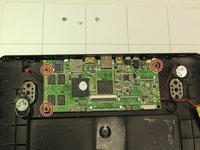
    • To begin, insert the plastic opening tool between the display and back cover and apply force until the back cover comes free from the device.

  2. Supersonic Matrix SC-91MID Back Cover Replacement: adım 2, 3 resimden 1. Supersonic Matrix SC-91MID Back Cover Replacement: adım 2, 3 resimden 2. Supersonic Matrix SC-91MID Back Cover Replacement: adım 2, 3 resimden 3.
    • Carefully remove orange ribbons from the motherboard by opening the small plastic flaps and pulling with tweezers.

    • This will disconnect the front part of the tablet from the back entirely. Set it safely aside and continue

  3. Supersonic Matrix SC-91MID Back Cover Replacement: adım 3, 2 resimden 1. Supersonic Matrix SC-91MID Back Cover Replacement: adım 3, 2 resimden 2.
    • To remove the battery, use the plastic opening tool to pry one corner off of the battery and gently move the opening tool down to pull up one side of the battery.

    • The battery is glued down, so some force may be required to remove it from the back cover.

  4. Supersonic Matrix SC-91MID Back Cover Replacement: adım 4, 2 resimden 1. Supersonic Matrix SC-91MID Back Cover Replacement: adım 4, 2 resimden 2.
    • To remove the speakers, use the plastic opening tool to gently pry the speaker from the back cover, then use the tweezers to remove them fully.

  5. Supersonic Matrix SC-91MID Back Cover Replacement: adım 5, 3 resimden 1. Supersonic Matrix SC-91MID Back Cover Replacement: adım 5, 3 resimden 2. Supersonic Matrix SC-91MID Back Cover Replacement: adım 5, 3 resimden 3.
    • To remove the motherboard, start by unscrewing the three (3) small Phillips head screws using a 1.5 mm Phillips head (Phillips #000) screwdriver.

    • The small red washers must be kept along with the screws when reassembling the device, make sure you store them safely until reassembling.

    • The motherboard has soldered connections to the battery, speakers, and the charging indicator LED. Be careful when pulling the motherboard from the back cover because these parts will come along with it.

Sonuç

To reassemble your device, follow these instructions in reverse order.

Bir başkası bu kılavuzu tamamladı.

Michael Turner

Üyelik tarihi: 03/31/18

121 İtibar

1 Kılavuz yazıldı

Ekip

IUPUI, Team S1-G1, Wilson Spring 2018 IUPUI, Team S1-G1, Wilson Spring 2018 üyesi

IUPUI-WILSON-S18S1G1

5 Üyeler

6 adet Kılavuz yazıldı

0 Yorum

Yorum Ekle

İstatistikleri Görüntüle:

Son 24 Saat: 0

Son 7 gün: 0

Son 30 gün: 1

Her zaman: 201