Giriş
This guide can be used to replace the front brakes on your Suzuki FA50. All you need is a new set of brake shoes, basic tools, a bit of patience, and a bit of time.
WARNING: Drum brakes may contain asbestos, a silicate mineral that causes cancer and other nasty diseases. Make sure to use brake cleaner on the brake parts once you open the drum; this will minimize any asbestos entering your lungs. As an added precaution, you should also consider using a respirator during that portion of the repair.
Neye ihtiyacın var
-
-
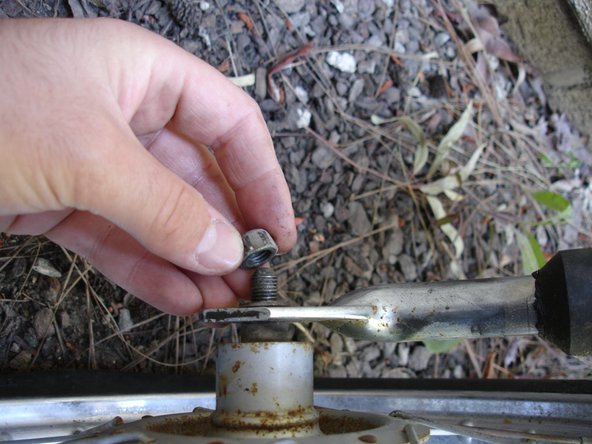
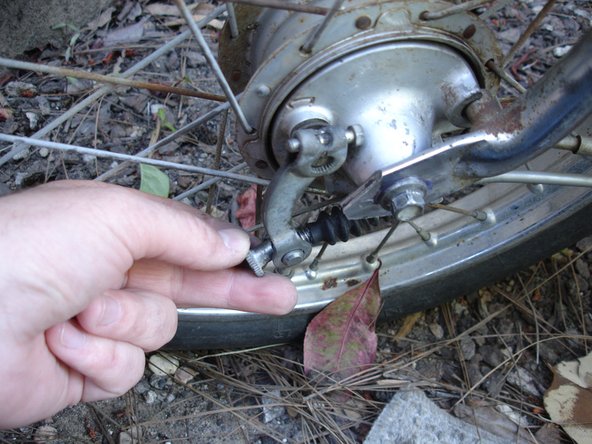
Use your fingers to unscrew and remove the brake cable adjustment nut.
-
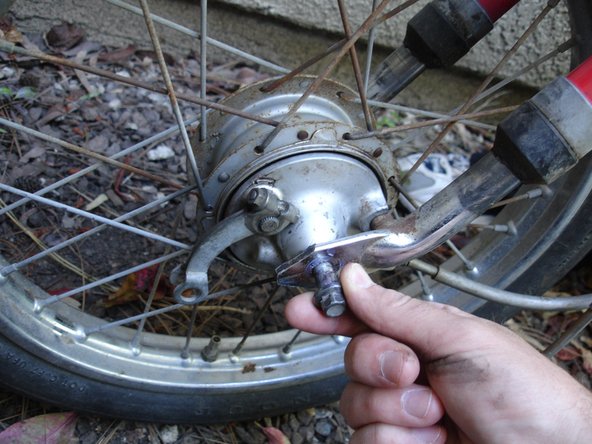
Remove the brake cable by pulling it straight out of the dust cover and its retaining bracket.
-
The black rubber boot (and spring within it) is now loose, so remove it from the brake line and set it aside until reassembly.
-
-
-
Place a 12 mm combination (or box-end) wrench over the lug nut on the opposite side of the front wheel.
-
While holding the lug nut with the combination wrench, use a 12 mm socket wrench to loosen the axle screw on the brake side of the wheel.
-
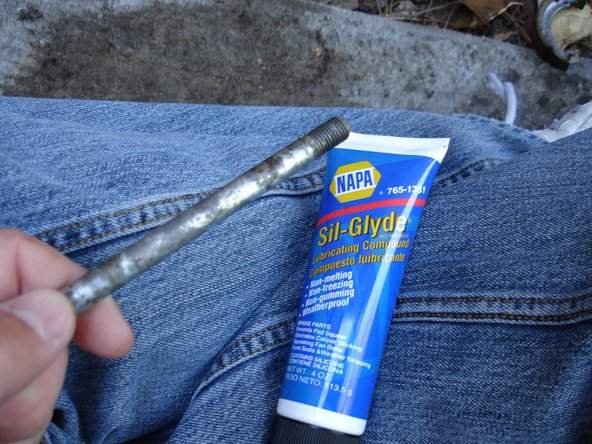
Slide the axle screw out and remove the front wheel from the moped.
-
-
-
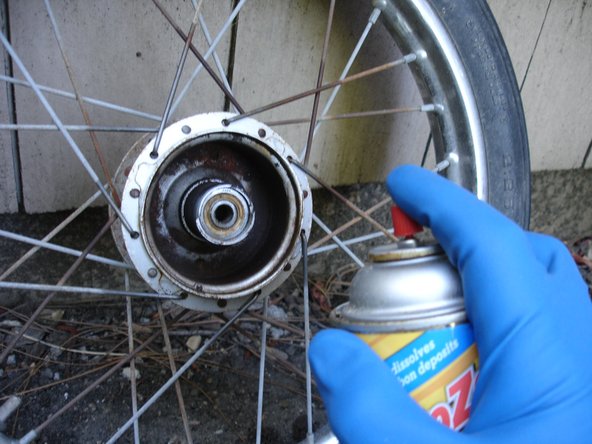
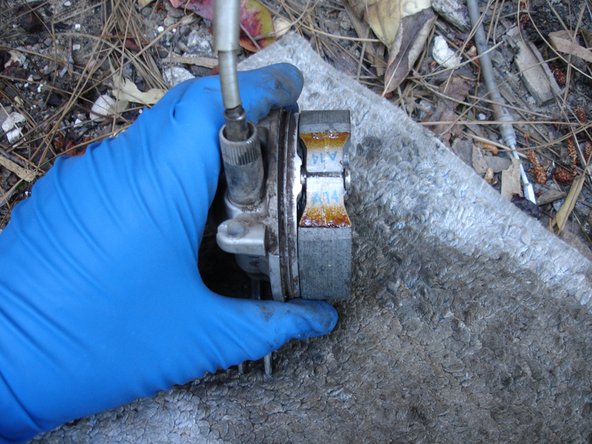
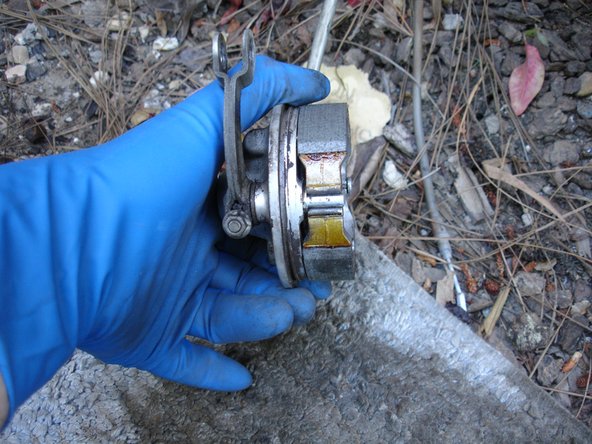
Thoroughly spray the inside of the brake drum with a brake cleaning solvent.
-
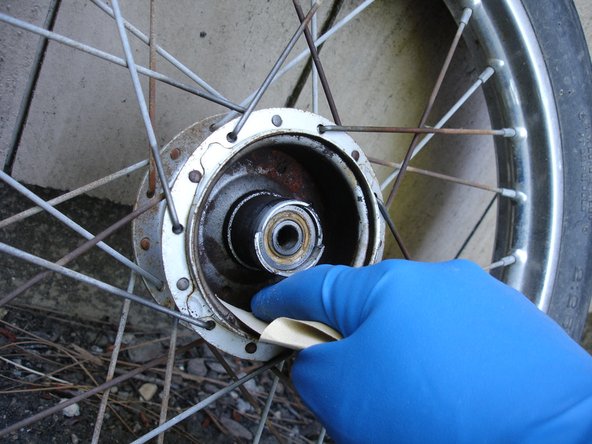
Once the solvent has had a chance to work its magic (10 minutes or so), use a rough-grit sandpaper (100 grit or so) to clean the inner diameter of the drum. Rinse and repeat until you are satisfied with the cleanliness of the drum.
-
-
-
-
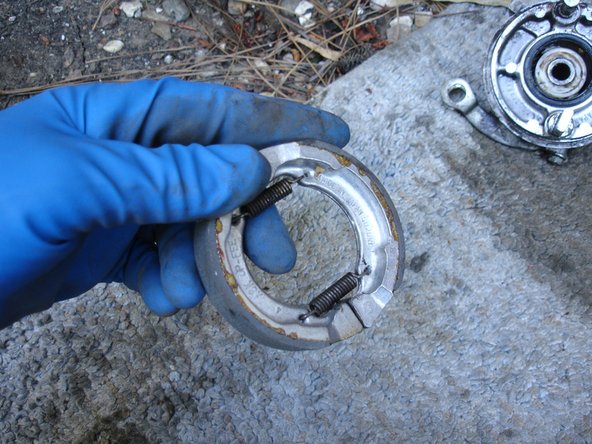
Carefully spread apart the round side of the brake shoes and place them through the round bolt on the brake drum assembly.
-
Then, spread apart the flat side of the brake shoes and place them through the flat bolt on the brake drum assembly.
-
The shoes should now be sitting as shown in the second and third pictures.
-
-
-
Insert the black rubber boot back on the brake cable.
-
Place the brake cable back in its retaining bracket and slide the rubber over the exposed braided cable.
-
At this point, you'll need to adjust the front brake arm because the new shoes are much thicker than the old ones (see next step).
-
-
-
First use the 8 mm socket wrench to tighten the brake arm retaining screw, so that the brake arm is in its held sturdily in its new position.
-
Then, tighten the brake cable adjusting nut with your fingers until your front brake lever is about 0.8 - 1.0" from the handlebar when fully engaged.
-


To reassemble your device, follow these instructions in reverse order.
To reassemble your device, follow these instructions in reverse order.
İptal et: Bu kılavuzu tamamlamadım.
3 farklı kişi bu kılavuzu tamamladı.
