Ana içeriğe geç

Tineco FLOOR ONE S3 Breeze Motherboard Replacement

Neye ihtiyacın var

  1. Tineco FLOOR ONE S3 Breeze Motherboard Replacement, Battery: adım 1, 2 resimden 1. Tineco FLOOR ONE S3 Breeze Motherboard Replacement, Battery: adım 1, 2 resimden 2.
    • Remove six 10.6 mm screws from the back of the vacuum with a Phillips #1 screwdriver.

    • Remove the entire back piece.

  2. Tineco FLOOR ONE S3 Breeze Motherboard Replacement: adım 2, 1 resimden 1.
    • Remove four 10.6 mm screws from the remaining white back piece with a Phillips #1 screwdriver.

  3. Tineco FLOOR ONE S3 Breeze Motherboard Replacement: adım 3, 3 resimden 1. Tineco FLOOR ONE S3 Breeze Motherboard Replacement: adım 3, 3 resimden 2. Tineco FLOOR ONE S3 Breeze Motherboard Replacement: adım 3, 3 resimden 3.
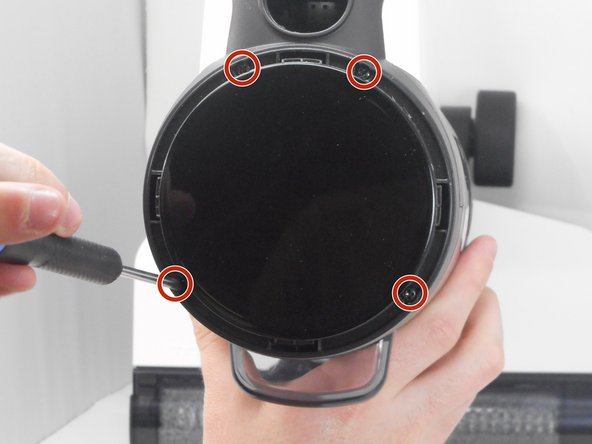
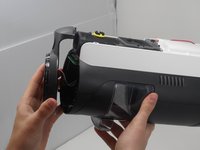
    • Pry open and remove the black ring at the top of the vacuum using by using an opening tool.

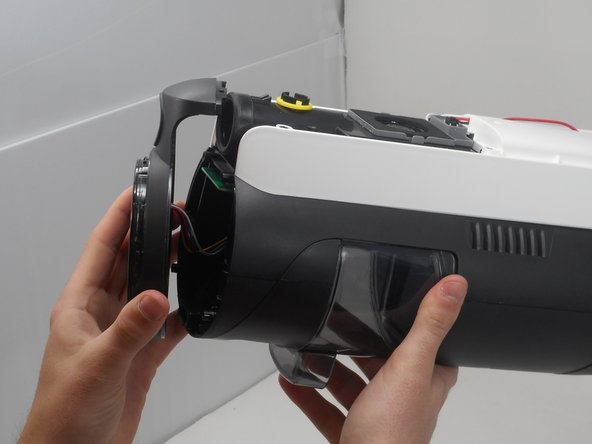
    • Remove four 10.6 mm screws located underneath the previously pried ring using a Phillips #1 screwdriver.

    • Remove the top circular piece from the body of the vacuum.

  4. Tineco FLOOR ONE S3 Breeze Motherboard Replacement: adım 4, 1 resimden 1.
    • Remove the white back piece of the vacuum.

  5. Tineco FLOOR ONE S3 Breeze Motherboard Replacement: adım 5, 2 resimden 1. Tineco FLOOR ONE S3 Breeze Motherboard Replacement: adım 5, 2 resimden 2.
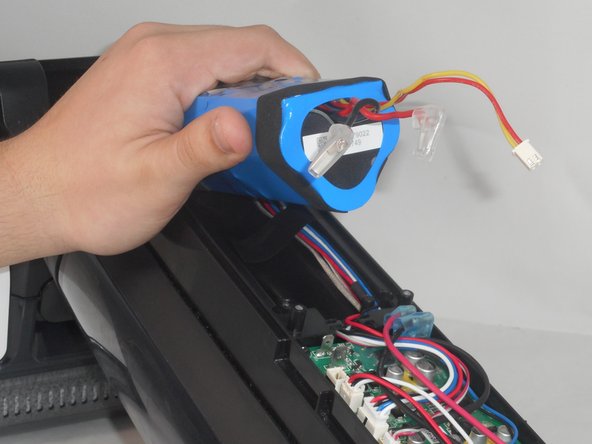
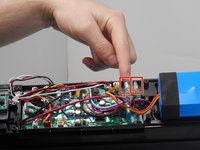
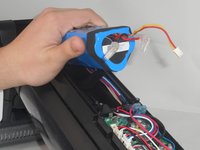
    • Unplug the wires of the battery by carefully pulling them up from the motherboard.

    • Slide the battery out of its slot and replace it with the new battery.

    • The connection may be difficult to remove. Be careful not to rip the entire connector from the motherboard.

  6. Tineco FLOOR ONE S3 Breeze Motherboard Replacement, Motherboard: adım 6, 1 resimden 1.
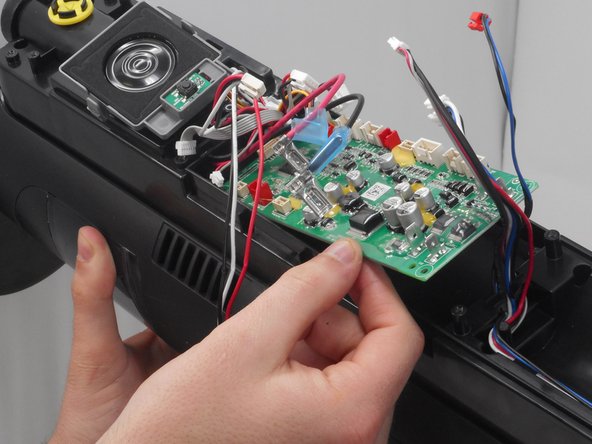
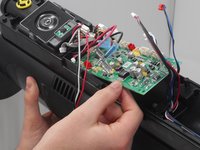
    • Carefully remove all the wire connections from the motherboard.

    • Take note of where and how the wires were connected, so they can be rewired to the new motherboard.

  7. Tineco FLOOR ONE S3 Breeze Motherboard Replacement: adım 7, 2 resimden 1. Tineco FLOOR ONE S3 Breeze Motherboard Replacement: adım 7, 2 resimden 2.
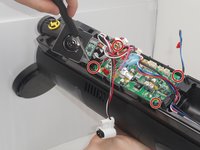
    • Remove the four 10.6 mm screws holding the motherboard using a Phillips #1 screwdriver.

    • Carefully remove the motherboard from the vacuum.

Sonuç

To reassemble your device, follow these instructions in reverse order.

Dawoud Daoud

Üyelik tarihi: 02/14/24

199 İtibar

2 adet Kılavuz yazıldı

0 Yorum

Yorum Ekle

İstatistikleri Görüntüle:

Son 24 Saat: 2

Son 7 gün: 9

Son 30 gün: 32

Her zaman: 90