Bu sürüm, hatalı düzenlemeler içerebilir. En son doğrulanmış bellek kopyası dönün.
Neye ihtiyacın var
-
Bu adım çevrilmemiş. Çevrilmesine yardım edin
-
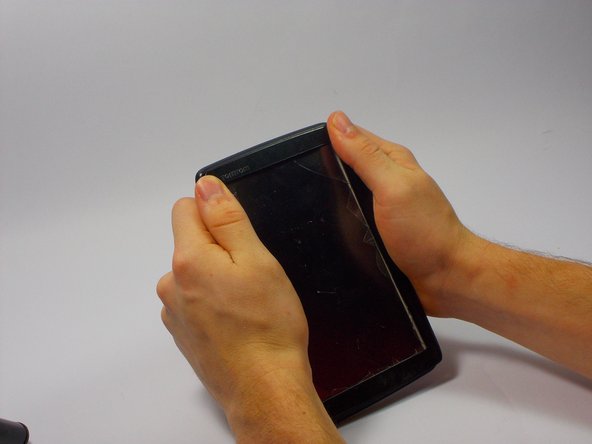
Locate the round suction cup on the back of the device.
-
Twist the suction cup clockwise or counterclockwise while pulling back away from the device closer to your body until removed.
-
-
Bu adım çevrilmemiş. Çevrilmesine yardım edin
-
Location of screw is where the suction cup was.
-
Insert 8mm Hex #T6 screw driver into screw.
-
Unscrew in counter clockwise direction.
-
-
-
Bu adım çevrilmemiş. Çevrilmesine yardım edin
-
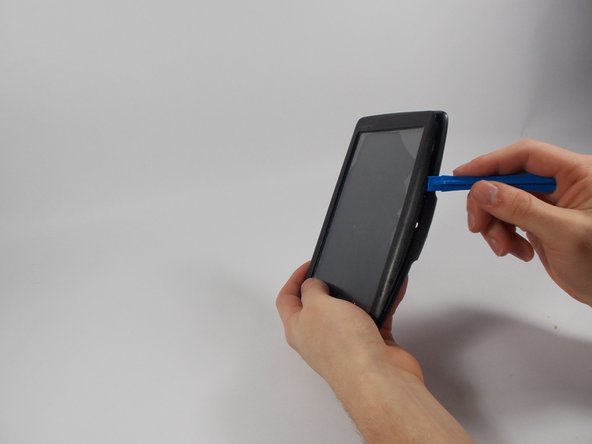
Pry along the edges with the plastic opening tool to separate the back and front panel.
-
-
Bu adım çevrilmemiş. Çevrilmesine yardım edin
-
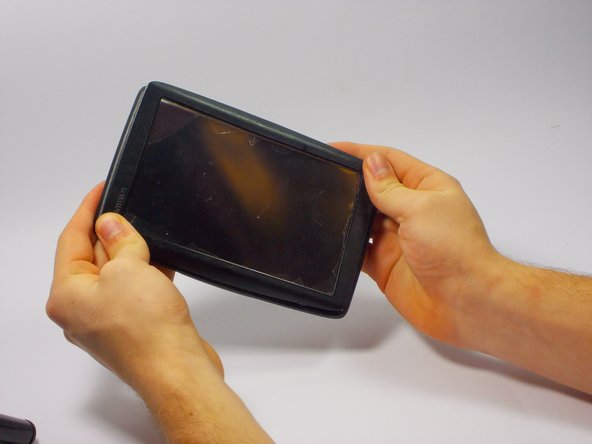
Place the new front panel (with new screen) on to the back panel. Press firmly along the edges to attach.
-
-
Bu adım çevrilmemiş. Çevrilmesine yardım edin
-
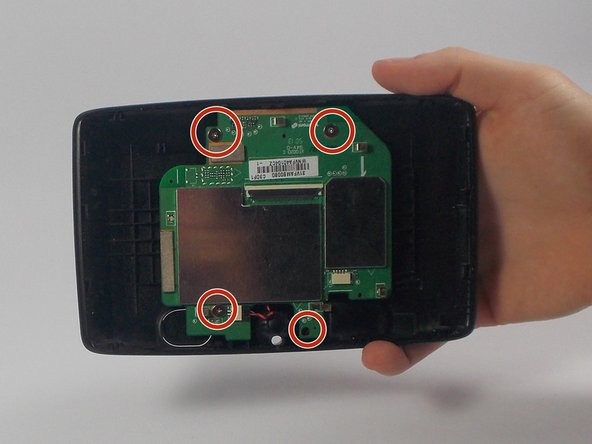
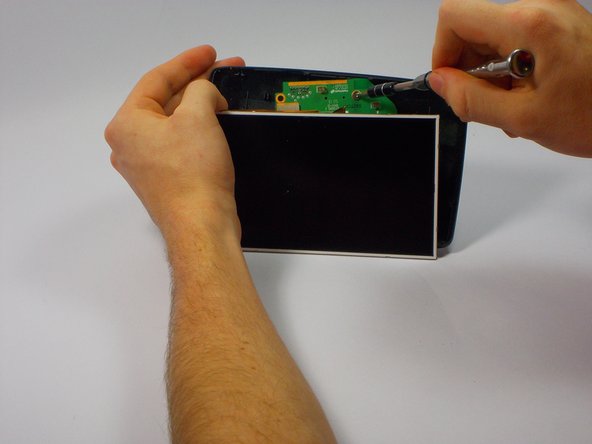
Keep the TOMTOM oriented so the curve is on the bottom. Locate the four 1mm Philips #J1 head screws attached to the motherboard behind the LCD Screen.
-
Unscrew each of these in a counter clockwise direction.
-
-
Bu adım çevrilmemiş. Çevrilmesine yardım edin
-
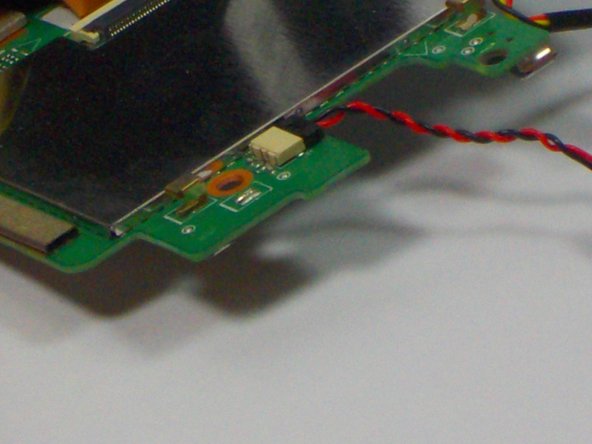
Remove speaker from slot on back panel by prying out of the rubber/plastic case with the plastic opening tool. If this does not work the metal spudger is okay for this step.
-
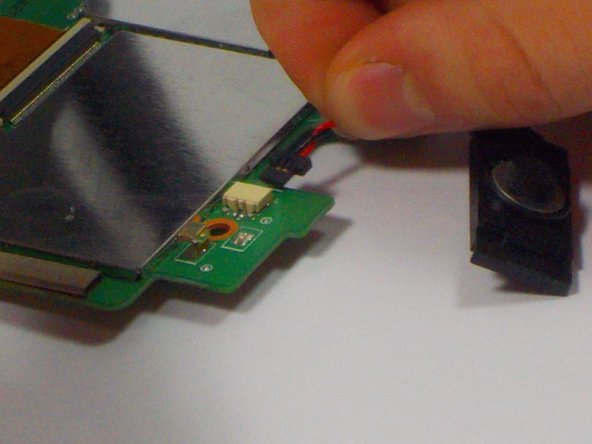
Remove the existing speaker from it's connection to the motherboard by pinching both sides of the connector.
-
Pull back away (in the opposite direction) from the connector.
-


Ekip

UMass Dartmouth, Team 4-4, Catania Fall 2015 UMass Dartmouth, Team 4-4, Catania Fall 2015 üyesi
UMASSD-CATANIA-F15S4G4
4 Üyeler
5 adet Kılavuz yazıldı