Giriş
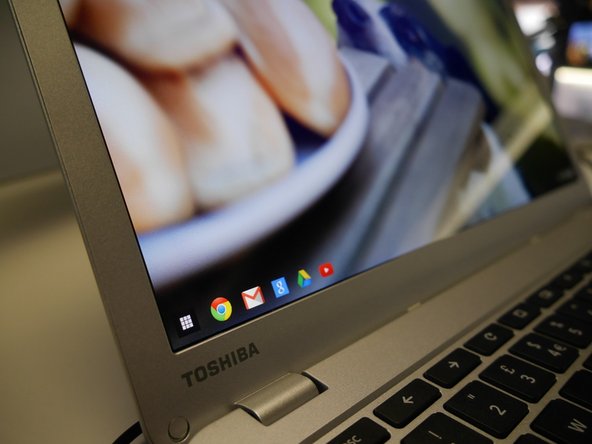
When trying to troubleshoot the monitor, check for the most obvious physical problems. Such as, a crack on the outer case of the monitor, shattered LED screen, or low light emission from the LED.
Neye ihtiyacın var
-
-
If there is a crack on the outer case of the display so that the display is working properly, but there is distractions on the screen from the shattered case. In that case, the outer case can be easily replaced. It is just a matter of pulling the plastic case that’s stuck against the LED screen, and push the new case back in its place.
-
-
-
-
Once you are done with unscrewing, snap off the screen bezel. To do that, you need to reach your fingernails of both hands on the inside of the screen bezel in the left or right side of the screen, and gently lift up and out.
This assumes the reader has fingernails! You should be using the appropriate pry tool for this step.
-
-
-
Once you take out the screen bezel, four screws mount the LED screen. Unscrew them, tilt the screen forward, and lay it on the keyboard exposing the backside of the screen.
Feels like there should be a "before" picture of the screws that need to be removed here.
Also, my Toshiba Chromebook 2 (CB35 - B3340) had no screws. Just adhesive in the four corners of the LED. Rest of the repair works.
-
-
-
Once you do that, you will see the screen has only one connector. Use the hobby knife to lift up the adhesive tape (Be careful not to cut it) Pull the adhesive tape back, and grab the back of the connector with both your fingers, and gently pull the connector back out. Now the screen is loose.
-
To reassemble your device, follow these instructions in reverse order.
To reassemble your device, follow these instructions in reverse order.
İptal et: Bu kılavuzu tamamlamadım.
17 farklı kişi bu kılavuzu tamamladı.
3 Yorum
I completed this step by step and even though I knew it was to no avail. Upon my completion, it booted right up! Thank You Ifixit!!!!
Thank you so much for the great description. I thought my Chromebook was dead in the water but the troubleshooting guide and instructions for the lcd screen was just what I needed. Even before I could get the bezel off completely the screen came alive. From now on I will call my CB “Lazarus” since it has “risen” from the dead.
&&^& you so much it,s so bad


