Ana içeriğe geç
Onarım Topluluğuna Katılın - Hesap Oluşturun

Toshiba Encore Mini Front-Facing Camera Replacement

Neye ihtiyacın var

  1. Toshiba Encore Mini Front-Facing Camera Replacement, Battery: adım 1, 2 resimden 1. Toshiba Encore Mini Front-Facing Camera Replacement, Battery: adım 1, 2 resimden 2.
    • To replace the battery, the rear cover must first be removed.

    • Using the flat end of the spudger, gently pry open the back case from the rest of the device.

    • It may be easier to start along one of the long edges and carefully work your way toward the corner, then along the short edge.

    FixBot'a Sor
  2. Toshiba Encore Mini Front-Facing Camera Replacement: adım 2, 1 resimden 1.
    • Remove the rear cover and set it aside.

    FixBot'a Sor
  3. Toshiba Encore Mini Front-Facing Camera Replacement: adım 3, 1 resimden 1.
    • Carefully remove the electrical tape that holds the battery in place.

    FixBot'a Sor
  4. Toshiba Encore Mini Front-Facing Camera Replacement: adım 4, 2 resimden 1. Toshiba Encore Mini Front-Facing Camera Replacement: adım 4, 2 resimden 2.
    Bu adımda kullanılan alet:
    Tweezers
    $4.99
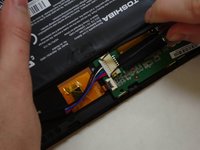
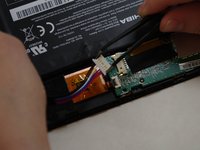
    • Using needle-nose tweezers, gently push the large white wire connector (connected to the black, red and blue wires) out of its housing.

    FixBot'a Sor
  5. Toshiba Encore Mini Front-Facing Camera Replacement: adım 5, 1 resimden 1.
    • Gently lift the battery out of the device.

    • Be careful not to pull on the connecting wires.

    FixBot'a Sor
  6. Toshiba Encore Mini Front-Facing Camera Replacement, Front-Facing Camera: adım 6, 3 resimden 1. Toshiba Encore Mini Front-Facing Camera Replacement, Front-Facing Camera: adım 6, 3 resimden 2. Toshiba Encore Mini Front-Facing Camera Replacement, Front-Facing Camera: adım 6, 3 resimden 3.
    Bu adımda kullanılan alet:
    Tweezers
    $4.99
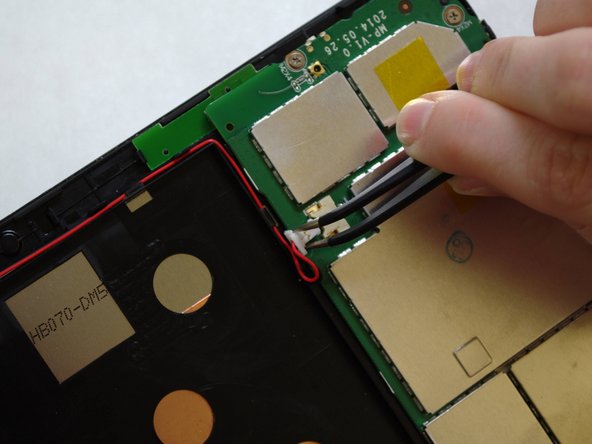
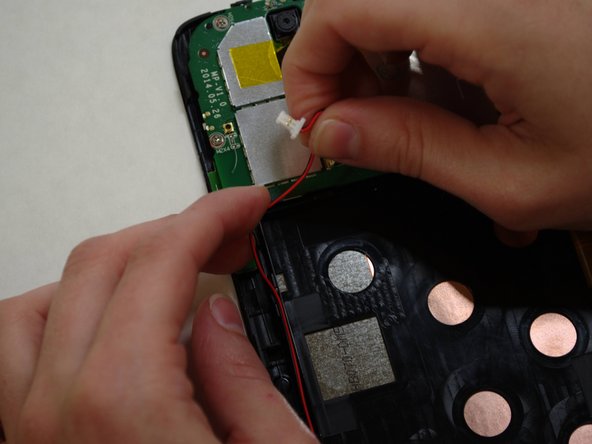
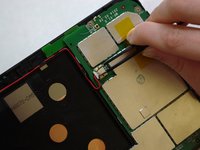
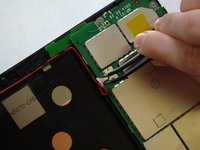
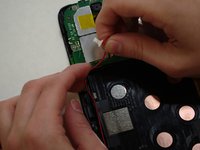
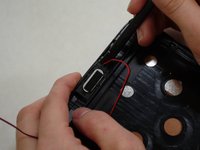
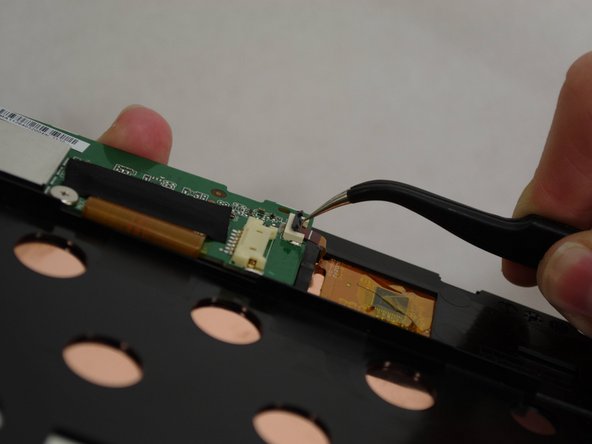
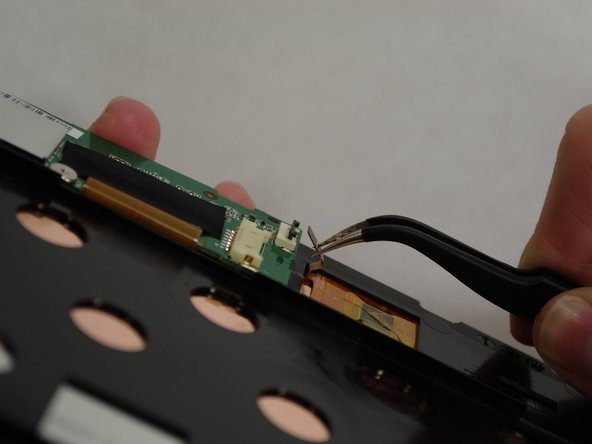
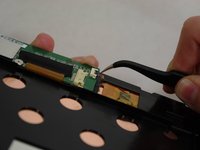
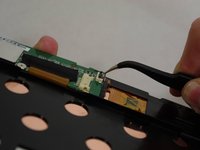
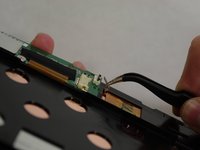
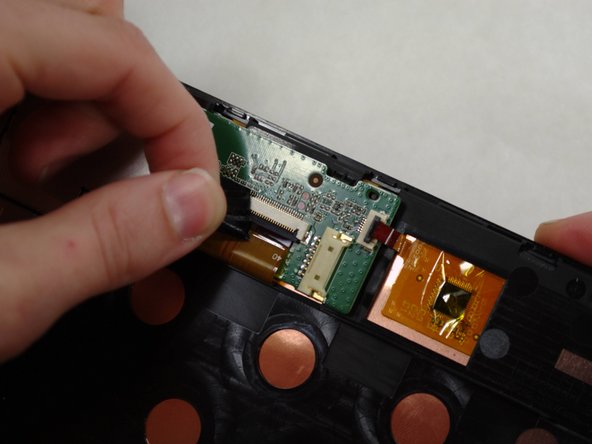
    • The audio module must be removed to replace the front-facing camera.

    • Using needle-nose tweezers, carefully push the small white wire connector (red/black wires) out of its housing.

    • Gently remove red/black wire strands from the clips holding them to the back of the screen.

    FixBot'a Sor
  7. Toshiba Encore Mini Front-Facing Camera Replacement: adım 7, 2 resimden 1. Toshiba Encore Mini Front-Facing Camera Replacement: adım 7, 2 resimden 2.
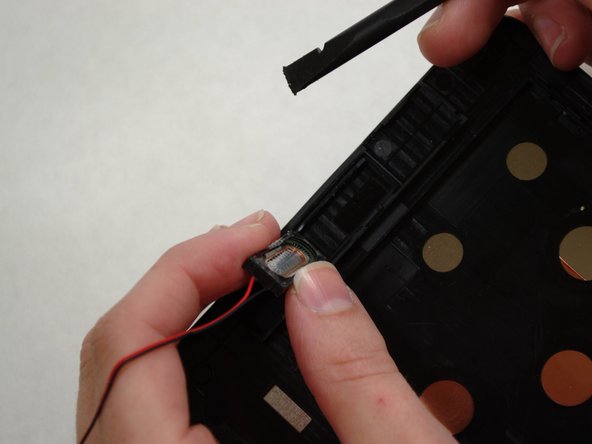
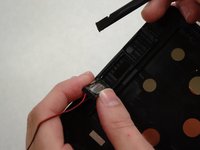
    • Gently pry audio module from the back of the screen using tweezers and spudger. Be careful not to pull on the wires.

    • Adhesive on the bottom of the speaker module may make it difficult to remove.

    • Set the audio module and attached wire aside.

    FixBot'a Sor
  8. Toshiba Encore Mini Front-Facing Camera Replacement: adım 8, 3 resimden 1. Toshiba Encore Mini Front-Facing Camera Replacement: adım 8, 3 resimden 2. Toshiba Encore Mini Front-Facing Camera Replacement: adım 8, 3 resimden 3.
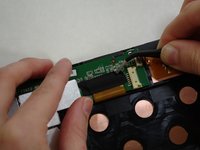
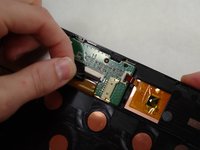
    • Using needle-nose tweezers, carefully flip up the dark gray cover on the right of the device holding the small orange ribbon in place. (It is approximately 1/4" wide.)

    • With the tweezers, carefully pull the small ribbon out of its housing. It will stay attached to the device at the other end.

    FixBot'a Sor
  9. Toshiba Encore Mini Front-Facing Camera Replacement: adım 9, 2 resimden 1. Toshiba Encore Mini Front-Facing Camera Replacement: adım 9, 2 resimden 2.
    • A wide orange/gold ribbon connects the screen to the motherboard. (Ribbon is approximately 1" wide.)

    • Carefully pull the black tape off the ribbon housing and set it aside. You will need to replace the tape when reassembling the device.

    FixBot'a Sor
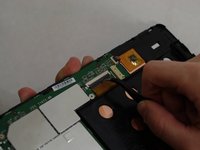
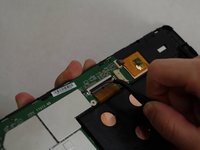
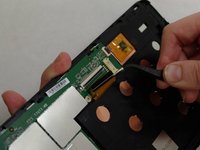
  10. Toshiba Encore Mini Front-Facing Camera Replacement: adım 10, 3 resimden 1. Toshiba Encore Mini Front-Facing Camera Replacement: adım 10, 3 resimden 2. Toshiba Encore Mini Front-Facing Camera Replacement: adım 10, 3 resimden 3.
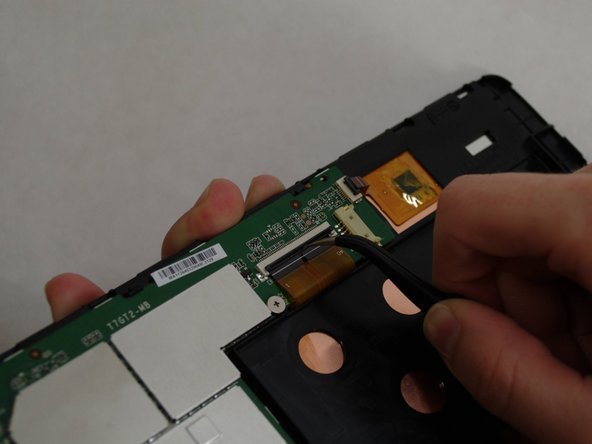
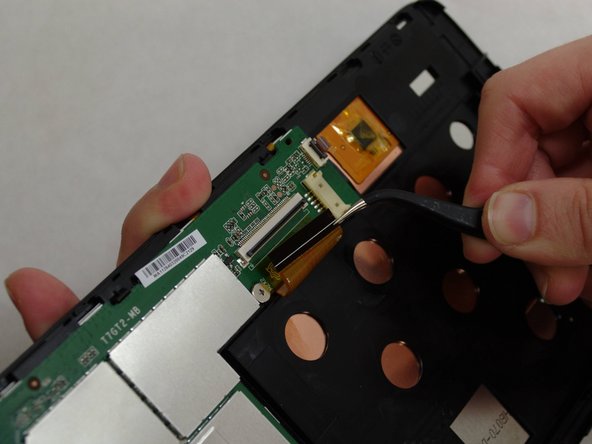
    • Damaging this ribbon will permanently disable your device!

    • Using needle-nose tweezers, carefully flip up the dark gray cover.

    • With the tweezers, carefully pull the wide ribbon from its housing. It will stay attached to the device at the other end.

    FixBot'a Sor
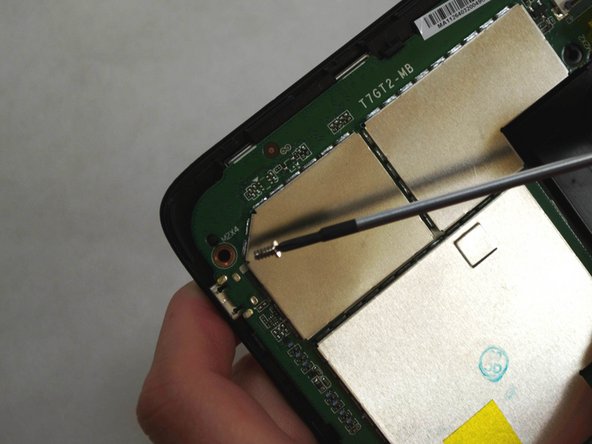
  11. Toshiba Encore Mini Front-Facing Camera Replacement: adım 11, 3 resimden 1. Toshiba Encore Mini Front-Facing Camera Replacement: adım 11, 3 resimden 2. Toshiba Encore Mini Front-Facing Camera Replacement: adım 11, 3 resimden 3.
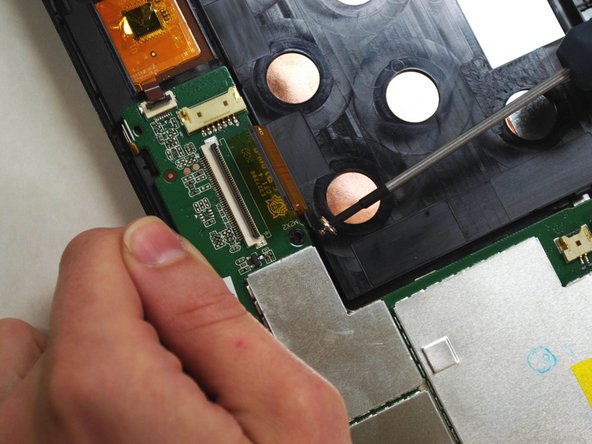
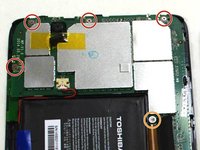
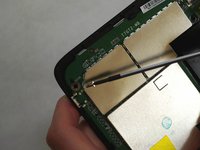
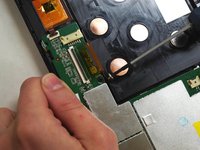
    • Using a Phillips 000 screwdriver, remove the screws holding components together.

    • Remove four 4.2 mm Phillips screws.

    • Remove one 3mm Phillips screw.

    FixBot'a Sor
  12. Toshiba Encore Mini Front-Facing Camera Replacement: adım 12, 2 resimden 1. Toshiba Encore Mini Front-Facing Camera Replacement: adım 12, 2 resimden 2.
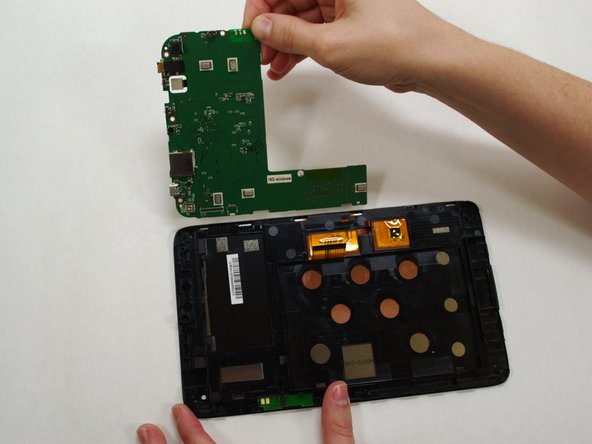
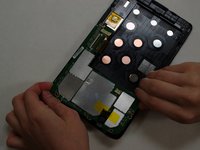
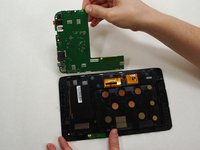
    • Holding the motherboard carefully by the edges, gently lift it up off the screen and carefully set it aside.

    • The motherboard may resist as you try to lift it --this is normal.

    FixBot'a Sor
  13. Toshiba Encore Mini Front-Facing Camera Replacement: adım 13, 2 resimden 1. Toshiba Encore Mini Front-Facing Camera Replacement: adım 13, 2 resimden 2.
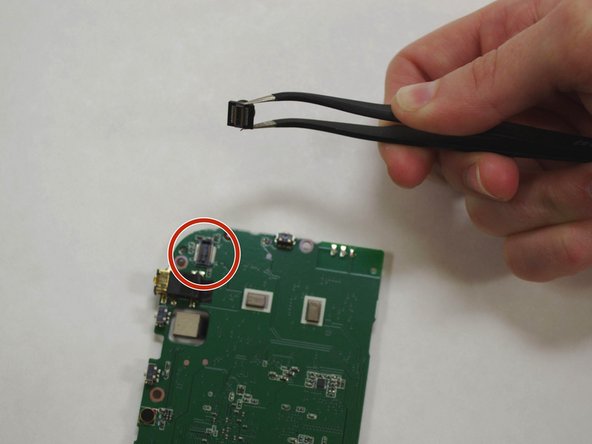
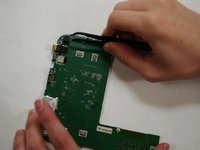
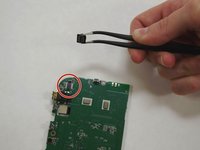
    • The front-facing camera may dislodge freely when removing the motherboard.

    • If camera has not already "popped" off the motherboard, use needle-nose tweezers to gently grasp the camera and remove from motherboard.

    FixBot'a Sor
Sonuç

To reassemble your device, follow these instructions in reverse order.

Shirley Low

Üyelik tarihi: 07/09/15

143 İtibar

1 Kılavuz yazıldı

Ekip

UW Tacoma, Team 1-3, Liner SU 2015 UW Tacoma, Team 1-3, Liner SU 2015 üyesi

UWT-LINER-SU15S1G3

4 Üyeler

6 adet Kılavuz yazıldı

0Kılavuz Yorumları

Yorum Ekle

İstatistikleri Görüntüle:

Son 24 Saat: 1

Son 7 gün: 4

Son 30 gün: 37

Her zaman: 650