Bu sürüm, hatalı düzenlemeler içerebilir. En son doğrulanmış bellek kopyası dönün.
Neye ihtiyacın var
-
Bu adım çevrilmemiş. Çevrilmesine yardım edin
-
Flip the laptop over so the bottom is facing up.
-
Slide each of the three tabs on the bottom half of the assembly into the unlocked position.
-
-
Bu adım çevrilmemiş. Çevrilmesine yardım edin
-
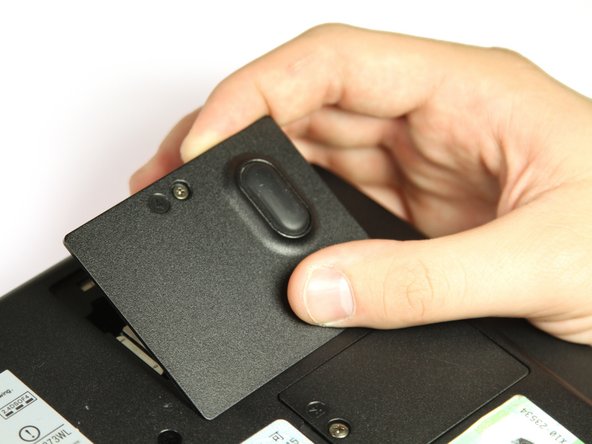
Remove the single 3mm Phillips #00 screw that secures the wireless card cover.
-
-
-
Bu adım çevrilmemiş. Çevrilmesine yardım edin
-
Unplug the white and black wires from the WiFi module.
-
-
Bu adım çevrilmemiş. Çevrilmesine yardım edin
-
Remove the twelve 8mm button head Phillips #00 B8 screws.
-
Remove the two 14 mm button head Phillips #00 B14 screws.
-
Remove the two 10 mm Phillips #00 battery compartment screws.
-
Remove the two 8 mm Phillips #00 screws.
-
-
Bu adım çevrilmemiş. Çevrilmesine yardım edin
-
Remove the seven 4mm flat Phillips #00 screws.
-
Remove the seven 20mm button head Phillips #00 screws.
-
-
Bu adım çevrilmemiş. Çevrilmesine yardım edin
-
Use the plastic opening tool to pry the two halves apart.
-
-
Bu adım çevrilmemiş. Çevrilmesine yardım edin
-
Slide the optical drive out of the laptop through the opening on the left side of the bottom assembly.
-


Bir Yorum
Or, simply remove the screw (the center one in this photo) from the bottom case that holds the bracket in and pull the drive out.