Giriş
Hard disks may crash after long periods of use. In the event your hard drive crashes, or you simply desire to upgrade to a solid state drive. Replacing the hard drive is moderately easy and requires a few simple steps.
Neye ihtiyacın var
-
-
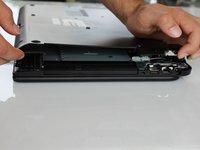
Turn the laptop upside down so the battery faces upwards.
-
Use a Phillips #1 screwdriver to remove the two, 7 mm screws that secure the battery.
-
-
-
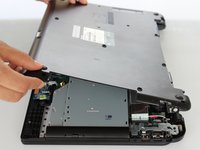
Use the screwdriver to remove the thirteen, 7 mm Phillips#1 screws from the bottom of the chassis.
-
-
-
-
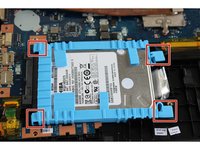
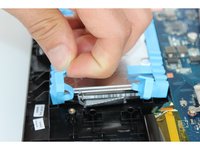
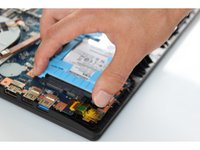
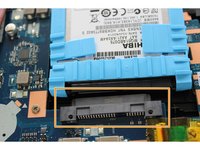
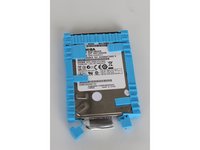
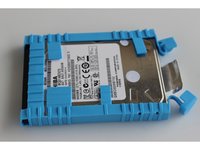
Once the device is open from the bottom, look for the bright blue plastic frame which encases the hard drive
-


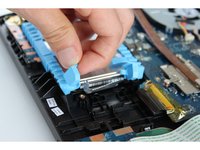


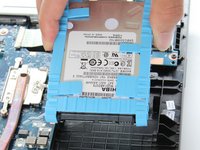
To reassemble your device, follow these instructions in reverse order.
To reassemble your device, follow these instructions in reverse order.
İptal et: Bu kılavuzu tamamlamadım.
7 farklı kişi bu kılavuzu tamamladı.
Ekip

CSU Fullerton, Team 2-5, Bruce Fall 2015 CSU Fullerton, Team 2-5, Bruce Fall 2015 üyesi
CSUF-BRUCE-F15S2G5
4 Üyeler
18 adet Kılavuz yazıldı
2 Yorum
Thanks.. Really helped out..