Giriş
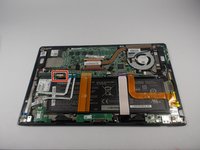
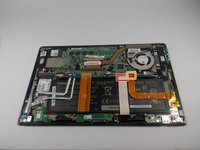
Before you attempt to follow this guide make sure you have all the required tolls needed for the removal of the fan. This may be challenging to be complete. Make sure you follow each step as it is listed.
Neye ihtiyacın var
-
-
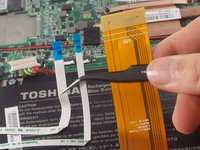
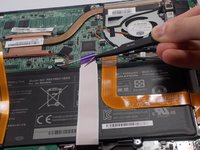
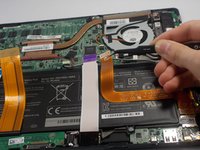
Bu adımda kullanılan alet:Tweezers$4.99
-
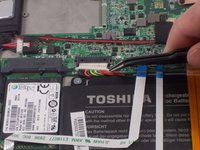
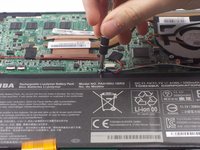
Remove the power connector from the fan using a pair of tweezers.
-


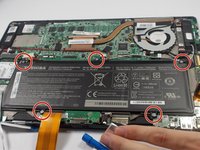


To reassemble your device, follow these instructions in reverse order.
To reassemble your device, follow these instructions in reverse order.
İptal et: Bu kılavuzu tamamlamadım.
Bir başkası bu kılavuzu tamamladı.
Ekip

UMass Dartmouth, Team 4-3, Catania Spring 2016 UMass Dartmouth, Team 4-3, Catania Spring 2016 üyesi
UMASSD-CATANIA-S16S4G3
3 Üyeler
10 adet Kılavuz yazıldı