Giriş
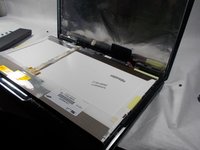
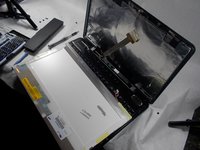
This guide should be used if you're experiencing issues with your screen,
Common problems are that the screen is not displaying anything, or the display itself having issues such as flickering.
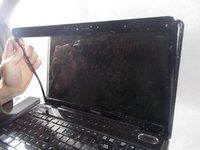
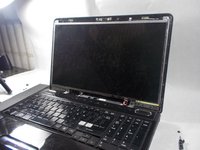
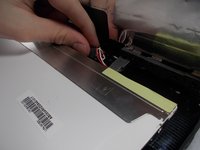
This process requires removal of the front casing, as well as some work with wires, and removal of a few screws.
Neye ihtiyacın var
-
-
Flip the computer over so that the bottom is facing up.
-
Slide right switch above the battery so that it is in the rightwards position.
-
-
-
Open to a front facing position.
-
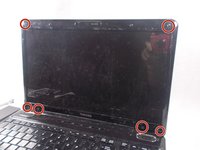
Remove screw coverings from casing.
-
Remove the M2 5x6 mm screws that under the screw covers that you removed using a Phillips #0 screwdriver.
-
-


To reassemble your device, follow these instructions in reverse order.
To reassemble your device, follow these instructions in reverse order.
İptal et: Bu kılavuzu tamamlamadım.
Bir başkası bu kılavuzu tamamladı.
Ekip

UMass Dartmouth, Team S4-G2, Covino Spring 2018 UMass Dartmouth, Team S4-G2, Covino Spring 2018 üyesi
UMASSD-COVINO-S18S4G2
2 Üyeler
7 adet Kılavuz yazıldı