Ana içeriğe geç
Onarım Topluluğuna Katılın - Hesap Oluşturun

Trio Stealth G2 Hype Screen Replacement

Neye ihtiyacın var

  1. Trio Stealth G2 Hype Screen Replacement, Back Panel: adım 1, 2 resimden 1. Trio Stealth G2 Hype Screen Replacement, Back Panel: adım 1, 2 resimden 2.
    • Remove the two 1.2 mm Phillips #0 screws found at the side by the power button.

    FixBot'a Sor

    Yorum Ekle

  2. Trio Stealth G2 Hype Screen Replacement: adım 2, 1 resimden 1.
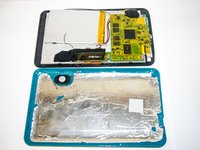
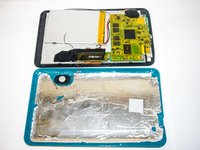
    • Using the plastic opening tool, insert it between the back panel and screen starting on the corner to the right of the power button side and begin separating the back cover.

    • Be cautious when opening the back cover as it is connected through fragile wires to the speaker.

    FixBot'a Sor

    Yorum Ekle

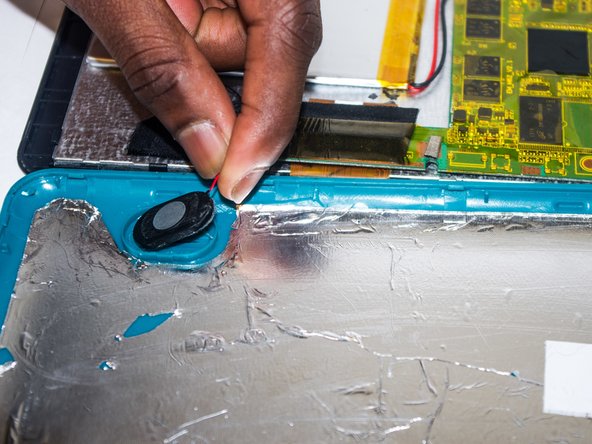
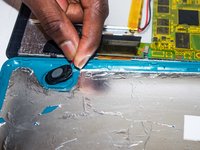
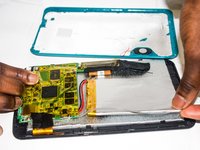
  3. Trio Stealth G2 Hype Screen Replacement: adım 3, 3 resimden 1. Trio Stealth G2 Hype Screen Replacement: adım 3, 3 resimden 2. Trio Stealth G2 Hype Screen Replacement: adım 3, 3 resimden 3.
    • Remove the speakers by using your hand to entirely disconnect the back cover.

    FixBot'a Sor

    Yorum Ekle

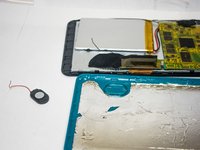
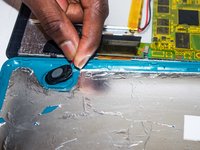
  4. Trio Stealth G2 Hype Screen Replacement, Speakers: adım 4, 2 resimden 1. Trio Stealth G2 Hype Screen Replacement, Speakers: adım 4, 2 resimden 2.
    • Carefully peel the tape holding down the wires connected to the speaker.

    FixBot'a Sor

    Yorum Ekle

  5. Trio Stealth G2 Hype Screen Replacement: adım 5, 1 resimden 1.
    • In order to replace the speakers after they are removed, you must solder the wires back onto the motherboard.

    • The red wire must be soldered onto the "+" terminal while the black wire must be terminal must be soldered onto the "-" terminal.

    • Pull the speaker and wires from the motherboard.

    FixBot'a Sor

    Yorum Ekle

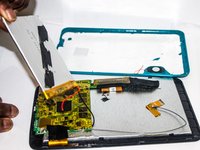
  6. Trio Stealth G2 Hype Screen Replacement, Battery: adım 6, 2 resimden 1. Trio Stealth G2 Hype Screen Replacement, Battery: adım 6, 2 resimden 2.
    • While holding the mother board down, slowly remove the battery from tape on the back of the screen.

    • Make sure to keep all wires attached for now.

    FixBot'a Sor

    Yorum Ekle

  7. Trio Stealth G2 Hype Screen Replacement: adım 7, 1 resimden 1.
    • In order to replace the battery once the wires are removed, you will need to solder the wires of the new battery onto the motherboard.

    • The red wire must be soldered to the "+" terminal while the black is soldered to the "-" terminal.

    • Pull the wires off the motherboard.

    FixBot'a Sor

    Yorum Ekle

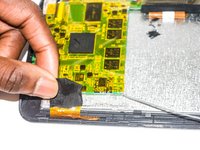
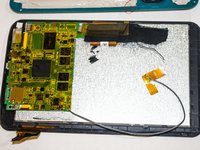
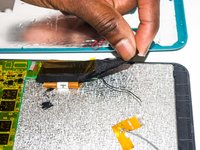
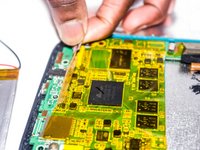
  8. Trio Stealth G2 Hype Screen Replacement, Motherboard: adım 8, 3 resimden 1. Trio Stealth G2 Hype Screen Replacement, Motherboard: adım 8, 3 resimden 2. Trio Stealth G2 Hype Screen Replacement, Motherboard: adım 8, 3 resimden 3.
    • Peel the black tape located on the left side of the motherboard.

    • Peel the orange tape holding down the wire coming from the bottom left side of the motherboard.

    FixBot'a Sor

    Yorum Ekle

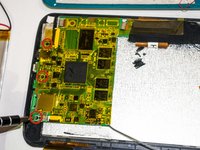
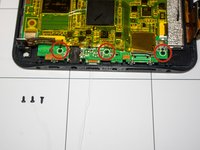
  9. Trio Stealth G2 Hype Screen Replacement: adım 9, 3 resimden 1. Trio Stealth G2 Hype Screen Replacement: adım 9, 3 resimden 2. Trio Stealth G2 Hype Screen Replacement: adım 9, 3 resimden 3.
    • The screws to remove the motherboard are located on the top hand side towards the charging port.

    • To reveal the screws, peel of the thin yellow film that covers the whole motherboard just until the screws are accessible.

    • Remove the three 1.2mm Phillips #1 screws using the screwdriver in your 26 Bit Driver Kit.

    FixBot'a Sor

    Yorum Ekle

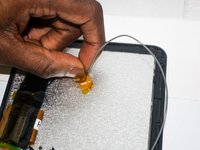
  10. Trio Stealth G2 Hype Screen Replacement: adım 10, 2 resimden 1. Trio Stealth G2 Hype Screen Replacement: adım 10, 2 resimden 2.
    • Remove the orange tape holding the wires to the back of the screen.

    • Simply lift the motherboard of the back of the screen.

    FixBot'a Sor

    Yorum Ekle

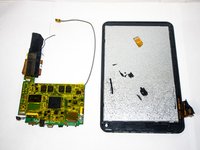
  11. Trio Stealth G2 Hype Screen Replacement, Screen/Digitizer: adım 11, 2 resimden 1. Trio Stealth G2 Hype Screen Replacement, Screen/Digitizer: adım 11, 2 resimden 2.
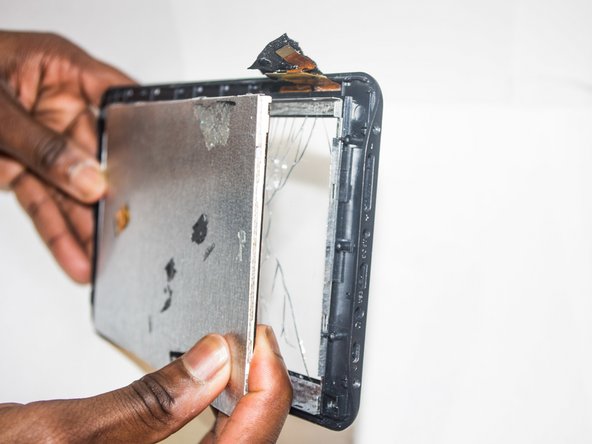
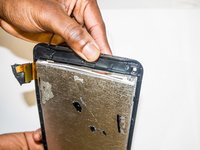
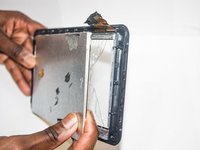
    • To separate the screen from its casing, hold the device at its corners and gently pull them apart.

    • Carefully but firmly pull the screen out of the casing.

    FixBot'a Sor

    Yorum Ekle

  12. Trio Stealth G2 Hype Screen Replacement, Digitizer: adım 12, 1 resimden 1.
    • After pulling out the screen, what you have left is the digitizer, which is what allows the tablet to recognize your touch.

    FixBot'a Sor

    Yorum Ekle

Sonuç

To reassemble your device, follow these instructions in reverse order.

İptal et: Bu kılavuzu tamamlamadım.

2 farklı kişi bu kılavuzu tamamladı.

Antoninus Lamptey

Üyelik tarihi: 01/21/15

292 İtibar

2 adet Kılavuz yazıldı

1Rehber Yorum

My screen is broken how do I get new one

Jordan 22 - Yanıt Paylaş

Yorum Ekle

İstatistikleri Görüntüle:

Son 24 Saat: 0

Son 7 gün: 7

Son 30 gün: 26

Her zaman: 2,846