Giriş
The buttons on the device can become stuck after wear and tear, and may no longer function as they should. sometimes the buttons may not need to be replaced, as a good cleaning can remove dirt that may be causing stickiness.
Neye ihtiyacın var
-
-
Using a plastic opening tool, gently pry off the circular plating over the camera lens.
-
-
Bu adımda kullanılan alet:Magnetic Project Mat$19.95
-
Use a #0 screwdriver to remove the two 2.5mm Phillips head screws located on the second layer of plating.
-
Remove the second layer of plating previously held down by the screws by gripping it with your fingers and pulling upward.
-
-
-
-
Pry off the transparent plating and paper design using a plastic opening tool.
-
-
-
Unscrew the (4) 2.5mm Phillips head screws from the third layer of plating using a #0 screwdriver.
-
-
-
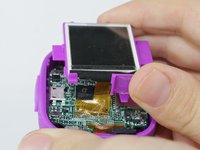
Turn the camera around and gently remove the plating that surrounds the LCD screen by grasping it with your fingers and pulling away from the device.
-
-
-
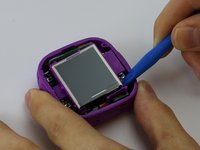
Use the plastic opening tool to lift the LCD screen, including the purple casing and set it aside, revealing the motherboard and connector ribbon.
-
-
-
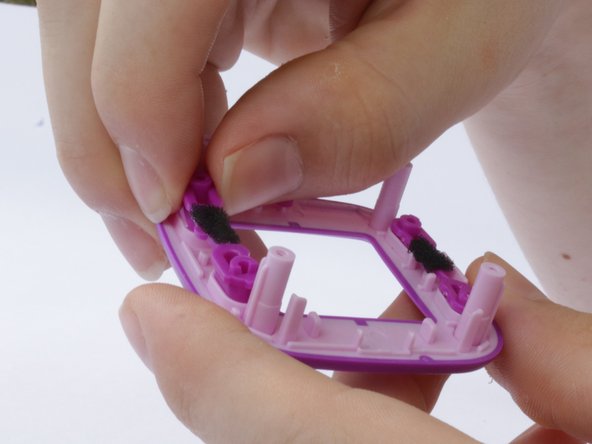
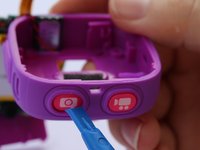
Push out the buttons that you wish to take out, and replace them with the new buttons.
-


To reassemble your device, follow these instructions in reverse order.
İptal et: Bu kılavuzu tamamlamadım.
3 farklı kişi bu kılavuzu tamamladı.
Ekip

USF Tampa, Team 3-5, Sullivan Spring 2016 USF Tampa, Team 3-5, Sullivan Spring 2016 üyesi
USFT-SULLIVAN-S16S3G5
3 Üyeler
6 adet Kılavuz yazıldı