Ana içeriğe geç

VTech Safe and Sound DM111-2 Button Replacement

Neye ihtiyacın var

  1. VTech Safe and Sound DM111-2 Button Replacement, Battery: adım 1, 1 resimden 1.
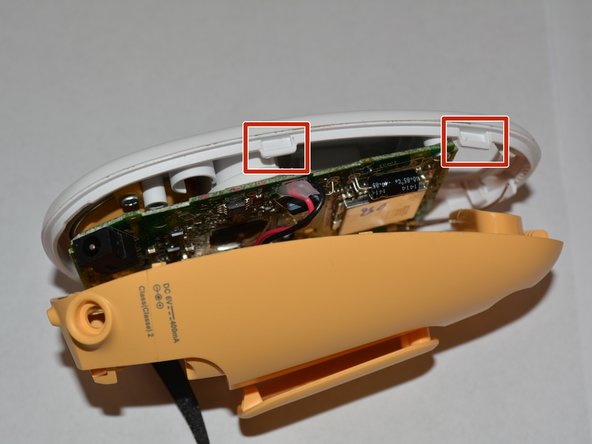
    • Expose the battery compartment by removing the lower back cover of the device.

    • Do this by holding the back side of the device upside down in your hands and applying pressure to the indented portion with both thumbs.

  2. VTech Safe and Sound DM111-2 Button Replacement: adım 2, 1 resimden 1.
    • Once the batteries are exposed, use your index finger to push the battery against the spring and pull up to dislodge the battery.

    • Make sure to check for battery acid or other corrosive substances before touching the battery. If needed, use latex gloves to avoid skin irritation from battery acid.

  3. VTech Safe and Sound DM111-2 Button Replacement, Button: adım 3, 1 resimden 1.
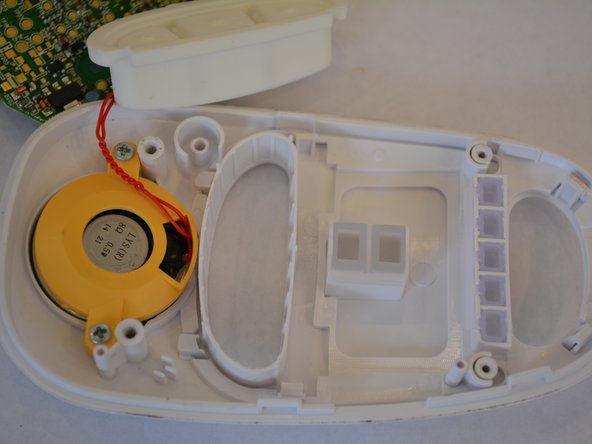
    • Remove the two 11.2 mm Philips #00 screws located on either side of the battery slots.

  4. VTech Safe and Sound DM111-2 Button Replacement: adım 4, 2 resimden 1. VTech Safe and Sound DM111-2 Button Replacement: adım 4, 2 resimden 2.
    • The white front covering of the device is held to the yellow back covering by four clips.

    • When separating the front and back cover, be careful not to separate the red and black wires which connect the batteries to the motherboard.

    • Insert the plastic opening tool into the seam between the front and back coverings to create a gap. The tools edge should point toward the front covering. Start from the bottom of the device and slide the tool around the seam until all clips have been separated from the tabs.

  5. VTech Safe and Sound DM111-2 Button Replacement: adım 5, 2 resimden 1. VTech Safe and Sound DM111-2 Button Replacement: adım 5, 2 resimden 2.
    • When separating the motherboard from the front cover, be careful not to disconnect the two red wires which connect the speaker to the motherboard.

    • Remove the two 6.8 mm Philips #00 screws located on the top left and right corners of the motherboard.

    • Gently lift the motherboard away from the speaker case.

    • Remove old buttons and place new buttons into the button slot.

    • If button issues continue after button replacement, refer to the motherboard replacement guide.

Sonuç

To reassemble your device, follow these instructions in reverse order.

Melany Colon

Üyelik tarihi: 08/31/15

243 İtibar

2 adet Kılavuz yazıldı

Ekip

USF Tampa, Team 6-3, Remmell Fall 2015 USF Tampa, Team 6-3, Remmell Fall 2015 üyesi

USFT-REMMELL-F15S6G3

4 Üyeler

7 adet Kılavuz yazıldı

0 Yorum

Yorum Ekle

İstatistikleri Görüntüle:

Son 24 Saat: 0

Son 7 gün: 0

Son 30 gün: 5

Her zaman: 199