Giriş
This guide will teach you how to remove the back and replace the battery on the Verizon Ellipsis 7 tablet. A prying tool is required to remove the back plate of the phone, and the process is not very hazardous. This could be useful to replace a faulty battery or if you have multiple batteries to keep your device running on the go.
Neye ihtiyacın var
-
-
-
Power down device by holding down the power button until the screen goes black.
-
Remove the SIM card from the device to prevent damage.
-
To remove the SIM card, open the SIM card cover on the side of the device.
-
Push SIM card in and then pull out after hearing a click.
 FixBot'a Sor
-
-
-
-
Take off the back panel.
-
Pry open the back cover carefully with a plastic opening tool.
-
Use the opening tool to disconnect the cover completely. Do not attempt to pull the back cover off with your hands.
-
-
Bu adımda kullanılan alet:Tweezers$4.99
-
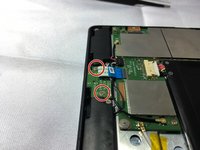
Remove the charging (micro-USB) port by unscrewing the indicated screws using the Phillips #00 screwdriver.
-
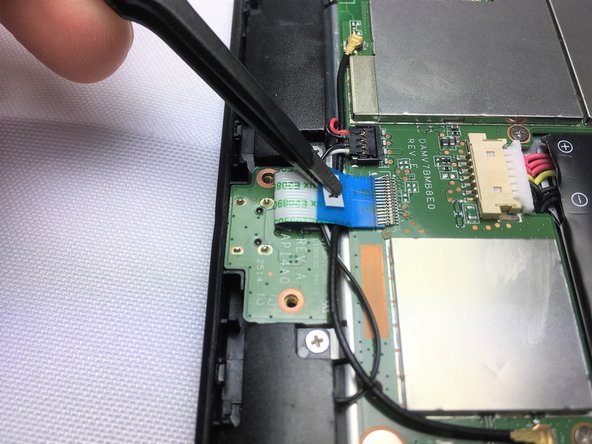
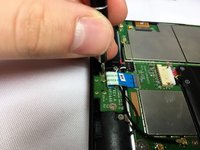
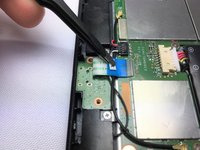
Disconnect the ribbon cable connecting the charging port board to the motherboard using tweezers.
-
Use the tweezers to grab the sides of black, plastic connector. Do not grab from the wires or try to wedge it out from the bottom.
-
-




To reassemble your device, follow these instructions in reverse order.
İptal et: Bu kılavuzu tamamlamadım.
11 farklı kişi bu kılavuzu tamamladı.

Ekip

Cal Poly, Team 13-5, Banghart Winter 2017 Cal Poly, Team 13-5, Banghart Winter 2017 üyesi
CPSU-BANGHART-W17S13G5
4 Üyeler
12 adet Kılavuz yazıldı
8Kılavuz Yorumları
so much for the charging port. You didn’t mention the battery. ?
Well….ok…..but were we here for removing the charging port? Ha ha….I think not. So how about we lift out the battery and unplug it instead. Takes a bit of effort , it seems. That sucker is stuck down pretty good with some really good double sided tape. Lift carefully. I pried it up with the same plastic case tool I used to remove the back cover. The same tool also helped me remove the battery plug.
Look at the stats..
Why suddenly are so many units failing at or about the same time? I'm not a conspirist but,
Don't you think it's a strange coincidence?
