Bu kılavuzda güncel değişiklikler var. En son onaylanmamış sürüme geçin.
Giriş
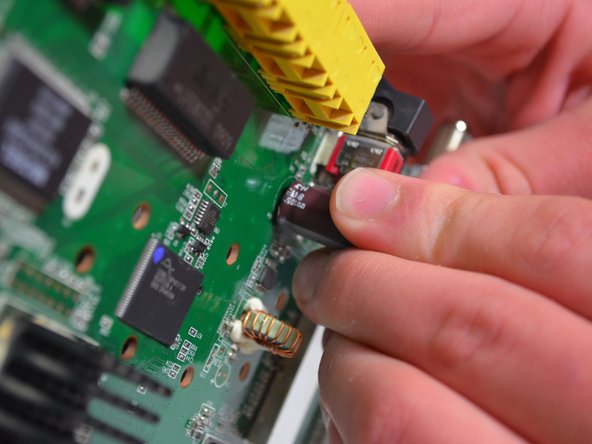
The capacitor is located on the circuit board. You will need to solder in order to replace the capacitor. For help with soldering techniques, click here.
Neye ihtiyacın var
-
-
-
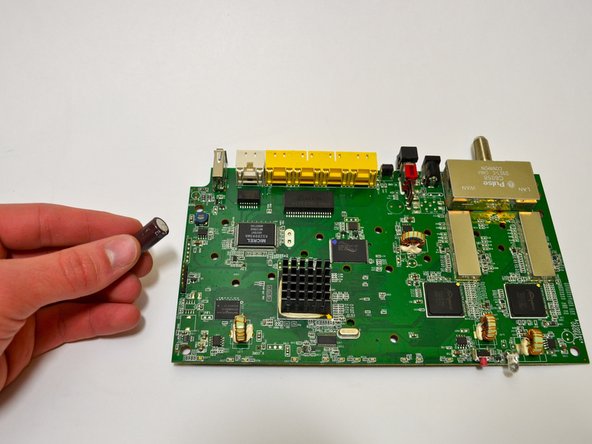
Insert the new capacitor through the circuit board so that the prongs are exposed on the flip side.
-
Heat the prongs up with the soldering iron and touch a soldering wire to the hot prongs to attach the capacitor to the board.
-


To reassemble your device, follow Steps 1-7 in reverse order.
To reassemble your device, follow Steps 1-7 in reverse order.
Ekip

University of Kentucky Louisville, Team 1-3, Mathis Fall 2014 University of Kentucky Louisville, Team 1-3, Mathis Fall 2014 üyesi
LOUISVILLE-MATHIS-F14S1G3
3 Üyeler
8 adet Kılavuz yazıldı