Ana içeriğe geç

Vtech Emil the Panda

Neye ihtiyacın var

  1. Vtech Emil the Panda, Vtech Emil the Panda: adım 1, 3 resimden 1. Vtech Emil the Panda, Vtech Emil the Panda: adım 1, 3 resimden 2. Vtech Emil the Panda, Vtech Emil the Panda: adım 1, 3 resimden 3.
    • First you must detach thes round yellow plugs which cover the screws.

    • There are 6 short screws around the "display"

    • ...and two longer screws under that "display"

  2. Vtech Emil the Panda: adım 2, 1 resimden 1.
    • Here a view of these screws

  3. Vtech Emil the Panda: adım 3, 3 resimden 1. Vtech Emil the Panda: adım 3, 3 resimden 2. Vtech Emil the Panda: adım 3, 3 resimden 3.
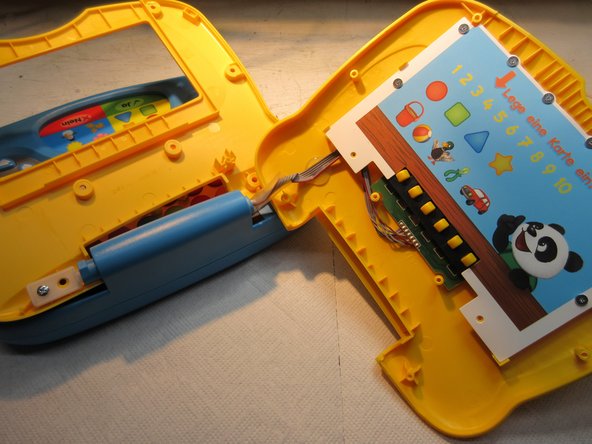
    • Now just pull it to open.

    • Down there is a spring and a plastic part, look at the pictures

  4. Vtech Emil the Panda: adım 4, 3 resimden 1. Vtech Emil the Panda: adım 4, 3 resimden 2. Vtech Emil the Panda: adım 4, 3 resimden 3.
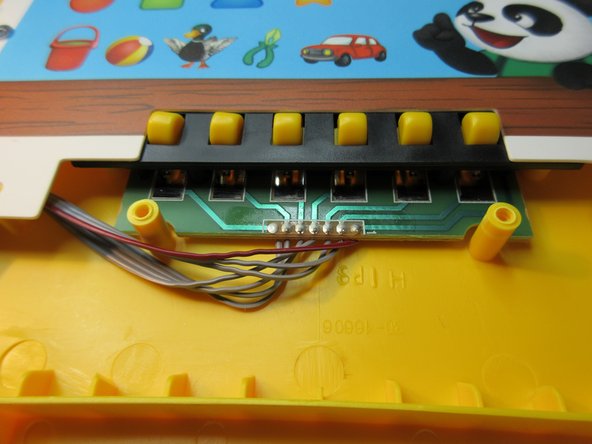
    • There you have these contact springs.

  5. Vtech Emil the Panda: adım 5, 2 resimden 1. Vtech Emil the Panda: adım 5, 2 resimden 2.
    • The springs are deoxidized with a electronics-cleaner-spray.

    • After reassembling, Emil nnow knows every card and can talk and sing.

    • Done. :)

Sonuç

To reassemble your device, follow these instructions in reverse order.

Bir başkası bu kılavuzu tamamladı.

Schwarzstein

Üyelik tarihi: 07/15/13

2.813 İtibar

13 adet Kılavuz yazıldı

0 Yorum

Yorum Ekle

İstatistikleri Görüntüle:

Son 24 Saat: 0

Son 7 gün: 7

Son 30 gün: 26

Her zaman: 703