Ana içeriğe geç

Bu sürüm, hatalı düzenlemeler içerebilir. En son doğrulanmış bellek kopyası dönün.

Neye ihtiyacın var

  1. Bu adım çevrilmemiş. Çevrilmesine yardım edin

    : adım 1, 3 resimden 1. : adım 1, 3 resimden 2. : adım 1, 3 resimden 3.
    • Remove any hazardous pieces from previous cover.

    • Be sure to remove the two flathead screws to remove any debris, rather than trying to pull off the sharp pieces.

  2. Bu adım çevrilmemiş. Çevrilmesine yardım edin

    : adım 2, 3 resimden 1. : adım 2, 3 resimden 2. : adım 2, 3 resimden 3.
    • Insert any cable or cables that may be hanging out inside of the wall hole.

    • Making a loop in the cable might be helpful to push it inside the wall.

  3. Bu adım çevrilmemiş. Çevrilmesine yardım edin

    : adım 3, 1 resimden 1.
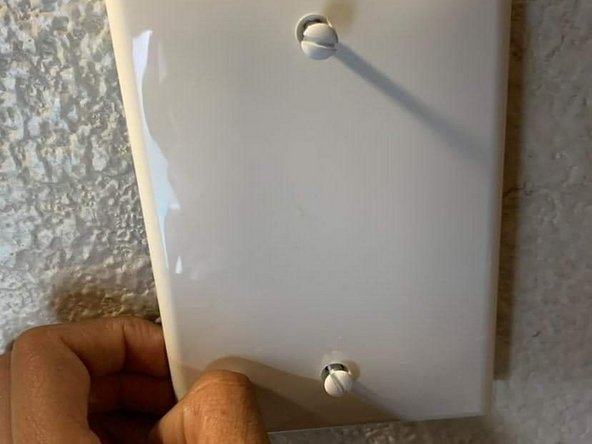
    • Insert two screws into the holes of the new wall cover.

  4. Bu adım çevrilmemiş. Çevrilmesine yardım edin

    : adım 4, 3 resimden 1. : adım 4, 3 resimden 2. : adım 4, 3 resimden 3.
    • Line up the screws in the plate with the screw holes in the wall.

    • Tighten the screws slightly with your hands to ensure that both screws have found the proper holes.

    • Once the screws have been tightened enough to stay in the holes, they should hold the outlet cover in place.

  5. Bu adım çevrilmemiş. Çevrilmesine yardım edin

    : adım 5, 3 resimden 1. : adım 5, 3 resimden 2. : adım 5, 3 resimden 3.
    • Tighten the two screws with a flathead screwdriver.

  6. Bu adım çevrilmemiş. Çevrilmesine yardım edin

    : adım 6, 3 resimden 1. : adım 6, 3 resimden 2. : adım 6, 3 resimden 3.
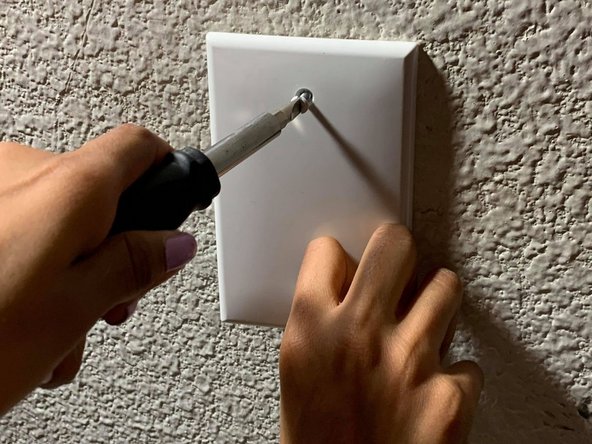
    • Double check that the wall cover plate does not have a gap, and it is completely attached to the wall.

    • If any gap is detected, push the plate to the wall and continue to tighten the screws until the gap completely closes.

Bitiş Çizgisi

Leydi Navarrete

Üyelik tarihi: 04/12/21

133 İtibar

1 Kılavuz yazıldı

Ekip

0 Yorum

Yorum Ekle

İstatistikleri Görüntüle:

Son 24 Saat: 2

Son 7 gün: 16

Son 30 gün: 37

Her zaman: 1,048