Ana içeriğe geç
Onarım Topluluğuna Katılın - Hesap Oluşturun

Waring Pro SB30 Plastic Sides Replacement

Neye ihtiyacın var

    1. Waring Pro SB30 Plastic Sides Replacement, Back Panel: adım 1, 1 resimden 1.
      • Remove the screws on the back panel with the #1 Phillips screwdriver bit.

      • The screws in the rubber legs of the burner do not need to be removed.

      • If the back panel has never been opened before, the screws may be more difficult to unscrew.

      FixBot'a Sor

      Yorum Ekle

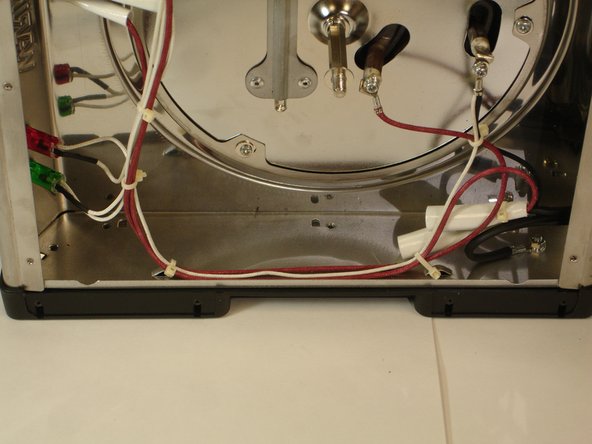
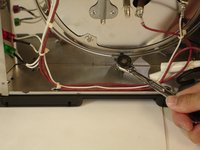
    2. Waring Pro SB30 Plastic Sides Replacement: adım 2, 2 resimden 1. Waring Pro SB30 Plastic Sides Replacement: adım 2, 2 resimden 2.
      • Using a wrench, remove the bolt from the center of the back panel.

      FixBot'a Sor

      Yorum Ekle

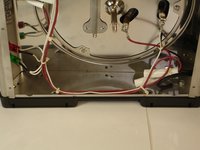
    3. Waring Pro SB30 Plastic Sides Replacement: adım 3, 1 resimden 1.
      • The back panel can now be easily lifted off.

      FixBot'a Sor

      Yorum Ekle

    1. Waring Pro SB30 Plastic Sides Replacement, Plastic Sides: adım 4, 2 resimden 1. Waring Pro SB30 Plastic Sides Replacement, Plastic Sides: adım 4, 2 resimden 2.
      • Using a #1 Phillips screwdriver bit or a ratchet wrench with a Phillips screwdriver bit to remove screws located on the interior frame.

      • The interior edges of the metal frame are sharp and can cause minor cuts.

      FixBot'a Sor

      Yorum Ekle

    2. Waring Pro SB30 Plastic Sides Replacement: adım 5, 1 resimden 1.
      • Plastic sides should be easily removed after all screws are taken out.

      FixBot'a Sor

      Yorum Ekle

Sonuç

To reassemble your device, follow these instructions in reverse order.

İptal et: Bu kılavuzu tamamlamadım.

Sun Fai Lau

Üyelik tarihi: 09/22/14

588 İtibar

5 adet Kılavuz yazıldı

Ekip

USF Tampa, Team 10-7, Brown Fall 2014 USF Tampa, Team 10-7, Brown Fall 2014 üyesi

USFT-BROWN-F14S10G7

3 Üyeler

10 adet Kılavuz yazıldı

0Kılavuz Yorumları

Yorum Ekle

İstatistikleri Görüntüle:

Son 24 Saat: 6

Son 7 gün: 8

Son 30 gün: 25

Her zaman: 489