Ana içeriğe geç
Onarım Topluluğuna Katılın - Hesap Oluşturun

Welch Allyn Connex Vital Signs Monitor 6000 Stand Replacement

Görüntüleme: 1,6 B

İstatistikleri görüntüle:

Son 24 Saat:
3
Son 7 Gün:
17
Son 30 Gün:
94
Her zaman:
1.560
Yorumlar: 2

1 comment on steps, 1 guide comment.

Go to guide comments
Tamamlandı: 0

Hiç kimse bu kılavuzu "tamamlandı" olarak işaretlemedi. İlk mi olacaksın?

Sık Kullanılanlar: 2

2 kişi bu kılavuzu favorilerine ekledi (ve abone oldu). Sıradaki sen olacak mısın?

Gerekli Süre: Tahmin yok
Zorluk: Kolay
Welch Allyn Connex Vital Signs Monitor 6000 Stand Replacement

Use this guide to remove the Connex Vital Signs Monitor from the Welch Allen office cart stand.

PLEASE NOTE: This repair guide was developed by the iFixit team based on Welch Allyn's own service manual. Neither iFixit nor this repair guide is endorsed by or affiliated with Welch Allyn.

Neye ihtiyacın var

Aletler

    1. Welch Allyn Connex Vital Signs Monitor 6000 Stand Replacement, Stand: adım 1, 2 resimden 1. Welch Allyn Connex Vital Signs Monitor 6000 Stand Replacement, Stand: adım 1, 2 resimden 2.
      • Unplug the AC power connection cable.

      FixBot'a Sor
      Yorum Ekle

    2. Welch Allyn Connex Vital Signs Monitor 6000 Stand Replacement: adım 2, 3 resimden 1. Welch Allyn Connex Vital Signs Monitor 6000 Stand Replacement: adım 2, 3 resimden 2. Welch Allyn Connex Vital Signs Monitor 6000 Stand Replacement: adım 2, 3 resimden 3.
      • Place your thumb and forefinger on the blood pressure (NIBP) hose connector. Squeeze the side tabs until the connector releases.

      • Always grasp the hose by the connector. Do not pull on the hose itself.

      • Pull the connector away from the connector port.

      FixBot'a Sor

      Yorum Ekle

    3. Welch Allyn Connex Vital Signs Monitor 6000 Stand Replacement: adım 3, 3 resimden 1. Welch Allyn Connex Vital Signs Monitor 6000 Stand Replacement: adım 3, 3 resimden 2. Welch Allyn Connex Vital Signs Monitor 6000 Stand Replacement: adım 3, 3 resimden 3.
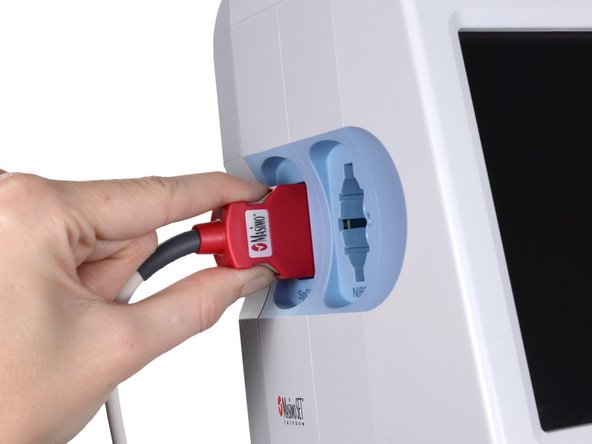
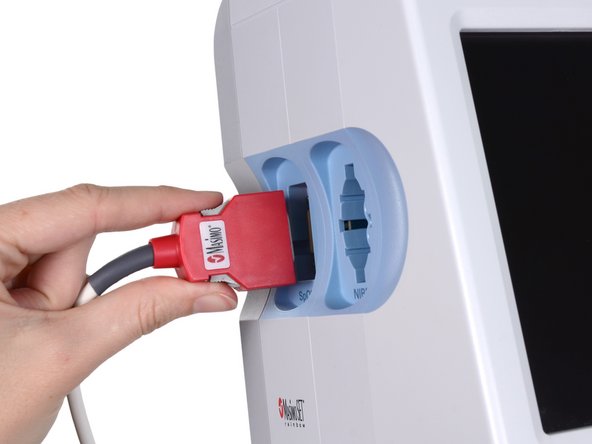
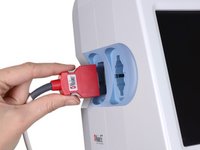
      • Place your thumb and forefinger on the Pulse oximetry (SpO2 or combined SpO2/SpHb) cable connector. Squeeze the side tabs until the connector releases.

      • Always grasp the cable by the connector. Do not pull on the cable itself.

      • Pull the connector away from the connector port.

      FixBot'a Sor
      Yorum Ekle

    4. Welch Allyn Connex Vital Signs Monitor 6000 Stand Replacement: adım 4, 2 resimden 1. Welch Allyn Connex Vital Signs Monitor 6000 Stand Replacement: adım 4, 2 resimden 2.
      • Grasp the temperature probe and pull it up to remove it from the monitor.

      FixBot'a Sor

      Yorum Ekle

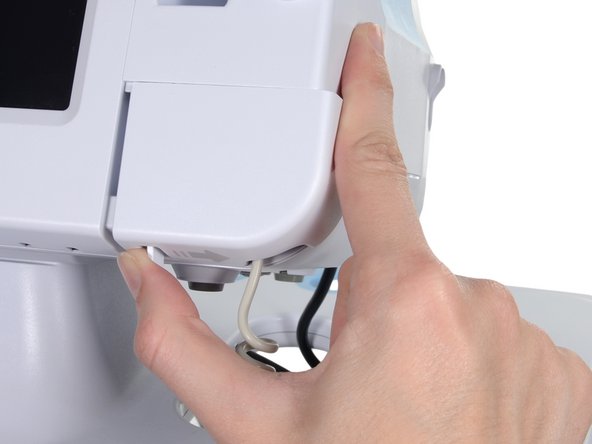
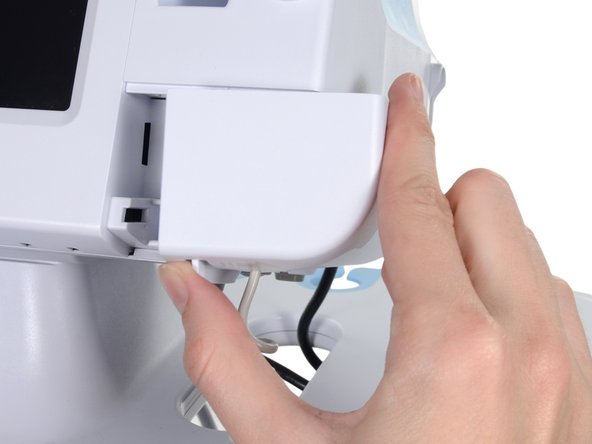
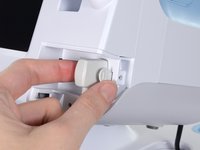
    5. Welch Allyn Connex Vital Signs Monitor 6000 Stand Replacement: adım 5, 3 resimden 1. Welch Allyn Connex Vital Signs Monitor 6000 Stand Replacement: adım 5, 3 resimden 2. Welch Allyn Connex Vital Signs Monitor 6000 Stand Replacement: adım 5, 3 resimden 3.
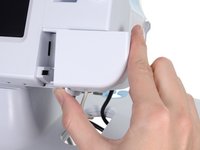
      • Remove the cover of the temperature module by pressing the tab and sliding the cover to the right.

      FixBot'a Sor
      Yorum Ekle

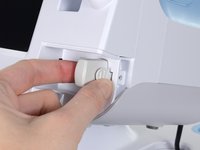
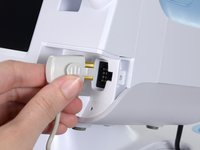
    6. Welch Allyn Connex Vital Signs Monitor 6000 Stand Replacement: adım 6, 3 resimden 1. Welch Allyn Connex Vital Signs Monitor 6000 Stand Replacement: adım 6, 3 resimden 2. Welch Allyn Connex Vital Signs Monitor 6000 Stand Replacement: adım 6, 3 resimden 3.
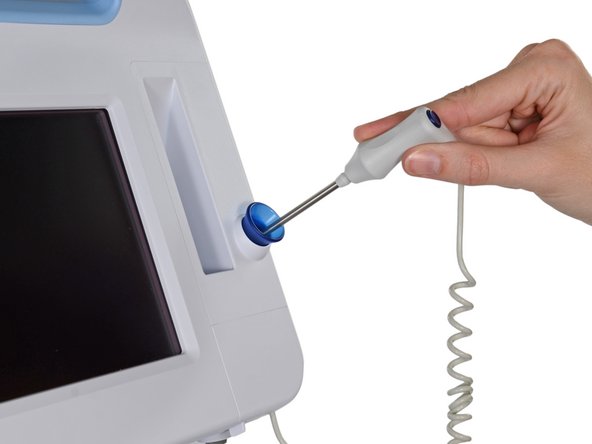
      • Depress the spring tab on the temperature probe cable connector and withdraw it from the probe port.

      FixBot'a Sor
      Yorum Ekle

    7. Welch Allyn Connex Vital Signs Monitor 6000 Stand Replacement: adım 7, 1 resimden 1.
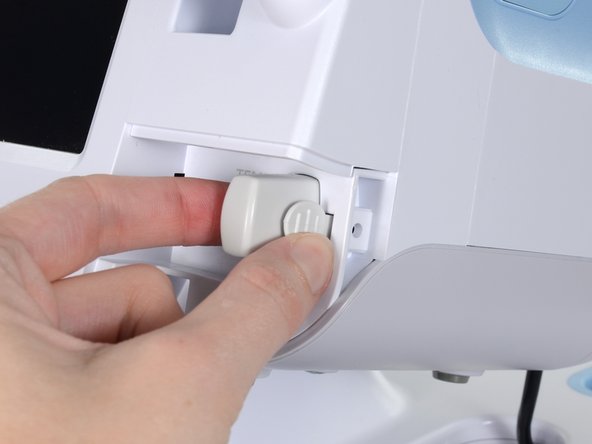
      • Remove the flathead screw on the USB networking door.

      • Loosen the captive Phillips #2 screw securing the monitor to the stand.

      FixBot'a Sor
      Yorum Ekle

    8. Welch Allyn Connex Vital Signs Monitor 6000 Stand Replacement: adım 8, 1 resimden 1.
      • Holding the monitor securely, open the USB networking door.

      • You may have to lift the monitor slightly to allow the door to swing out from the stand mount.

      FixBot'a Sor

      Yorum Ekle

    9. Welch Allyn Connex Vital Signs Monitor 6000 Stand Replacement: adım 9, 2 resimden 1. Welch Allyn Connex Vital Signs Monitor 6000 Stand Replacement: adım 9, 2 resimden 2.
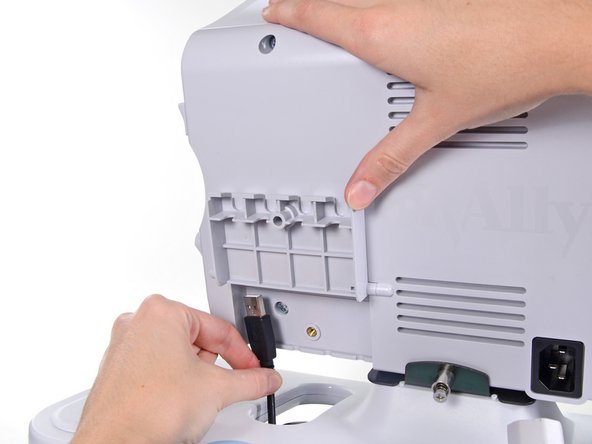
      • Detach any accessory USB cables from USB ports on the monitor.

      FixBot'a Sor

      Yorum Ekle

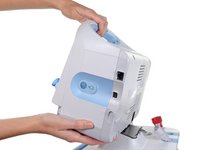
    10. Welch Allyn Connex Vital Signs Monitor 6000 Stand Replacement: adım 10, 3 resimden 1. Welch Allyn Connex Vital Signs Monitor 6000 Stand Replacement: adım 10, 3 resimden 2. Welch Allyn Connex Vital Signs Monitor 6000 Stand Replacement: adım 10, 3 resimden 3.
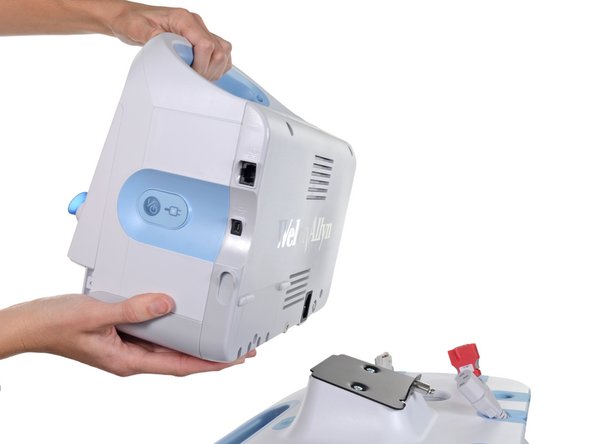
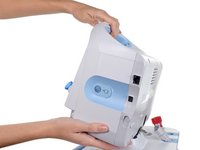
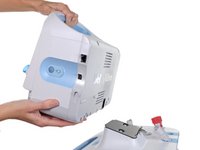
      • Slide the monitor off of the stand tray.

      FixBot'a Sor

      Yorum Ekle

Sonuç

To reassemble your device, follow these instructions in reverse order.
İptal et: Bu kılavuzu tamamlamadım.

Sam Goldheart

Üyelik tarihi: 10/18/12

478.594 İtibar

538 adet Kılavuz yazıldı

Ekip

iFixit iFixit üyesi

Staff

121 Üyeler

72.907 adet Kılavuz yazıldı

1Rehber Yorum

Can the stand itself be disassembled?

olajide bello - Yanıt Paylaş

Yorum Ekle

İstatistikleri Görüntüle:

Son 24 Saat: 3

Son 7 gün: 17

Son 30 gün: 94

Her zaman: 1,560