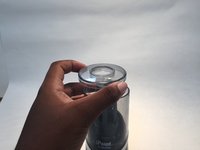
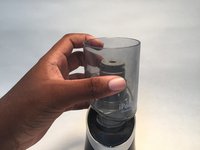
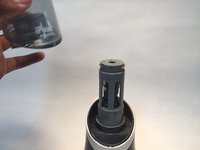
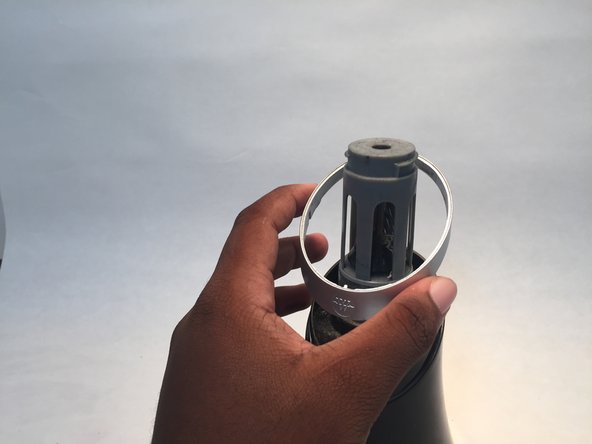
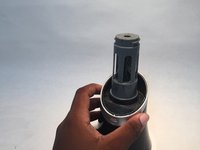
Ana içeriğe geç

Westcott iPoint Evolution Outer Casing Replacement

Neye ihtiyacın var

  1. Westcott iPoint Evolution Outer Casing Replacement, Outer Casing: adım 1, 1 resimden 1.
    • Step 1: Start with the back of the pencil sharpener facing you.

    • This allows you to locate the power source.

  2. Westcott iPoint Evolution Outer Casing Replacement: adım 2, 1 resimden 1.
    • Step 2: Grab the end of the plug located at the bottom of the sharpener and pull it out gently.

  3. Westcott iPoint Evolution Outer Casing Replacement: adım 3, 2 resimden 1. Westcott iPoint Evolution Outer Casing Replacement: adım 3, 2 resimden 2.
    • There are three parts of the sharpener.

    • Step 3: Grab the very top of the sharpener, twist it to the right and lift it up to remove it.

  4. Westcott iPoint Evolution Outer Casing Replacement: adım 4, 3 resimden 1. Westcott iPoint Evolution Outer Casing Replacement: adım 4, 3 resimden 2. Westcott iPoint Evolution Outer Casing Replacement: adım 4, 3 resimden 3.
    • Step 4: Grab the center of the sharpener and lift it up to remove the piece.

  5. Westcott iPoint Evolution Outer Casing Replacement: adım 5, 3 resimden 1. Westcott iPoint Evolution Outer Casing Replacement: adım 5, 3 resimden 2. Westcott iPoint Evolution Outer Casing Replacement: adım 5, 3 resimden 3.
    • Step 5: Remove the small ring that is around the sharpener.

    • This piece is below the center of the sharpener that you just removed.

  6. Westcott iPoint Evolution Outer Casing Replacement: adım 6, 1 resimden 1.
    • Step 6: Flip the pencil sharpener upside down.

    • Locate the four screws on the bottom of the sharpener.

  7. Westcott iPoint Evolution Outer Casing Replacement: adım 7, 1 resimden 1.
    • Step 7: Take a screwdriver and unscrew all of the screws on the bottom.

  8. Westcott iPoint Evolution Outer Casing Replacement: adım 8, 1 resimden 1.
    • Step 8: After all the screws are removed gently take off the bottom of the sharpener.

  9. Westcott iPoint Evolution Outer Casing Replacement: adım 9, 1 resimden 1.
    • Step 9: Carefully lift the lid off of the sharpener.

Sonuç

To reassemble your device, follow these instructions in reverse order.

3 farklı kişi bu kılavuzu tamamladı.

0 Yorum

Yorum Ekle

İstatistikleri Görüntüle:

Son 24 Saat: 2

Son 7 gün: 11

Son 30 gün: 45

Her zaman: 11,711