Giriş
Replace a scratched or worn-out lower case.
Neye ihtiyacın var
-
-
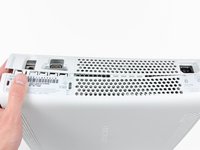
Grasp the hard drive assembly and press the release button while lifting its front edge.
-
Remove the hard drive assembly from the top vent.
-
-
Bu adımda kullanılan alet:Xbox 360 Opening Tool$4.99
-
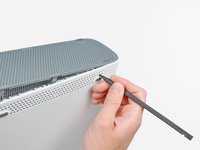
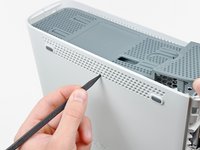
Insert the flat end of a spudger or the edge of an Xbox 360 opening tool into the small gap at the front edge of the bottom vent.
-
Pry the front edge of the bottom vent away from the faceplate.
-
-
-
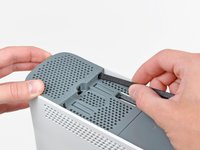
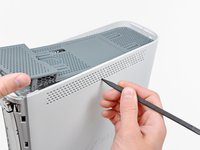
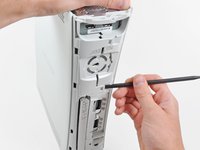
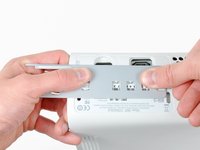
Insert the flat edge of a spudger between the faceplate and the outer casing near the power button.
-
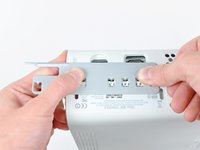
Run your spudger along the edge of the faceplate to release the clips securing it to the front of the console.
-
-
-
-
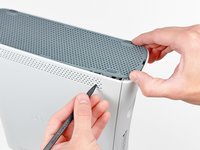
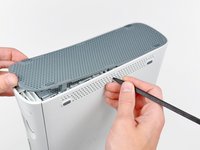
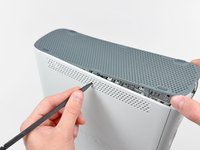
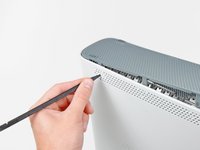
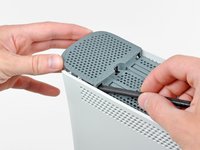
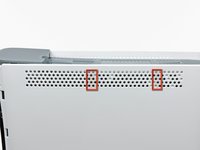
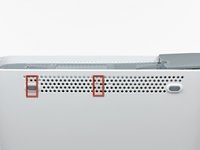
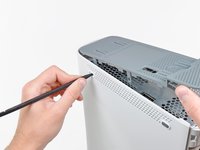
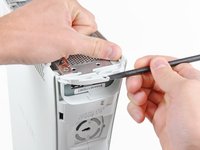
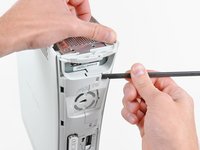
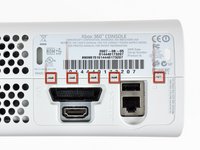
The top vent is secured to the console via clips. The first two clips are located underneath the top vent closest to the faceplate, as shown in the pictures.
-
-
-
Stand the console vertically with the top edge facing down.
-
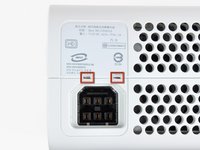
Carefully peel the warranty sticker off the console.
-
-
-
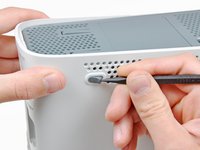
While pushing the upper and lower cases apart, use the tip of a spudger or the finger of an Xbox 360 opening tool to push the long clip highlighted in red toward the center of the 360.
-
The clip should release, leaving the clips near the power connector as the only thing holding the upper and lower cases together.
-


To reassemble your device, follow these instructions in reverse order.
To reassemble your device, follow these instructions in reverse order.
İptal et: Bu kılavuzu tamamlamadım.
40 farklı kişi bu kılavuzu tamamladı.
