Giriş
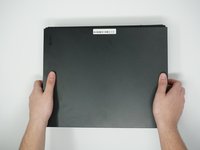
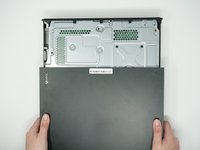
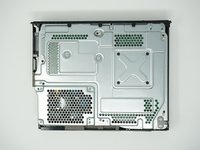
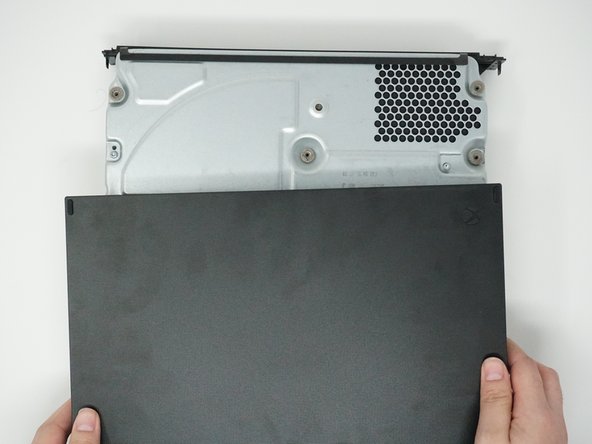
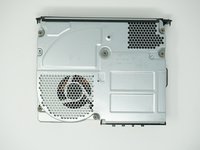
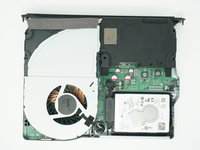
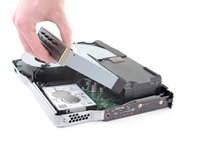
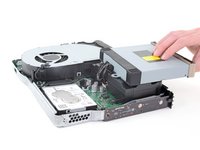
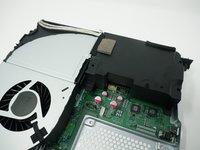
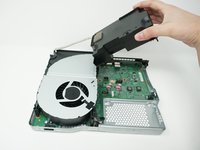
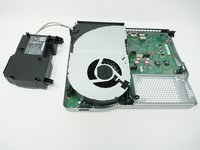
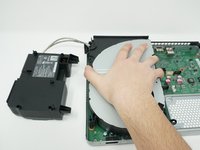
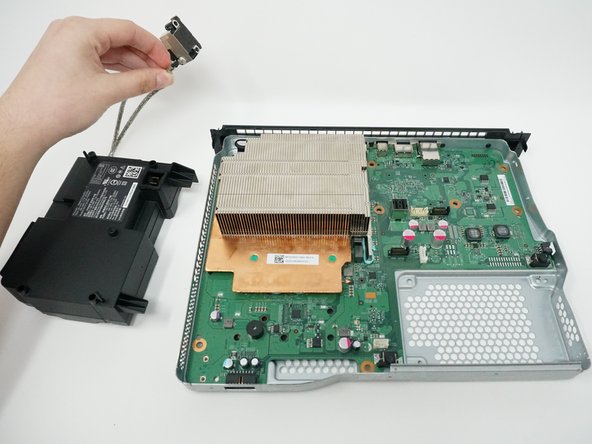
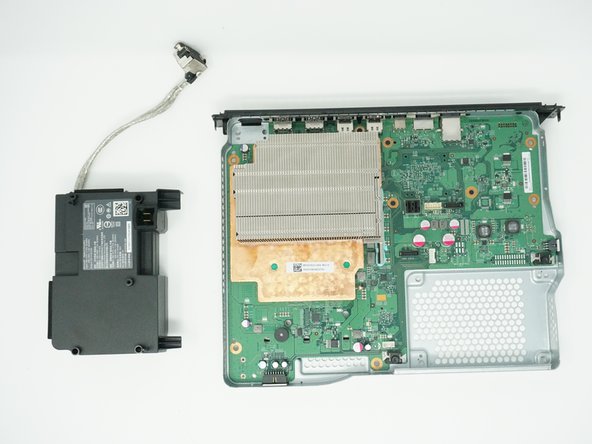
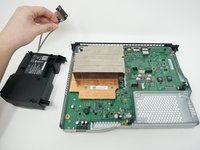
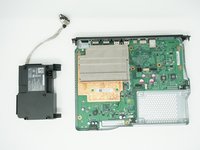
This guide details how to remove the power supply of the Xbox One X.
Neye ihtiyacın var
-
-
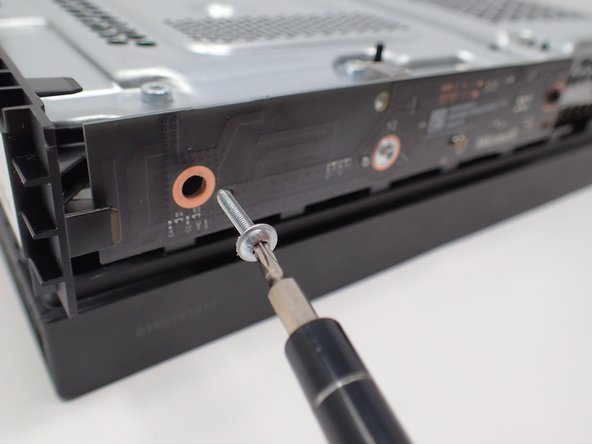
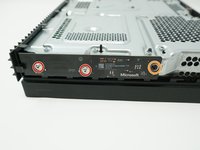
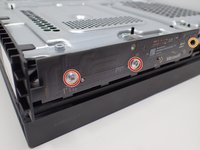
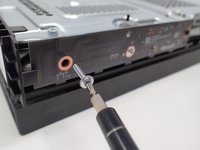
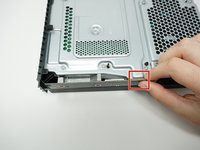
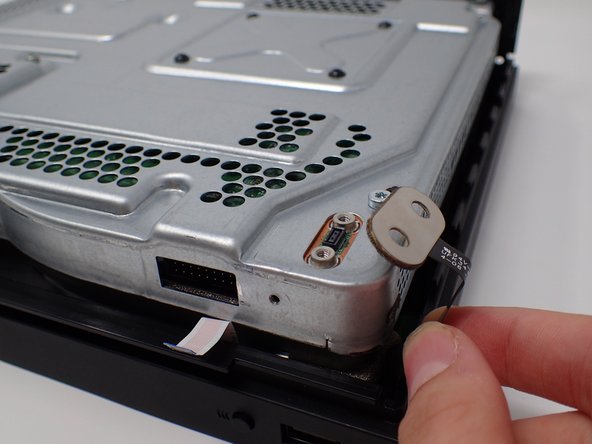
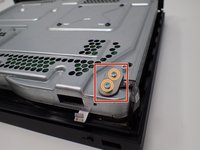
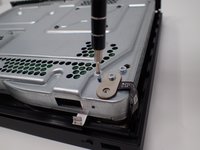
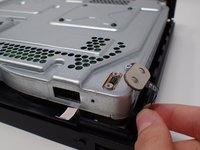
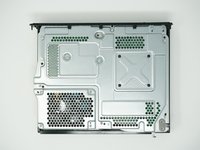
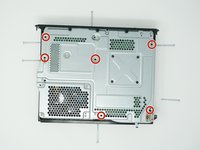
Use a T9 Torx screwdriver to remove the 13mm screw which is under and to the left of the power input.
-
-
-
-
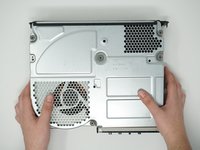
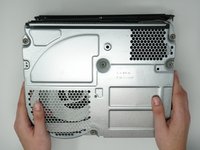
Flip over the device again, so that the top is facing upwards.
-
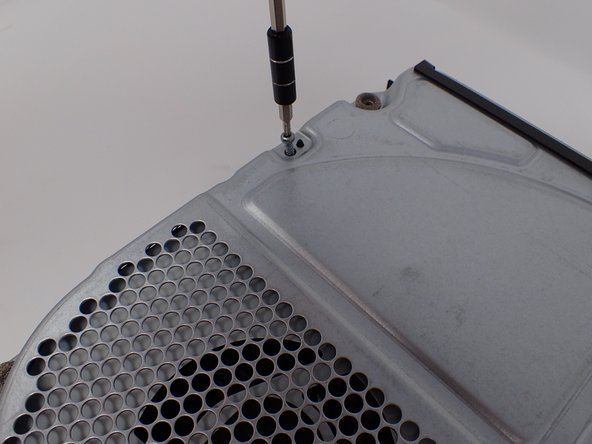
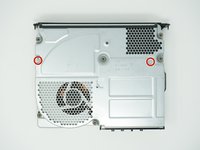
Remove the 4 smaller 11mm screws in the lower left corner on the metal casing using a Torx T9 screwdriver.
-
-
-
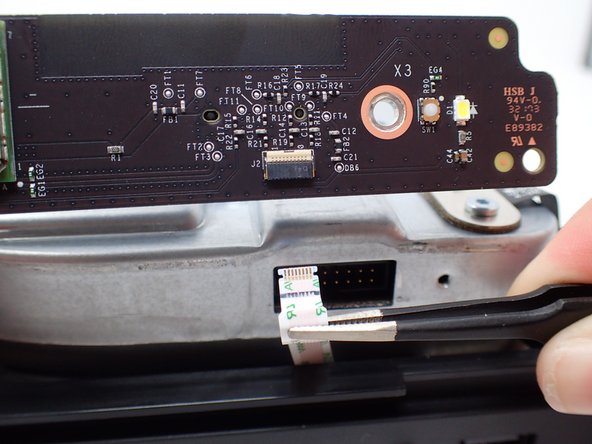
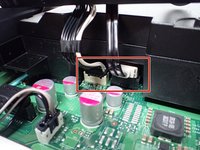
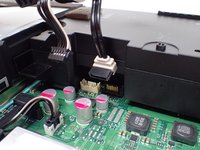
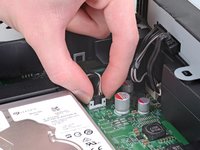
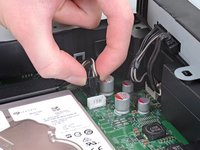
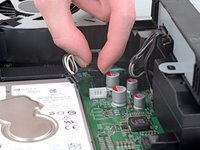
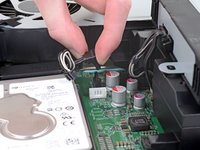
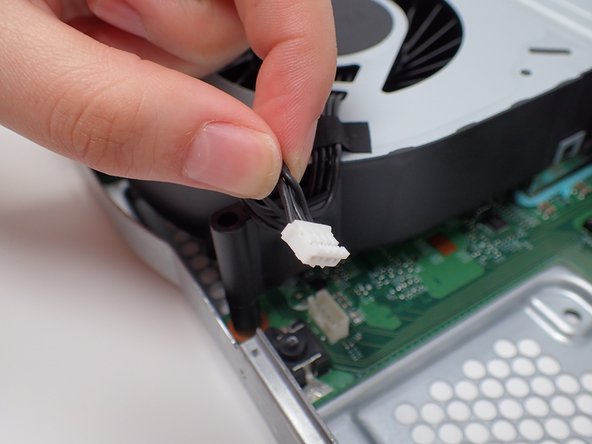
Using your fingers, gently unplug the two sets of wires connecting the drive to the motherboard.
-
Alternatively, you can disconnect the wires from the drive-side sockets. This is much easier if you have not removed the power supply.
-
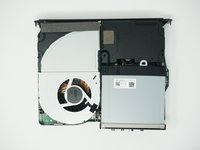
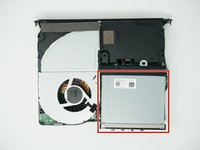
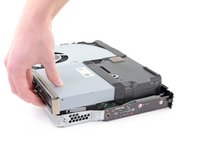
The BD drive should now be completely detached from the rest of the device, and it can be set aside.
-
-
-
Flip the console over.
-
Use a T10 Torx screwdriver to remove the four 11.4 mm screws securing the hard drive to the upper metal case.
-
-
-
Flip the console back over, keeping in mind the disc drive is loose.
-
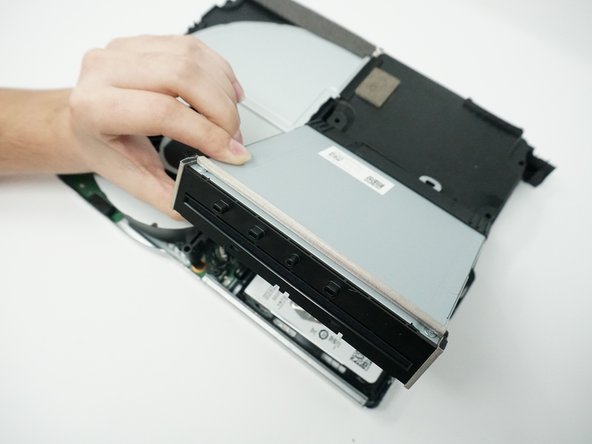
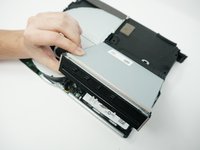
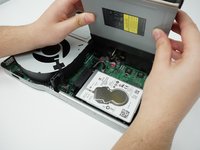
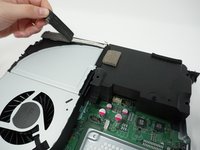
Lift the disc drive up so that its metal tab is unhooked from the power supply.
-
Flip the disc drive over and place it on the power supply. The disc drive should end up facing the opposite direction it started in.
-
-
-
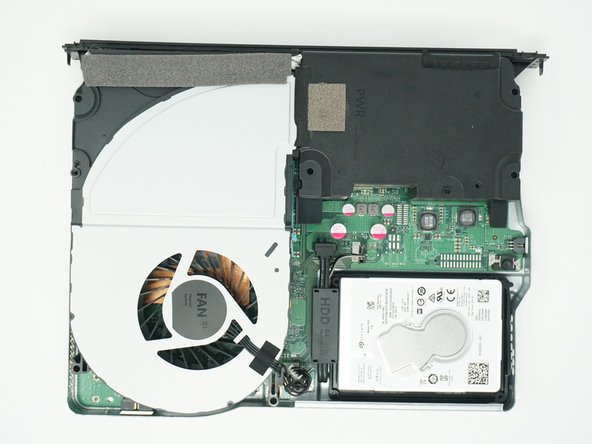
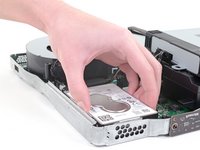
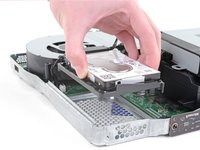
Unplug the bundled cable connector connecting the hard drive to the motherboard by pulling directly upward.
-
-
-
Unplug the SATA cable connecting the hard drive to the motherboard by pulling directly upward.
-
-
-
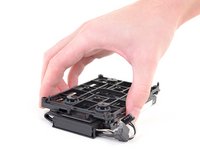
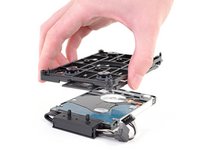
Flip the hard drive over so that the plastic mounting bracket is facing upward.
-
Use a T10 Torx screwdriver to remove the four 8.6 mm screws attaching the hard drive to the mounting bracket.
-
-
-
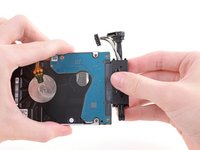
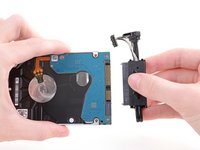
Unplug the hard drive connector from the hard drive by pulling parallel to the length of the drive.
-
To reassemble your device, follow these instructions in reverse order.
To reassemble your device, follow these instructions in reverse order.
İptal et: Bu kılavuzu tamamlamadım.
9 farklı kişi bu kılavuzu tamamladı.
6Kılavuz Yorumları
Hola, ¿dónde podría comprar una fuente de energía? Gracias
just let mi knlw where i can buy this spares power suply becouse i checked all internet and not find
Can a power supply be dismantled also to check fuse and capacitors?
So I followed this to the letter. However at the end I was unable to remove the metal piece in Step 21 of the PSU as it was still screwed down to the frame. After going back through I noticed that a step was missing between 8 and 10. In Step 8 the 2 screws holding the metal piece shown in Step 21 to the frame are shown screwed in and yet by Step 10 they are out. There was no image highlighting which screws they ware like in Step 8.
Additionally, what size screws are those?
Also, it seems Step 8, 9 and 10 are out of order.


