Bu çeviri bir makine tarafından oluşturulmuştur ve henüz bir kişi tarafından incelenmemiştir. Bu dili konuşuyor musunuz? İnceleme için.
Giriş
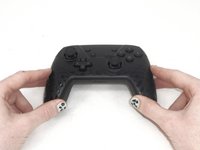
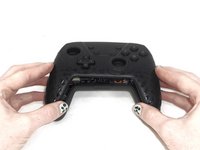
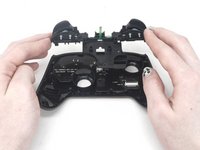
YCCTEAM YCC-SW4001 cihazınızın üst yan tuşlarının (L, R, ZL ve ZR tuşları) altında kir biriktiyse, tuşlar kırıldıysa veya düzgün çalışmıyorsa, bu tuşları temizlemek veya değiştirmek için bu kılavuzu takip edebilirsiniz.
Üst yan tuşlar, kontrolcü için giriş birimi olarak kullanılır ve farklı oyunlarda değişik işlevlere sahiptir. Bu kılavuz, diğer kılavuzlara kıyasla ekstra bir ZIF konnektörün çıkarılmasını gerektirir. Bu işlem tehlikeli değildir ancak ZIF konnektör çok incedir ve aşırı güç uygulanırsa kırılabilir.
ZR ve ZL tuşlarını çıkarmak için metal bir çubuğun yerinden çıkarılması gerekir. Bu, işlemin en zor kısmıdır; herhangi bir teknik beceri gerektirmese de çubukları tuşların altından manevra yaparak çıkarmak zordur.
Neye ihtiyacın var
-
-
-
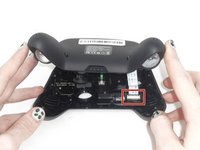
Arka kasayı sabitleyen 9,15 mm'lik sekiz vidayı çıkarmak için bir yıldız tornavida kullanın.
 FixBot'a Sor
-
-
-
Kontrol cihazının arkasındaki üç adet 9,15 mm vidayı bir yıldız tornavida kullanarak çıkarın.
-
-
-
Bazı modellerde, ön ve arka paneller ayrılmadan önce çıkarılması gereken, yanlarda iki adet daha yıldız vida bulunur.
-
-
-
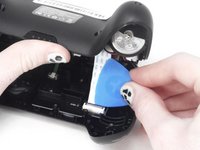
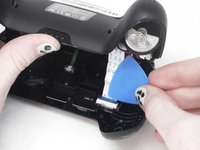
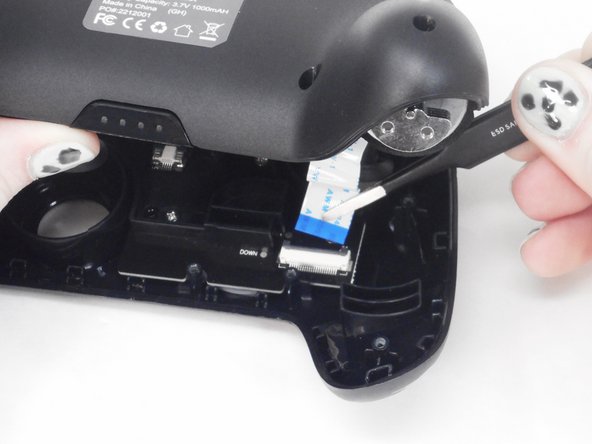
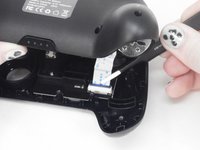
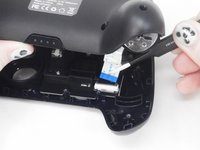
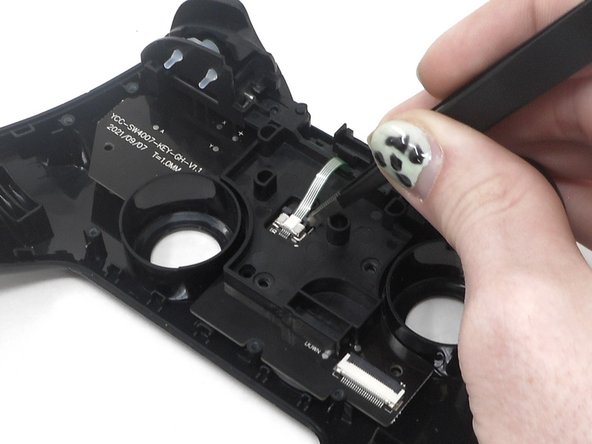
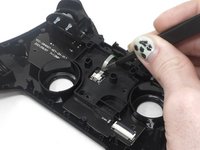
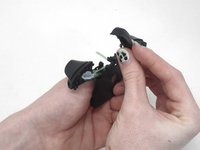
ZIF konnektörün siyah kilitleme kapakçığını yukarı kaldırmak için açma penasının ucunu kullanın.
-
-
-
-
-
-
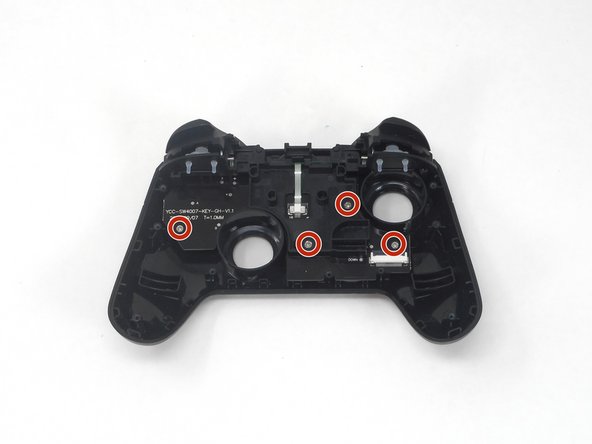
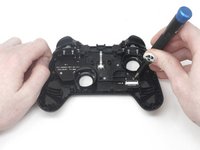
Ön kapağı ters çevirin ve bir yıldız tornavida kullanarak ön kapağın arkasındaki dört adet 5,8 mm vidayı çıkarın.
-
-
-
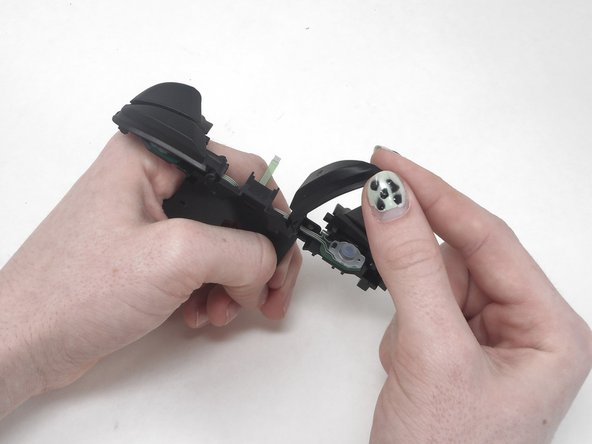
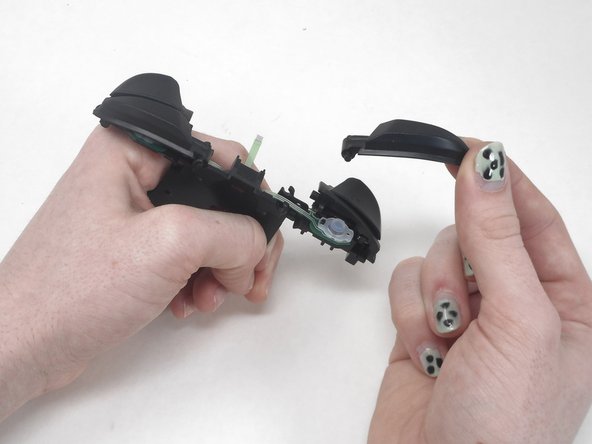
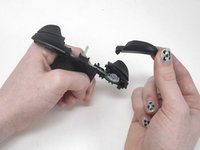
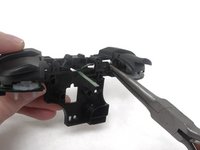
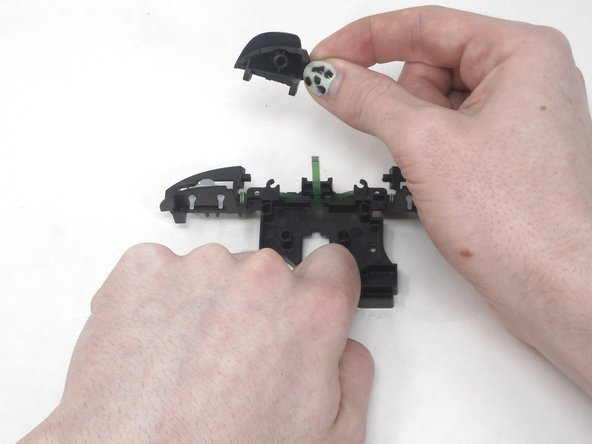
L tuşunu elinizle çıkarın.
-
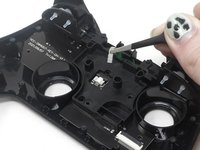
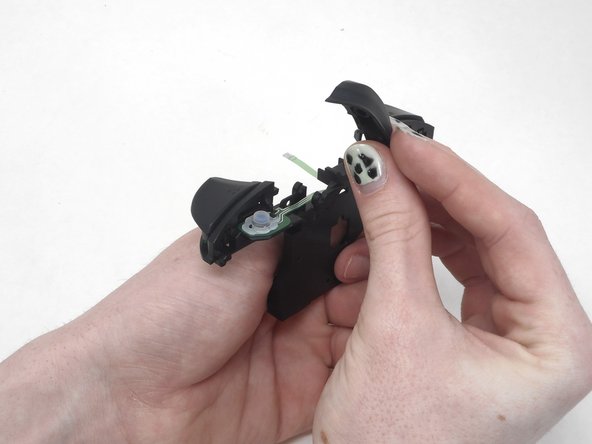
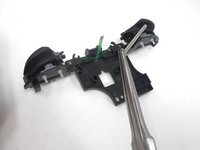
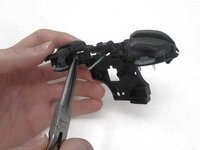
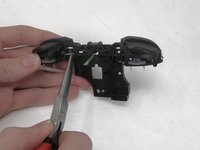
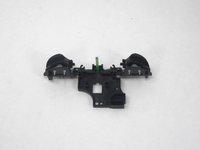
Omuz tuşları bağlantısını ters çevirin ve metal çubuklara bakın.
-
-
-
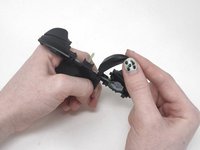
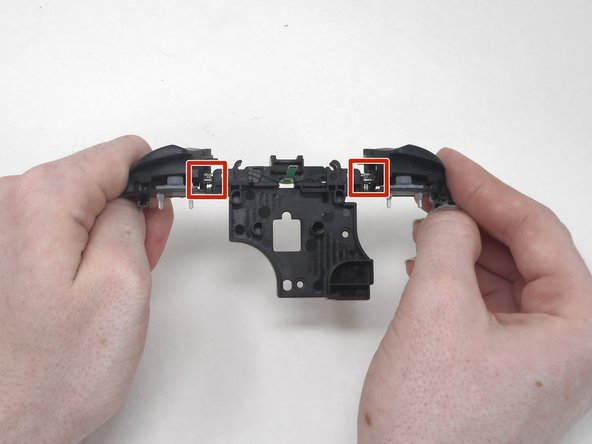
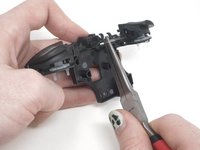
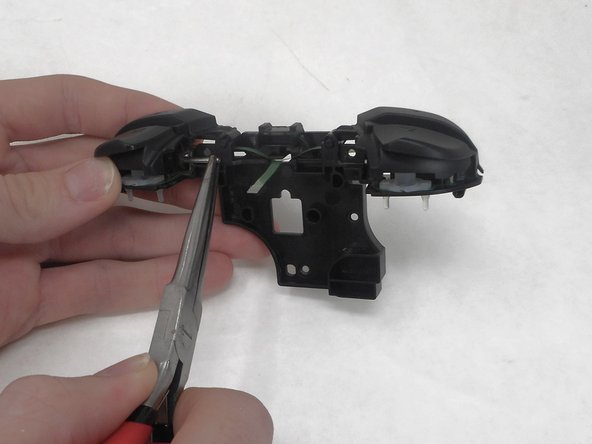
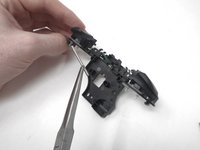
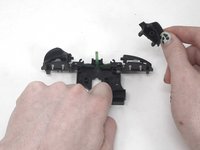
Küçük bir kargaburun kullanarak "ZR" düğmesinin altındaki metal çubuğu çıkarın.
-
-


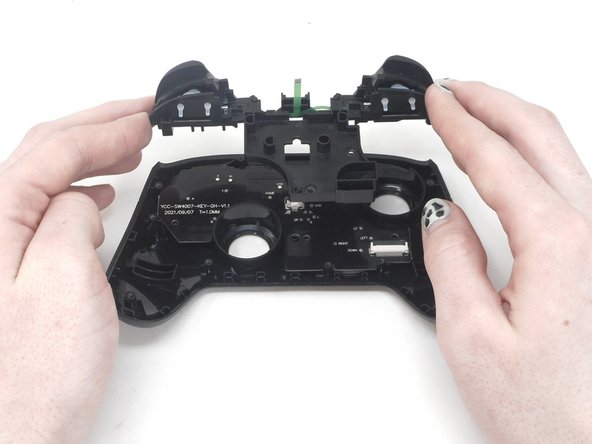


Cihazınızı tekrar toplamak için bu talimatları ters sırayla uygulayın.
Bu çevirmenlere özel teşekkürler:
100%

Translation Bot dünyayı onarmamıza yardım ediyor! Katkıda bulunmak ister misiniz?
Çeviriye Başlayın ›
Ekip

University of Memphis, Team 1-1, Sneed Spring 2024 University of Memphis, Team 1-1, Sneed Spring 2024 üyesi
UM-SNEED-S24S1G1
3 Üyeler
66 adet Kılavuz yazıldı