Ana içeriğe geç

Yamaha NS-AW190BL Rear Casing Replacement

Neye ihtiyacın var

  1. Yamaha NS-AW190BL Rear Casing Replacement, Rear Casing: adım 1, 2 resimden 1. Yamaha NS-AW190BL Rear Casing Replacement, Rear Casing: adım 1, 2 resimden 2.
    • Remove the six Phillips Head 1.2mm screws on the front side of the speaker.
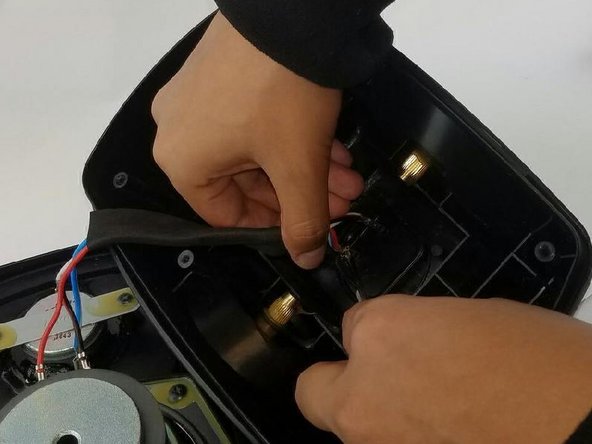
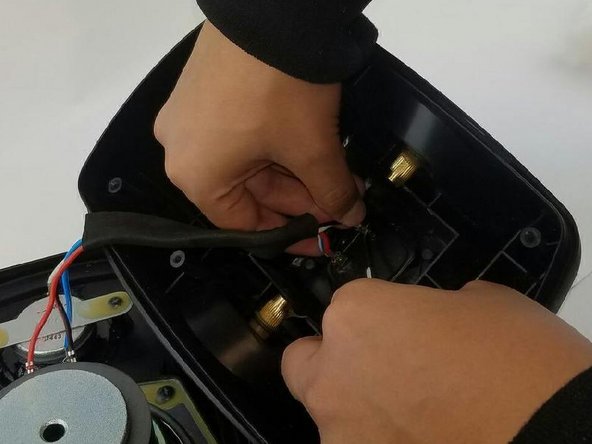
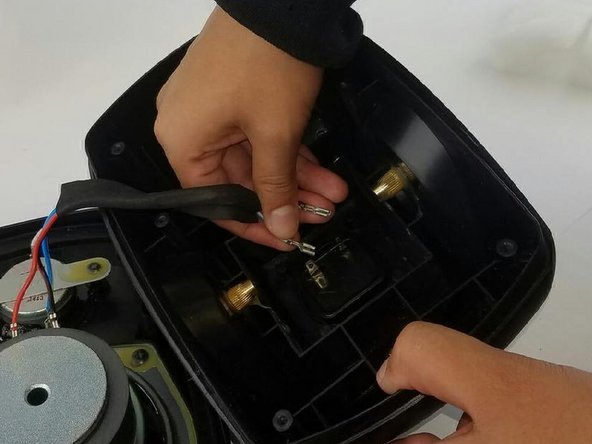
  2. Yamaha NS-AW190BL Rear Casing Replacement: adım 2, 3 resimden 1. Yamaha NS-AW190BL Rear Casing Replacement: adım 2, 3 resimden 2. Yamaha NS-AW190BL Rear Casing Replacement: adım 2, 3 resimden 3.
    • Crack open both parts of the casing carefully.

    • Using a plastic opening tool, wedge open the bottom of the speaker to separate the two parts of the speaker.

  3. Yamaha NS-AW190BL Rear Casing Replacement: adım 3, 3 resimden 1. Yamaha NS-AW190BL Rear Casing Replacement: adım 3, 3 resimden 2. Yamaha NS-AW190BL Rear Casing Replacement: adım 3, 3 resimden 3.
    • Remove the cooling foam.

    • Use a metal spudger to push the tab in on the red wire.

    • Repeat the process for the blue wire.

  4. Yamaha NS-AW190BL Rear Casing Replacement: adım 4, 2 resimden 1. Yamaha NS-AW190BL Rear Casing Replacement: adım 4, 2 resimden 2.
    • The blue wire can now be removed from its connector.

    • Remove the red wire to free the rear casing.

Sonuç

To reassemble your device, follow these instructions in reverse order.

Nick Ruiz

Üyelik tarihi: 02/07/17

331 İtibar

3 adet Kılavuz yazıldı

Ekip

USF Tampa, Team 17-3, Blackwell Spring 2017 USF Tampa, Team 17-3, Blackwell Spring 2017 üyesi

USFT-BLACKWELL-S17S17G3

4 Üyeler

5 adet Kılavuz yazıldı

0 Yorum

Yorum Ekle

İstatistikleri Görüntüle:

Son 24 Saat: 0

Son 7 gün: 1

Son 30 gün: 3

Her zaman: 821