Giriş
You've seen those jeans, the $200 pair that come pre-damaged, covered in contrasting stitches. Don't bother. Instead, follow this guide to not only fix your jeans, but upgrade them in style.
Neye ihtiyacın var
-
-
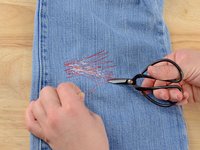
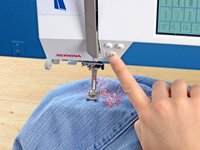
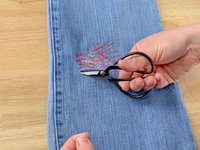
Examine the damage. Clip any long, loose threads, and remove any debris from the hole.
-
Measure the length and width of the hole.
-
In our case it looks like 2" by 1".
 FixBot'a Sor
-
-
-
Grab a scrap of denim or other heavy-weight fabric and mark your measurements plus one inch in each direction.
-
In our case it will be 3" by 2".
-
Cut the scrap into a rectangle the dimensions of your new measurements.
-
-
-
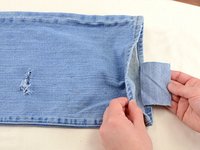
Insert the rectangle of fabric into the jean leg and position it under the hole.
-
-
-
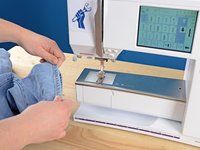
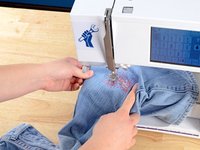
Thread your sewing machine with your desired thread color.
-
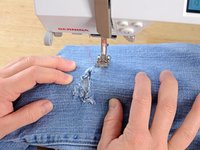
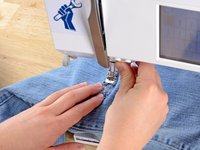
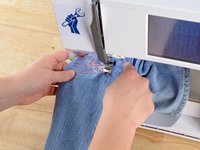
Slide the pant leg onto the arm of the sewing machine.
-
-
-
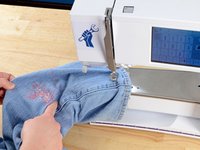
Check that the rectangle of fabric is still laying flat, centered beneath the hole.
-
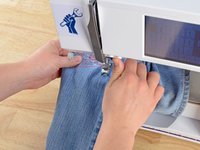
Lower the pressor foot.
-
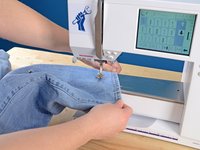
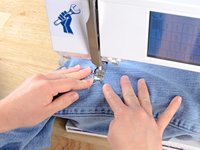
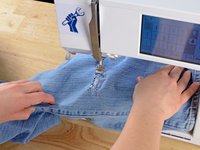
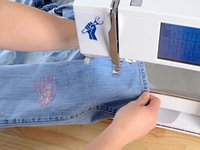
Sew a straight line over the hole going about five stitches past the damage.
-
-
-
-
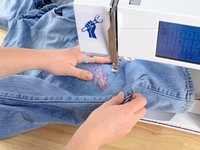
Lift the pressor foot.
-
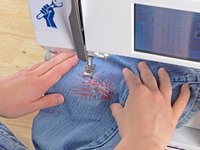
Rotate the jean leg a few degrees toward the center of the hole.
-
Lower the pressor foot.
-
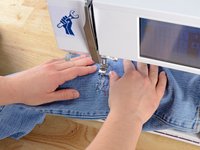
Engage the backstitch function on your sewing machine, and sew a straight line back over the hole, going about five stitches beyond the damage.
-
-
-
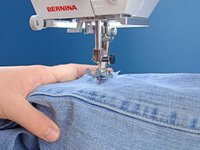
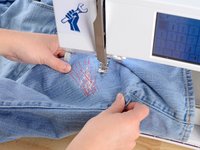
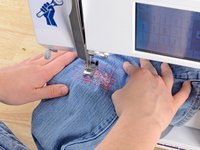
Repeat steps five and six, continuing to rotate and sew lines of stitching back and forth until you cover the entire hole.
-
-
-
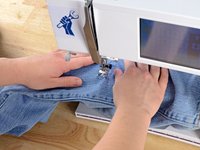
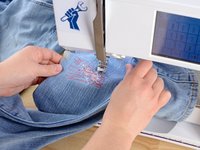
When you are satisfied with your stitching, backstitch two or three stitches.
-
Lift the needle and pressor foot.
-
Slide the jean leg off of the sewing machine.
-
-
-
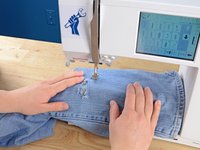
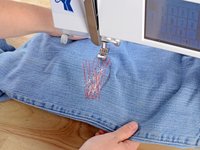
Still not satisfied? Alrighty, let's add some decorative stitching the other way.
-
Slide the pant leg back onto the arm of the sewing machine, making sure that the leg goes around the arm.
-
-
-
Lower the pressor foot.
-
Sew a straight line of stitching over the damaged area.
-
-
-
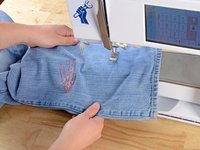
Just like before, at the end of each line of stitching, lift the pressor foot, rotate the jeans a few degrees, and sew another line of stitching.
-
When you are happy with the way that the stitching looks, backstitch two or three stitches.
-
-
-
Lift the pressor foot and needle.
-
Slide the pant leg off the arm of the sewing machine.
-


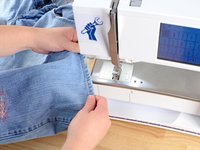


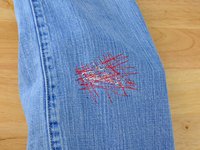
Ta-da! Nice work.
İptal et: Bu kılavuzu tamamlamadım.
8 farklı kişi bu kılavuzu tamamladı.

