Bu sürüm, hatalı düzenlemeler içerebilir. En son doğrulanmış bellek kopyası dönün.
Neye ihtiyacın var
-
Bu adım çevrilmemiş. Çevrilmesine yardım edin
-
Remove the rubber foot pads on the bottom of the device using a plastic opening tool.
-
-
Bu adım çevrilmemiş. Çevrilmesine yardım edin
-
Remove the six 2 mm PH0 screws on the bottom of the device.
-
-
-
Bu adım çevrilmemiş. Çevrilmesine yardım edin
-
Remove the four 1.8 mm J1 screws.
-
Remove the two 2mm PH0 screws.
-
-
Bu adım çevrilmemiş. Çevrilmesine yardım edin
-
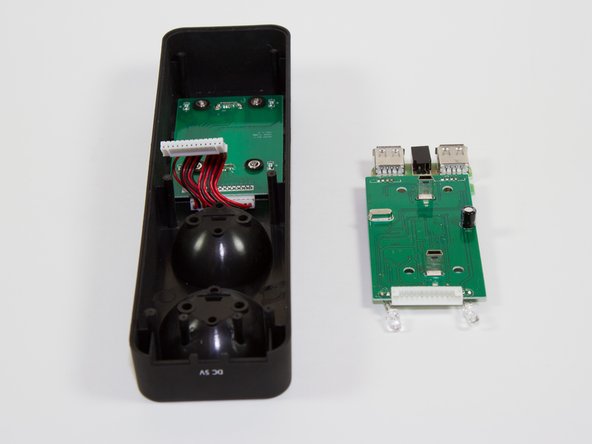
Use a plastic opening tool or similar tool to gently pry the power ribbon cord out of its port.
-


İptal et: Bu kılavuzu tamamlamadım.
Bir başkası bu kılavuzu tamamladı.
Ekip

Colorado Springs, Team 4-4, Panko Spring 2015 Colorado Springs, Team 4-4, Panko Spring 2015 üyesi
UCCS-PANKO-S15S4G4
3 Üyeler
12 adet Kılavuz yazıldı