Giriş
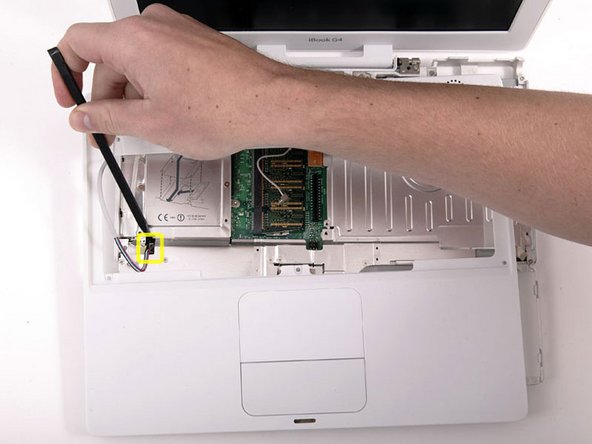
The heat sink helps keep the processor cool and happy.
Neye ihtiyacın var
-
-
Pull the keyboard release tabs toward you and lift up on the keyboard until it pops free.
-
Flip the keyboard over, away from the screen, and rest it face-down on the trackpad area.
-
-
-
Use a pin (or anything you like) to remove the three rubber feet from the lower case.
-
-
-
-
Remove the following 7 screws from the edges of the keyboard area.
-
Three 2 mm Phillips along the right edge.
-
One 4.5 mm Phillips underneath where the magnet was.
-
One 6 mm Phillips with a small head in the lower left corner.
-
Two 6 mm Phillips with large heads, one in the upper left corner and one in the middle
-
-
-
Remove the following 15 screws:
-
Fourteen 3 mm Phillips.
-
One 5.5 mm Phillips in the upper left corner.
-
-
-
Lift the metal restraining bracket from the hard drive and place it aside.
-
-
-
Remove the following 5 screws and 3 nuts from the heat sink:
-
One 3.5 mm Phillips from the lower left corner of the heat sink.
-
Three 6 mm Phillips from around the fan.
-
One 7.5 mm Phillips at the top right corner of the heat sink.
-
One 4 mm nut from the side of the heat sink.
-
Two 4 mm screw nuts with attached springs from either side of the heat sink.
-
To reassemble your device, follow these instructions in reverse order.
To reassemble your device, follow these instructions in reverse order.
İptal et: Bu kılavuzu tamamlamadım.
5 farklı kişi bu kılavuzu tamamladı.


