Giriş
Use this guide to replace the RAM.
Neye ihtiyacın var
-
Bu adımda kullanılan alet:iMac Intel 21.5" Cardboard Service Wedge$4.99
-
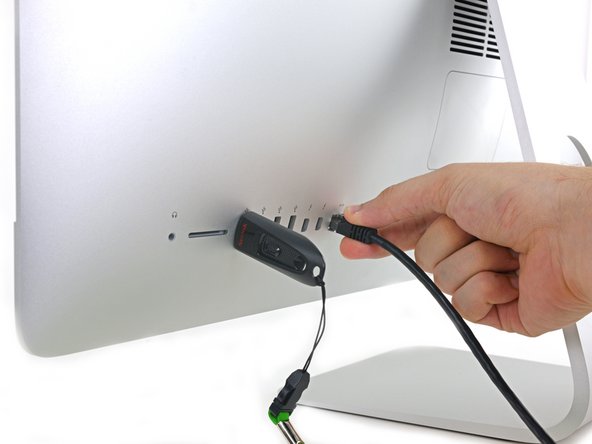
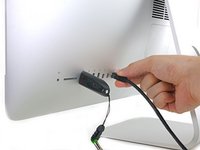
Before beginning any work on your iMac: Unplug the computer and press and hold the power button for ten seconds to discharge the power supply's capacitors.
-
-
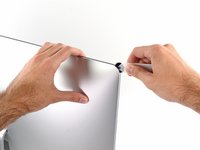
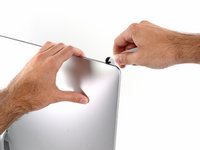
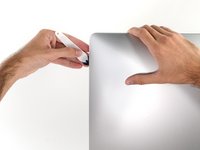
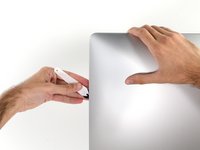
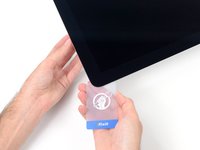
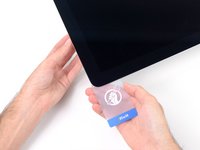
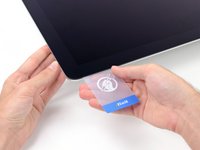
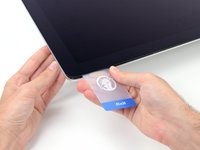
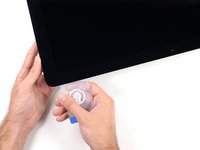
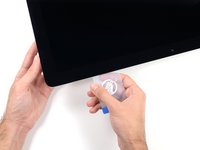
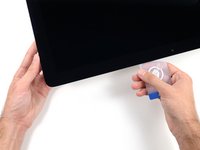
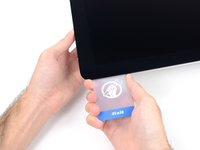
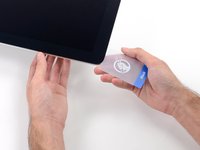
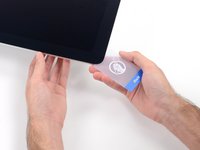
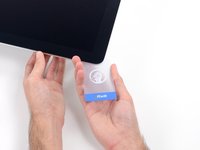
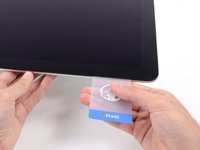
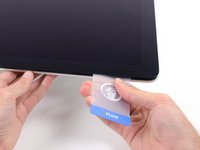
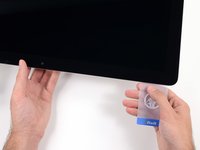
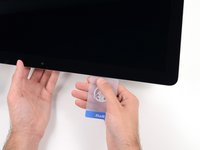
Bu adımda kullanılan alet:Plastic Cards$2.99
-
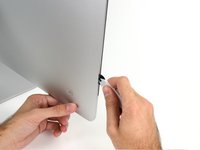
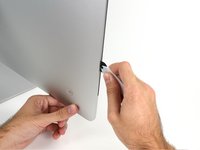
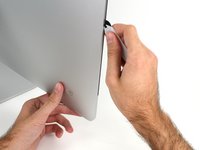
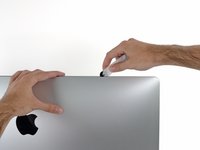
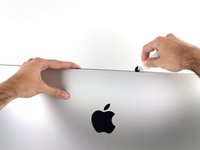
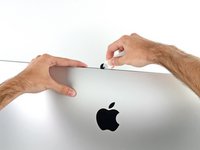
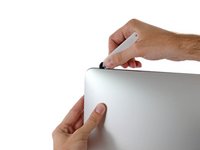
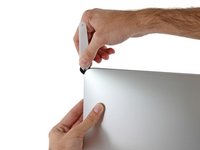
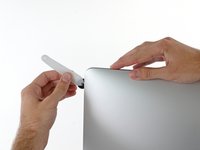
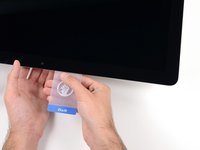
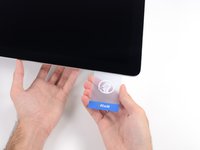
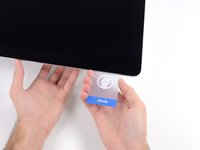
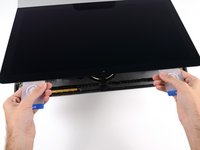
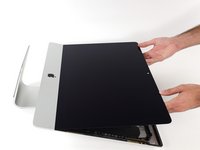
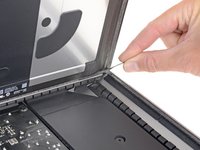
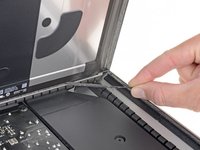
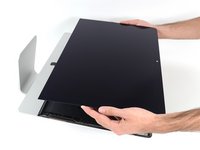
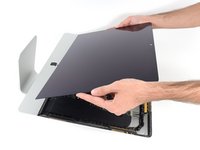
Starting from the top right corner of the iMac, wedge a plastic card between the display and frame.
-
-
-
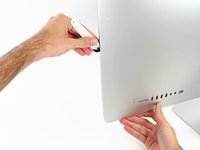
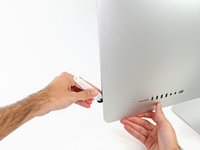
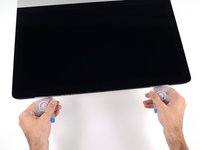
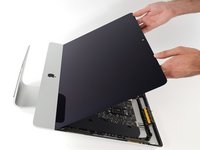
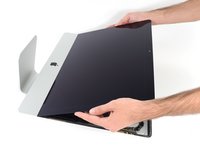
While holding the display up with one hand, use the other hand to unplug the display power cable.
-
-
-
-
Remove the following five Phillips screws holding the lower support bracket in place:
-
Four 3.2 mm screws
-
One 1.7 mm screw
-
-
-
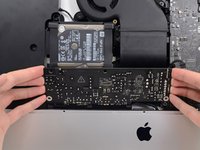
Remove the following screws securing the hard drive bracket to the rear enclosure:
-
Two 21 mm T10 Torx screws from the left-hand hard drive bracket.
-
One 9 mm T10 Torx screw.
-
One 27 mm T10 Torx screw.
-
-
-
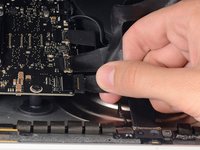
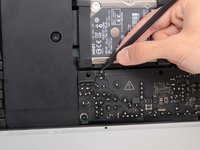
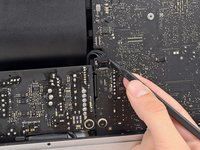
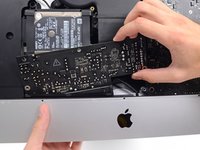
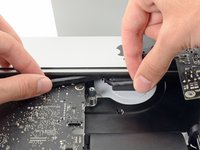
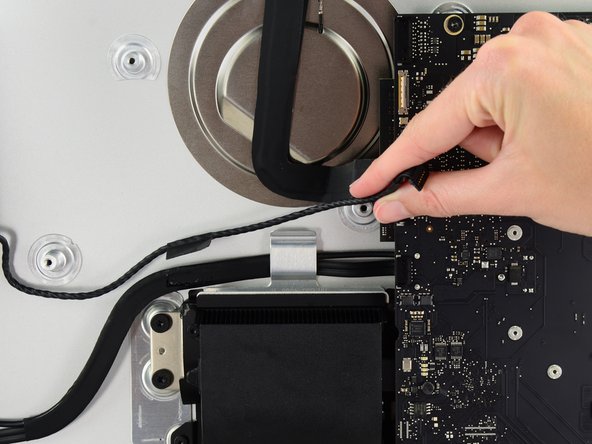
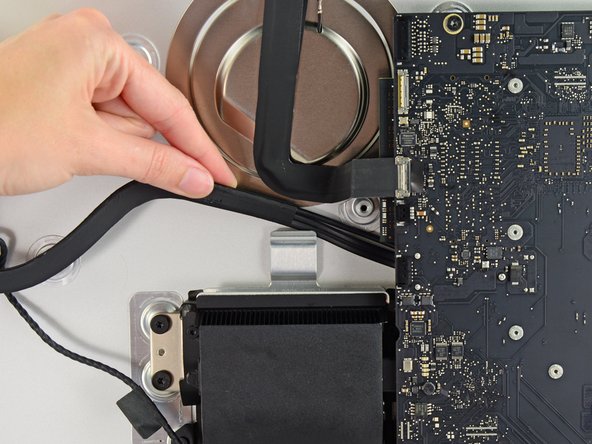
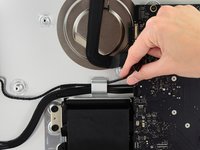
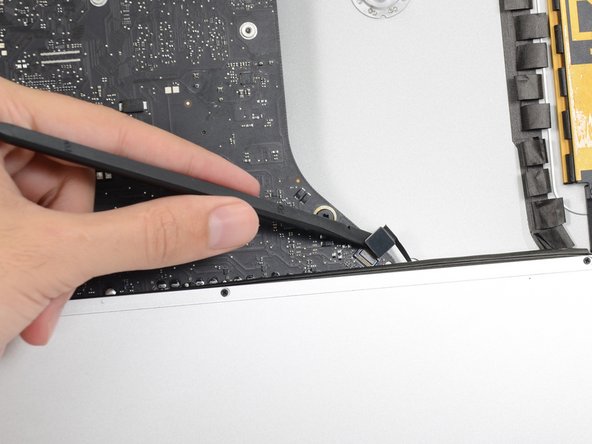
Use the tip of a spudger to push each side of the power button cable connector and gently walk it out of its socket.
-
-
-
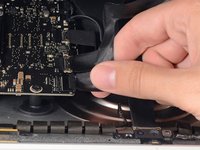
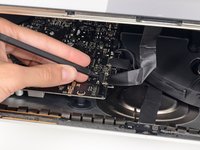
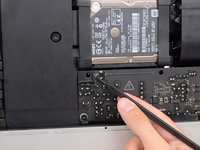
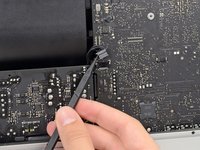
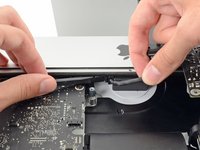
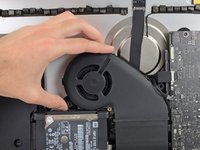
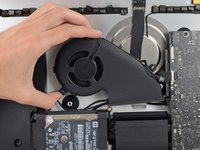
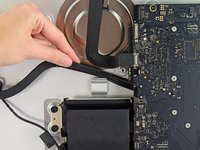
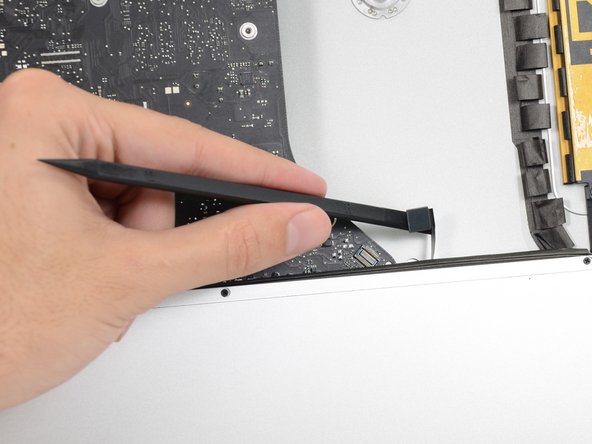
Gently pull the fan cable connector straight away from its socket on the logic board.
-
-
-
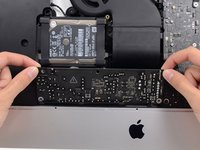
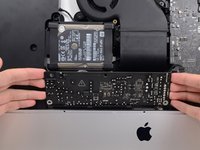
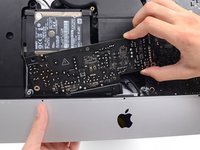
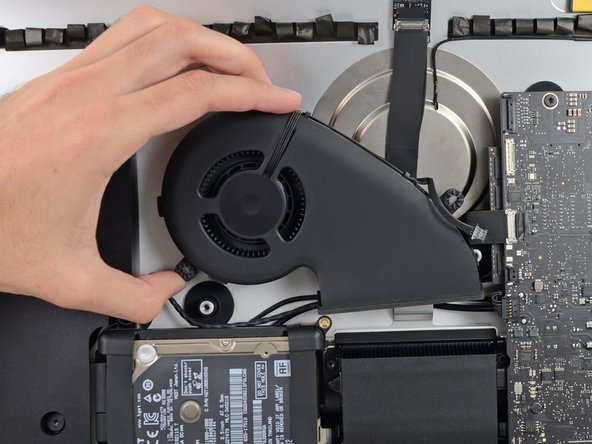
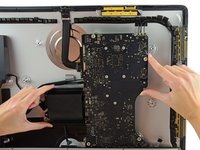
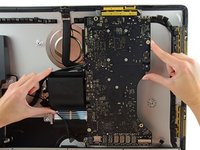
Lift the hard drive from the edge nearest the logic board and pull it slightly out of its recess.
-
-
-
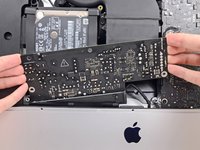
Remove the single 7.2 mm T10 screw securing the hard drive tray to the rear enclosure.
-
-
-
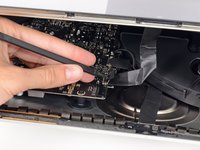
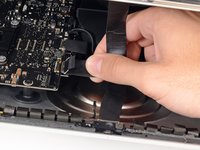
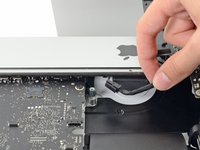
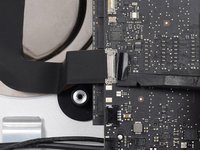
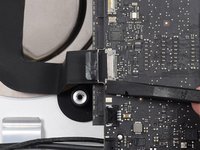
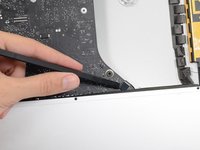
Push on each side of the left speaker cable connector with the tip of a spudger and gently walk it out of its socket.
-
-
-
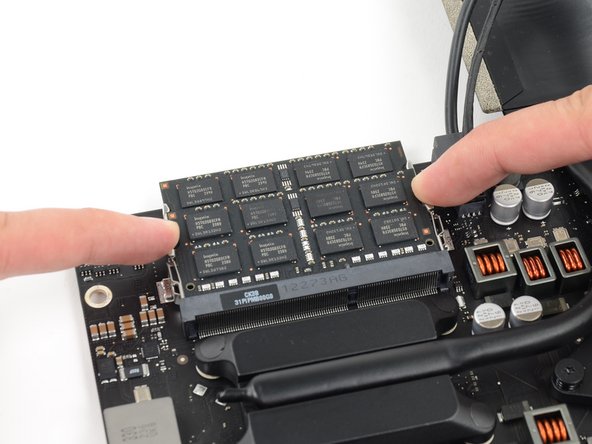
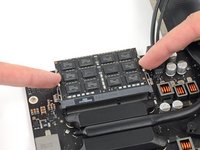
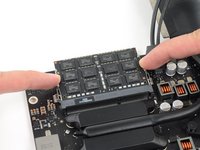
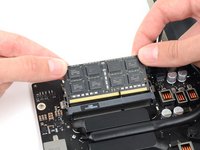
Release the tabs on each side of the RAM module by simultaneously pushing each tab away.
-
Grab the top left and right corners of the RAM module and carefully pull it straight out of its socket.
-


To reassemble your device, follow these instructions in reverse order.
İptal et: Bu kılavuzu tamamlamadım.
170 farklı kişi bu kılavuzu tamamladı.

43Kılavuz Yorumları
Holy jesus - just to replace/upgrade some RAM? Wow. What advice do you have for the final stage of reassembly if you've had to take the strips of adhesive off - what (if anything) do you replace it with?
James, in the parts section at the top you can purchase the adhesive strips that are a custom fit ([bağlı ürün eksik veya kapalı: IF173-005]). I just replaced the hard drive and these strips are quite easy to work with. It's just a pain that you have to replace the adhesive anytime you need to go inside. Apple is getting lazy.
This was very easy to follow. The number of steps seem high, but half are just removing the display to make sure you are very careful with the fragile glass, so there are really only about 35 steps. You may also need to remove the right speaker before disconnecting the 4 AirPort/Bluetooth antennae, currently before step 50. The speaker is shown in earlier pics, then "disappears."
yes from what I went through it made sense to unscrew both speakers so you can move them a little bit to get things down like that and plugging the hard drive back in