Giriş
Sometimes it the optical drive in your iMac comes to the end of its life. Use this guide to help you replace a faulty or broken optical drive in the 24" iMac EMC 2267.
Neye ihtiyacın var
-
-
Lay your iMac front side down on a table with the lower edge facing yourself.
-
Loosen the single Phillips screw in the center of the access door.
-
Remove the access door from your iMac.
-
-
Bu adımda kullanılan alet:Heavy-Duty Suction Cups (Pair)$14.95
-
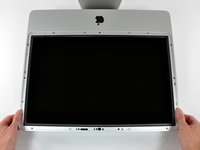
Stick two suction cups to opposing corners of the glass panel.
-
-
-
Remove the following 12 screws securing the front bezel to the rear case:
-
Eight 13 mm T8 Torx.
-
Four 25 mm T8 Torx.
-
-
-
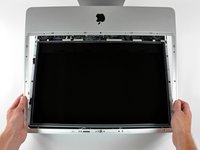
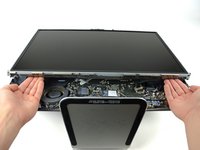
Gently lift the front bezel from its top edge off the rear case.
-
Once the top edge of the front bezel has cleared the rear case, rotate the front bezel toward the stand and lift it off the rear case.
-
Rotate the front bezel away from the rest of the device and lay it above the top edge of the iMac.
-
-
-
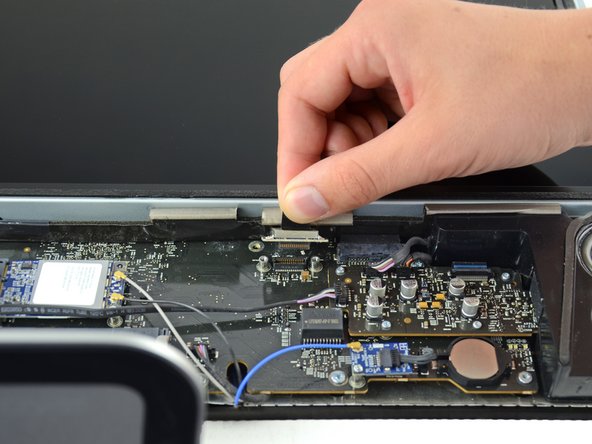
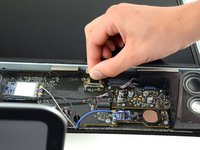
Remove the two 5.3 mm T6 torx screws from the LCD connector.
-
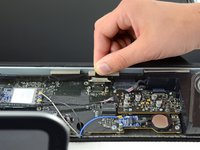
Firmly grasp the pull tab on top of the connector and pull it straight up out of its port.
-
-
-
-
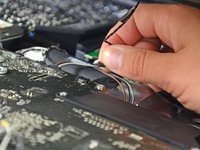
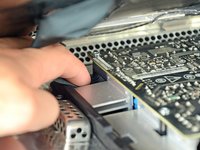
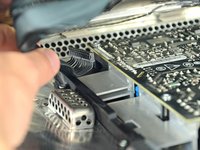
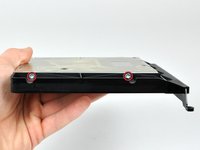
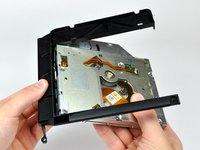
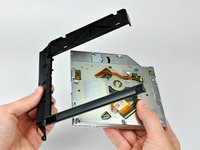
Peel off the tape holding the optical drive in place.
-
Remove the two 7.1 mm T10 torx screws.
-
-
-
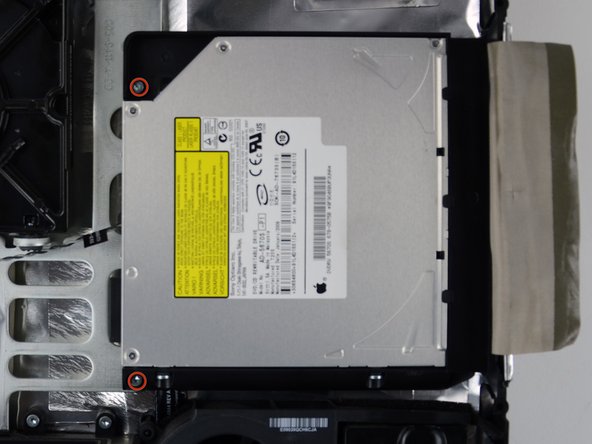
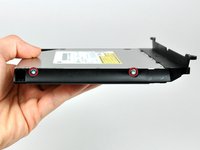
Remove the piece of foam tape covering the optical drive thermal sensor.
-


To reassemble your device, follow these instructions in reverse order.
To reassemble your device, follow these instructions in reverse order.
İptal et: Bu kılavuzu tamamlamadım.
14 farklı kişi bu kılavuzu tamamladı.

