Giriş
Before beginning any work on your iMac: Unplug the computer and press and hold the power button for ten seconds to discharge the power supply's capacitors.
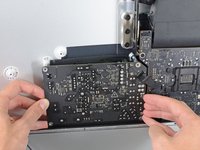
Be very careful not to touch the capacitor leads or any exposed solder joints on the back of the power supply. Only handle the board by the edges.
Neye ihtiyacın var
-
Bu adımda kullanılan alet:iMac Intel 27" Cardboard Service Wedge$4.99
-
With the hinge free to move, the iMac will be unbalanced and hard to work on. Repairs can be completed with the iMac laying down, but are faster and easier with an iMac service wedge.
-
If you are using the iFixit cardboard service wedge, follow these assembly directions to put it together.
-
-
Bu adımda kullanılan alet:Plastic Cards$2.99
-
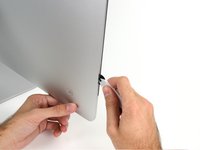
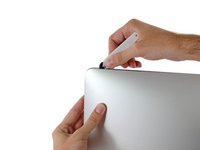
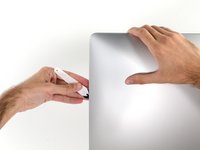
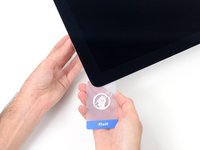
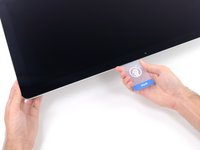
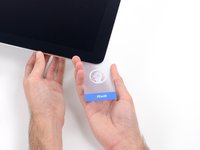
Set the iMac face-up on a table.
-
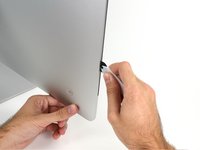
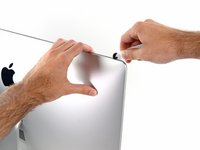
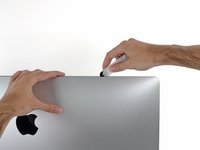
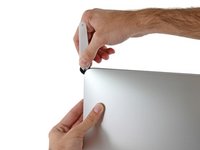
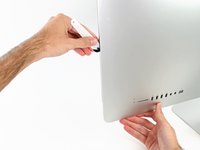
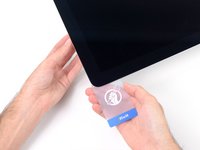
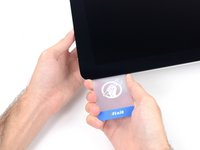
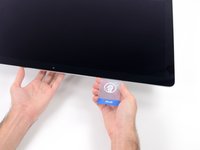
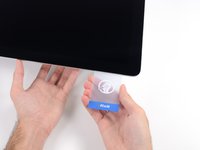
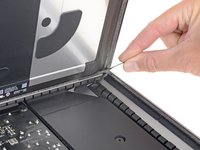
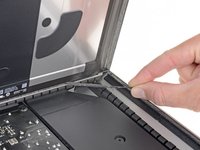
Starting from the top right corner of the iMac, insert a plastic card between the display and frame.
-
-
-
-
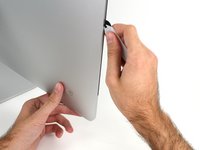
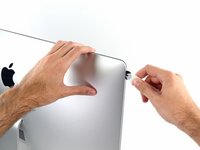
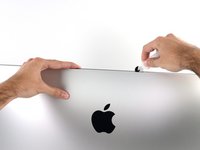
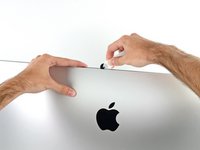
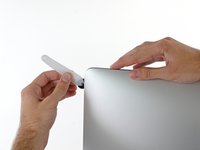
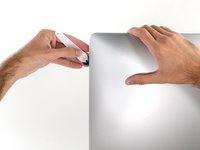
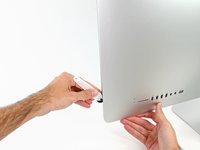
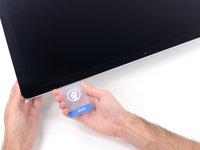
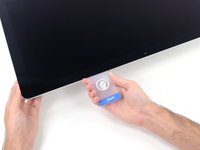
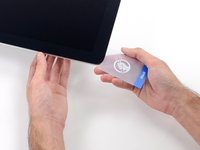
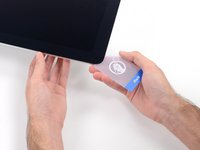
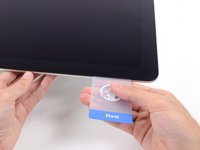
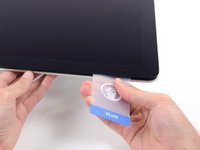
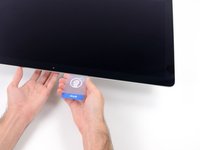
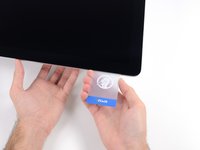
With the cards inserted as shown near the corners, gently twist the cards to increase the gap between display and case.
-
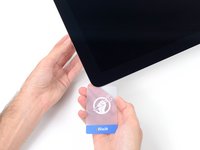
If there are any sections that seem to stick and won't separate, stop twisting and use one of the cards to cut the adhesive in the problem area.
-
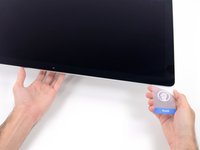
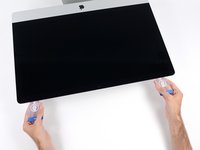
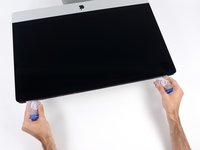
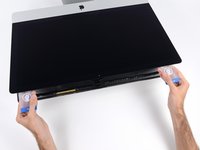
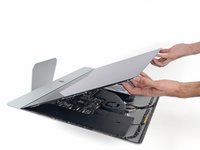
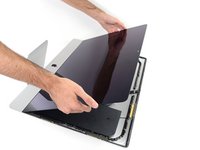
Begin to lift the top of the display up from the frame.
-
-
-
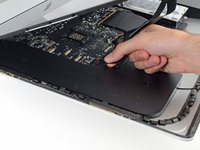
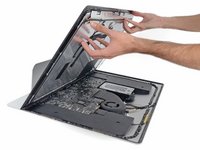
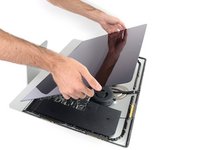
If there is a wire or cable underneath adhesive tape, always pull the tape off first.
-
If the cable is glued to the chassis, use a heated iOpener or a hair dryer to soften the adhesive first. You can then slide an opening pick underneath the cable to loosen it. Never pull directly on the delicate connectors.
-
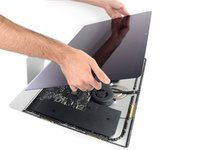
Slide an opening pick underneath the foam cushion pieces to separate them from the display, and gently pull them off. You may need some double sided tape to re-attach them to the new display.
-
-
-
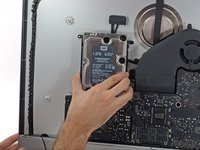
Use a Phillips screwdriver to remove the nine 3.2 mm screws securing the support bracket.
-
You may need to peel up the display adhesive lining the bottom edge of the iMac enclosure to access the screws.
-
-
-
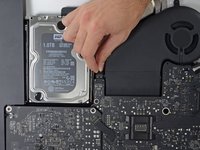
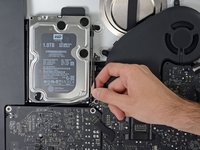
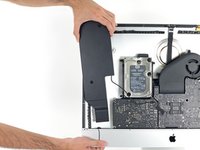
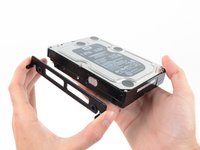
Pull straight up on the SATA data/power cable to disconnect it from the drive.
-
-
-
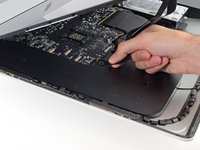
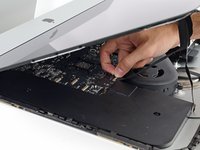
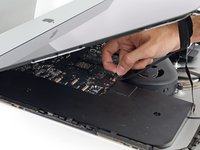
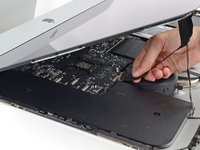
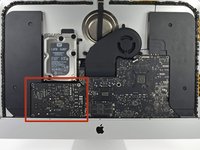
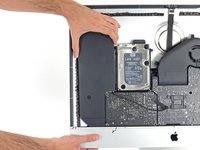
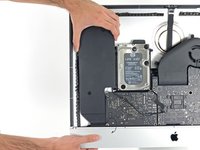
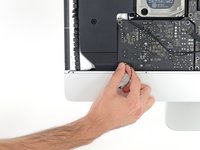
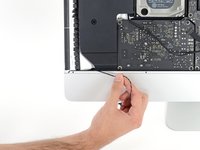
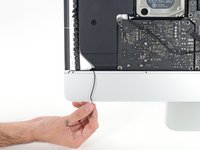
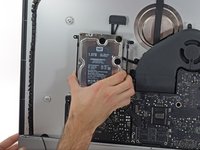
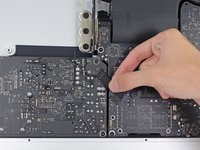
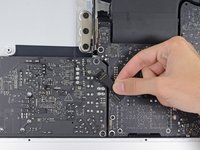
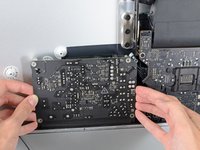
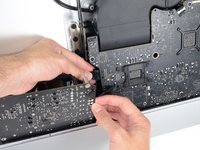
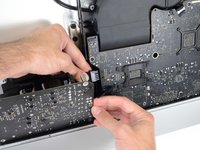
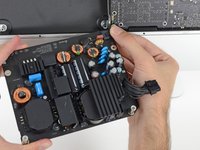
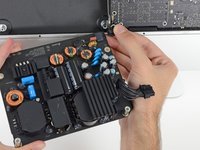
Disconnect the power supply control cable from the power supply.
-


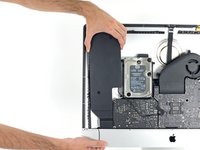


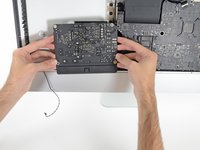
To reassemble your device, follow these instructions in reverse order.
To reassemble your device, follow these instructions in reverse order.
İptal et: Bu kılavuzu tamamlamadım.
24 farklı kişi bu kılavuzu tamamladı.

1Rehber Yorum
Excellent guide. One note; The screw holes in the speakers have rubber isolators, so be careful when tightening those screws during reassembly.