Giriş
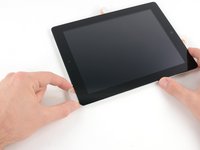
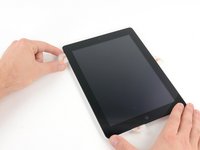
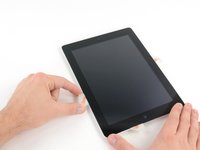
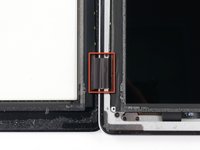
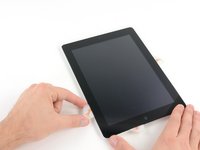
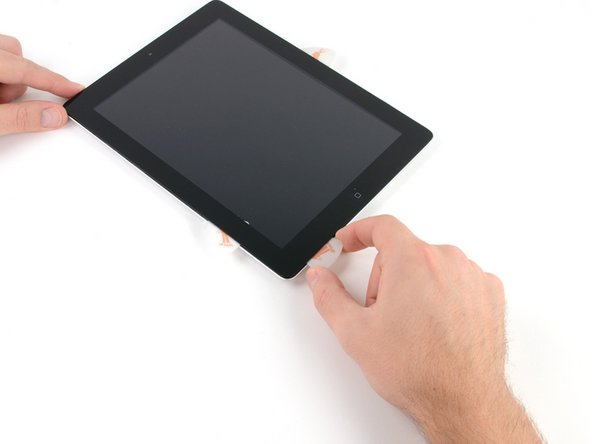
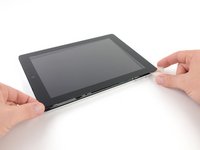
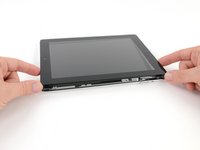
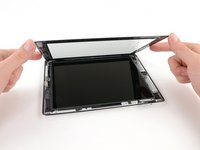
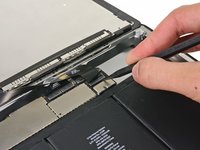
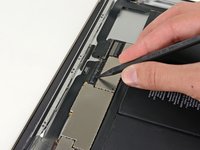
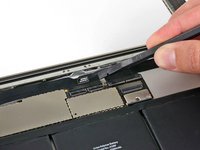
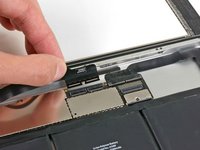
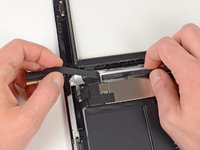
Use this guide to replace the dock connector.
Neye ihtiyacın var
Videoya Genel Bakış
-
-
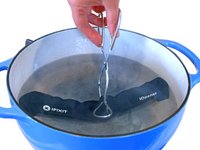
Fill a pot or pan with enough water to fully submerge an iOpener.
-
Heat the water to a boil. Turn off the heat.
-
Place an iOpener into the hot water for 2-3 minutes. Make sure the iOpener is fully submerged in the water.
-
Use tongs to extract the heated iOpener from the hot water.
-
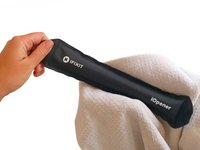
Thoroughly dry the iOpener with a towel.
-
Your iOpener is ready for use! If you need to reheat the iOpener, heat the water to a boil, turn off the heat, and place the iOpener in the water for 2-3 minutes.
-
-
-
If your display glass is cracked, keep further breakage contained and prevent bodily harm during your repair by taping the glass.
-
Lay overlapping strips of clear packing tape over the iPad's display until the whole face is covered.
-
Do your best to follow the rest of the guide as described. However, once the glass is broken, it will likely continue to crack as you work, and you may need to use a metal prying tool to scoop the glass out.
-
-
Bu adımda kullanılan alet:Safety Glasses$3.19
-
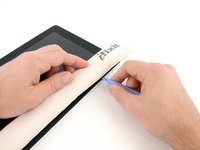
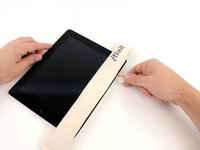
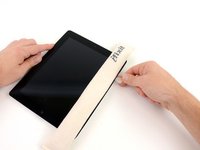
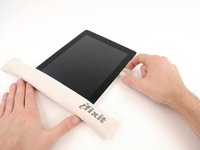
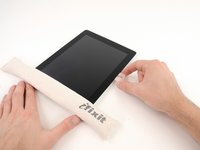
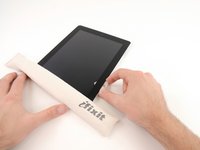
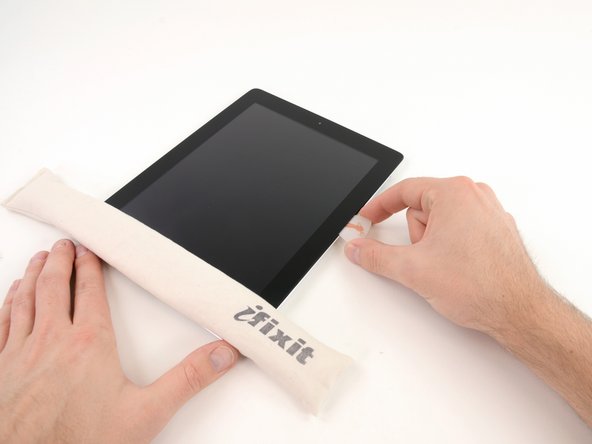
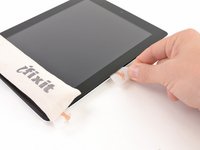
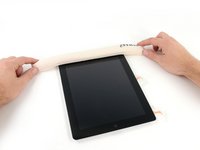
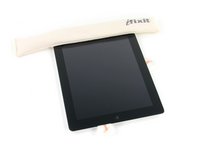
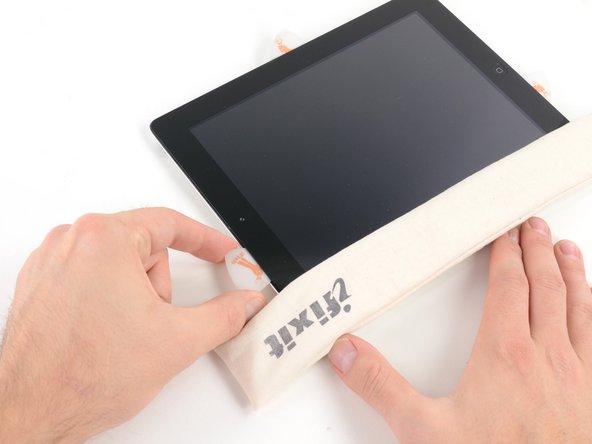
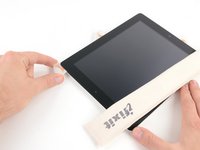
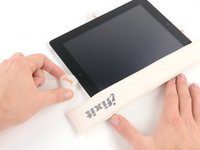
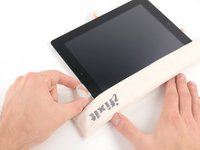
Lay the iOpener flat on the right edge of the iPad, smoothing it out so that there is good contact between the surface of the iPad and the iOpener.
-
Let the bag sit on the iPad for approximately 90 seconds before attempting to open the front panel.
-
-
-
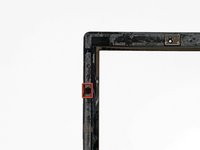
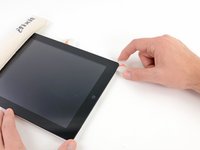
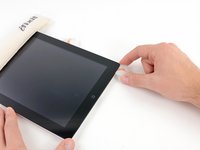
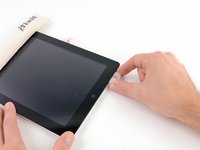
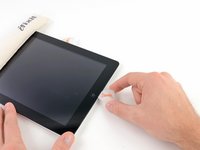
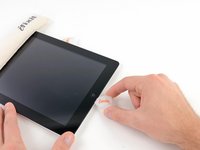
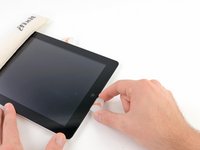
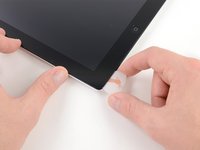
There is a small gap in the iPad's adhesive ring in the upper right corner of the iPad, approximately 2.0 inches (~5 cm) from the top of the iPad. You are going to exploit this weakness.
-
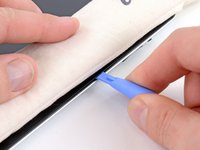
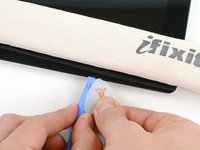
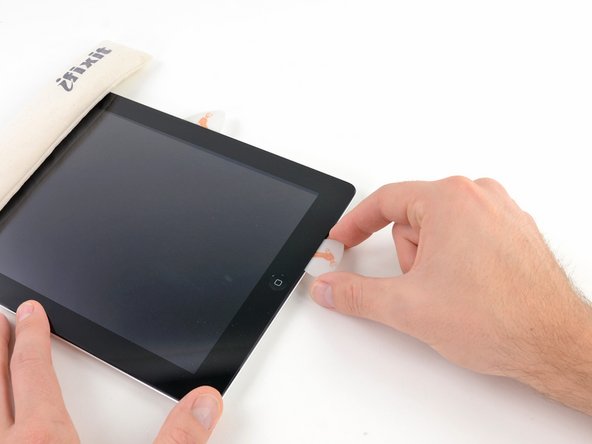
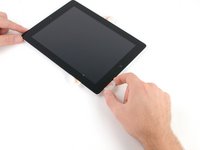
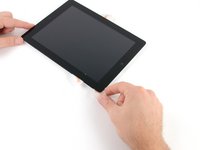
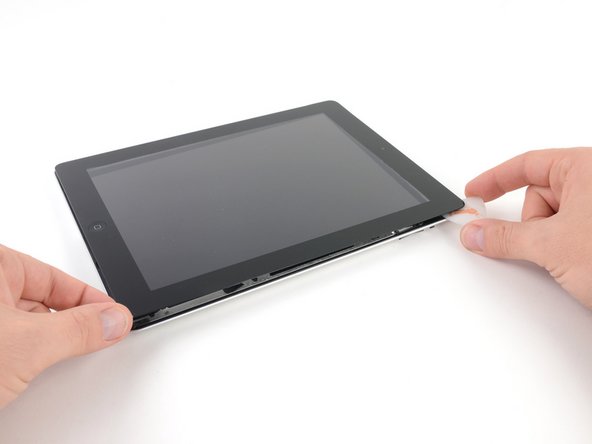
Align the tool with the mute button. Insert the tip of a plastic opening tool into the gap between the front glass and the plastic bezel. Just insert the very tip of the opening tool, just enough to widen the crack.
-
-
-
-
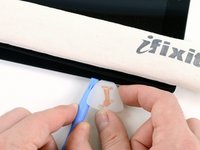
Once you have moved past the Wi-FI antenna (approximately 3" (75 mm) from the right edge, or right next to the home button) re-insert the opening pick to its full depth.
-
Slide the pick to the right, releasing the adhesive securing the Wi-Fi antenna to the front glass.
-
The antenna is attached to the bottom of the iPad via screws and a cable. This step detaches the antenna from the front panel, ensuring that when you remove the panel, the antenna will not be damaged.
-
-
-
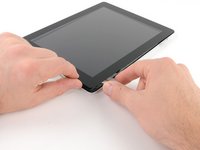
Slide the opening pick along the top edge of the iPad, pulling it out slightly to go around the front-facing camera bracket.
-
The adhesive along this section is very thick, and a fair amount of force may be required. Work carefully and slowly, making sure to not slip and damage yourself or your iPad.
-
-
-
Remove the four 2 mm Phillips #00 screws securing the LCD to the aluminum frame.
-
-
-
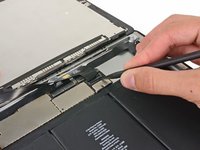
Using the tip of a spudger, peel back the piece of tape covering the LCD ribbon cable connector.
-
-
-
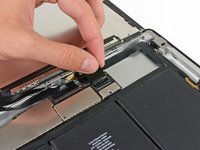
Flip up the retaining flap on both of the digitizer ribbon cable ZIF connectors.
-
-
-
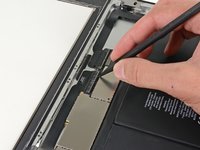
Slide the flat end of a spudger underneath the plastic spacer in the bottom left corner of the iPad.
-
Remove the plastic spacer.
-
-
-
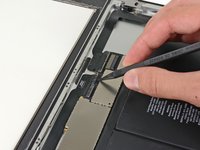
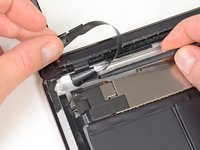
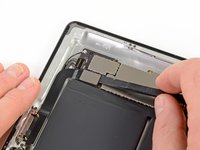
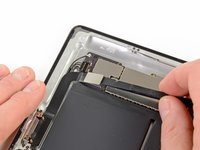
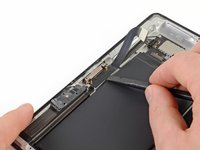
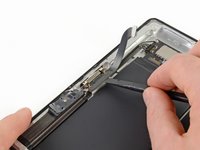
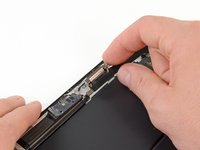
Use the flat end of a spudger to pry the dock connector cable straight up out of its socket on the logic board.
-
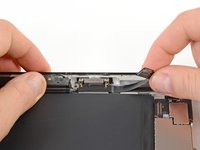
Peel up the dock connector cable from the aluminum frame.
-
To reassemble your device, follow these instructions in reverse order.
To reassemble your device, follow these instructions in reverse order.
İptal et: Bu kılavuzu tamamlamadım.
37 farklı kişi bu kılavuzu tamamladı.
1Rehber Yorum
Worked perfectly. The only complaint is that this tutorial should link to the one regarding adding adhesive strips. I found this especially difficult since the currently posted tutorial on adding adhesive strips (iPad 3 Wi-Fi Adhesive Strips Replacement) is incorrect for the iPad 3 Wi-Fi. I ended up having to guess, make mistakes, pull them off, try again...you get the idea. In the end, it worked out, but posting an accurate tutorial at the end of this one would have been a big help.


