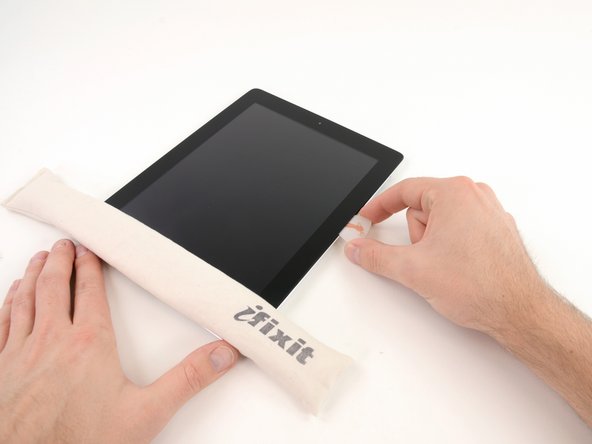
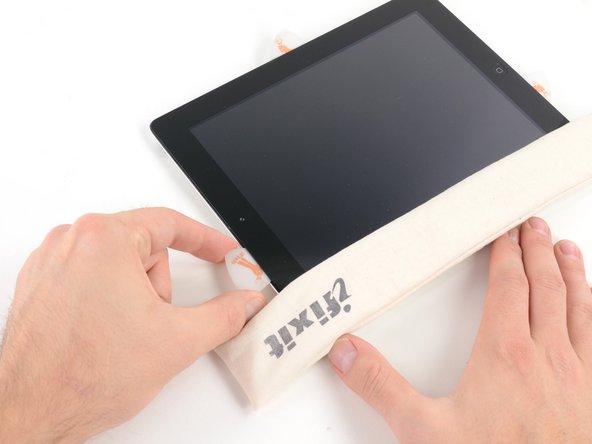
Giriş
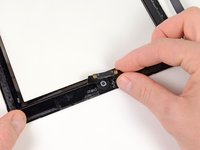
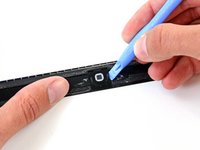
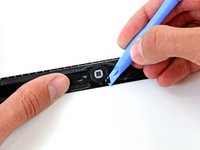
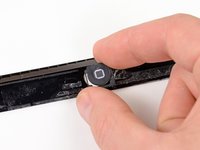
Note: this is a complete guide for replacing a plain front panel. If you have a Front Panel Assembly replacement part, stop before removing the home button from your old front panel, and reverse the steps to install your new front panel assembly.
Neye ihtiyacın var
Videoya Genel Bakış
-
-
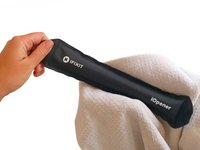
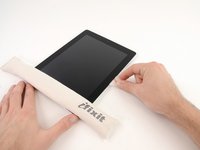
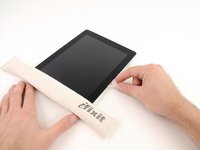
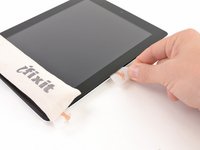
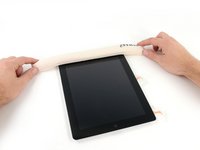
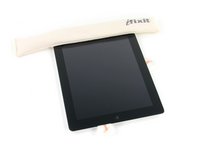
Fill a pot or pan with enough water to fully submerge an iOpener.
-
Heat the water to a boil. Turn off the heat.
-
Place an iOpener into the hot water for 2-3 minutes. Make sure the iOpener is fully submerged in the water.
-
Use tongs to extract the heated iOpener from the hot water.
-
Thoroughly dry the iOpener with a towel.
-
Your iOpener is ready for use! If you need to reheat the iOpener, heat the water to a boil, turn off the heat, and place the iOpener in the water for 2-3 minutes.
-
-
-
If your display glass is cracked, keep further breakage contained and prevent bodily harm during your repair by taping the glass.
-
Lay overlapping strips of clear packing tape over the iPad's display until the whole face is covered.
-
Do your best to follow the rest of the guide as described. However, once the glass is broken, it will likely continue to crack as you work, and you may need to use a metal prying tool to scoop the glass out.
-
-
-
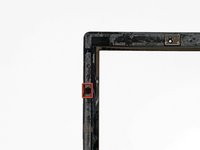
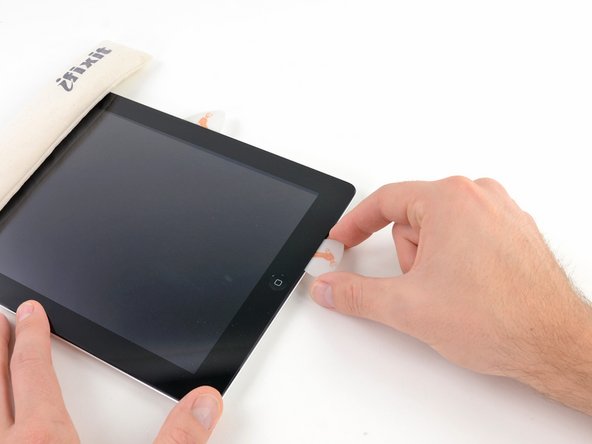
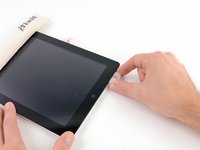
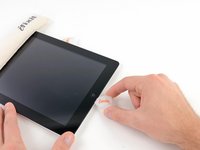
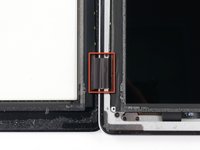
There is a small gap in the iPad's adhesive ring in the upper right corner of the iPad, approximately 2.0 inches (~5 cm) from the top of the iPad. You are going to exploit this weakness.
-
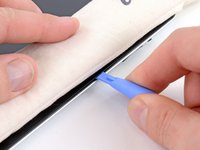
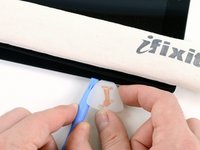
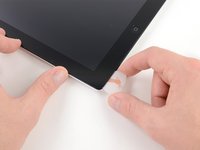
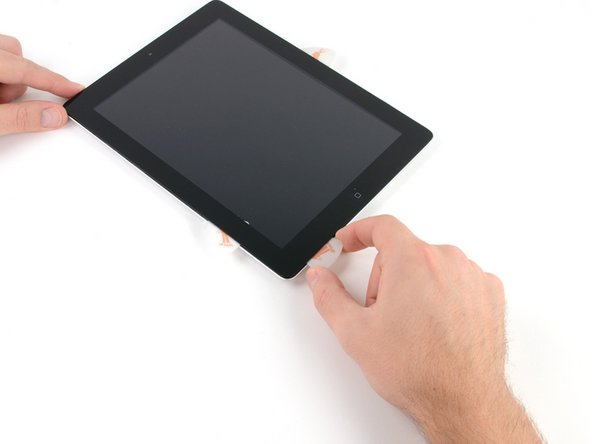
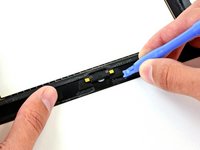
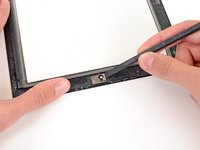
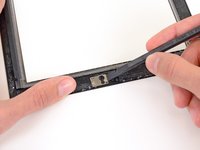
Align the tool with the mute button. Insert the tip of a plastic opening tool into the gap between the front glass and the plastic bezel. Just insert the very tip of the opening tool, just enough to widen the crack.
-
-
-
-
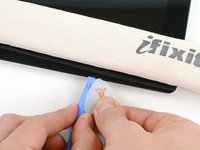
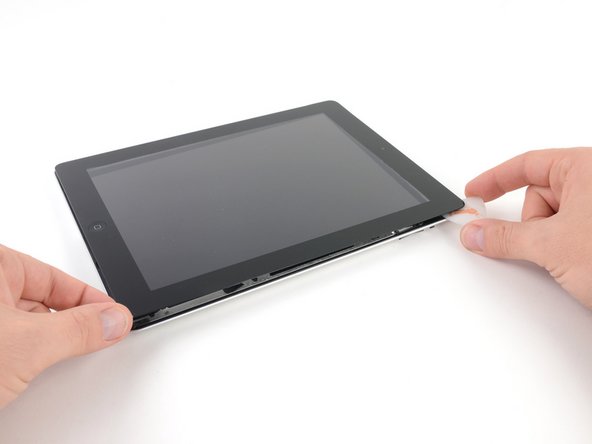
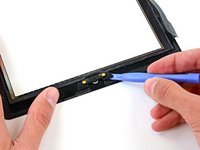
Once you have moved past the Wi-FI antenna (approximately 3" (75 mm) from the right edge, or right next to the home button) re-insert the opening pick to its full depth.
-
Slide the pick to the right, releasing the adhesive securing the Wi-Fi antenna to the front glass.
-
The antenna is attached to the bottom of the iPad via screws and a cable. This step detaches the antenna from the front panel, ensuring that when you remove the panel, the antenna will not be damaged.
-
-
-
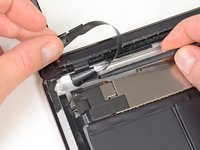
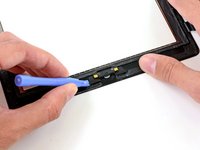
Slide the opening pick along the top edge of the iPad, pulling it out slightly to go around the front-facing camera bracket.
-
The adhesive along this section is very thick, and a fair amount of force may be required. Work carefully and slowly, making sure to not slip and damage yourself or your iPad.
-
-
-
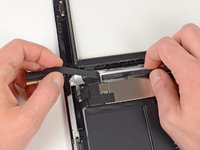
Remove the four 2 mm Phillips #00 screws securing the LCD to the aluminum frame.
-
-
-
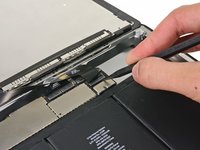
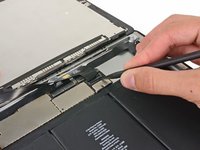
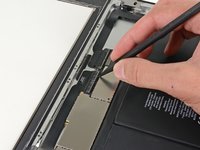
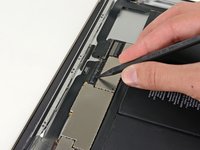
Using the tip of a spudger, peel back the piece of tape covering the LCD ribbon cable connector.
-
-
-
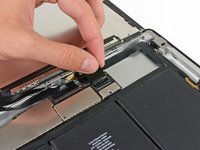
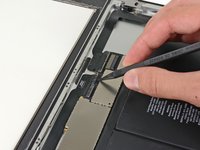
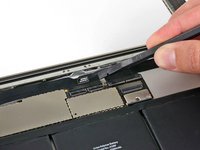
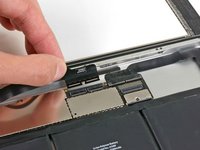
Flip up the retaining flap on both of the digitizer ribbon cable ZIF connectors.
-
-
-
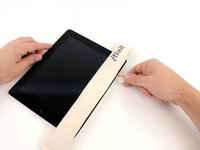
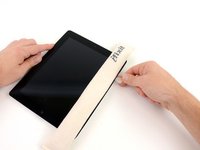
Place the iOpener in the microwave and microwave it for thirty seconds on the highest power setting.
-
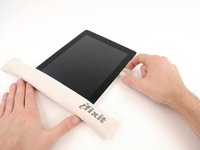
Place the iOpener over the home button on the front edge of the display.
-
-
-
Follow the iOpener heating instructions described in the iOpener heating section at the beginning of this guide.
-
To reassemble your device, follow these instructions in reverse order.
İptal et: Bu kılavuzu tamamlamadım.
281 farklı kişi bu kılavuzu tamamladı.
24Kılavuz Yorumları
This was my first time fixing a Ipad 3. I've heard stories of how difficult this repair is & that i should pay someone to do it. I must say read the guide first then start the job. So far everything works and I feel confident enough to repair another ipad.
Thanks iFixit for the parts and guide.
I simply can't imagine any steps that might be taken to avoid marring the LCD while removing a cracked screen. By the time enough of the cracked screen is removed to allow protecting the LCD, it's already too late. I can't imagine a method through which removing a cracked screen wouldn't eventually become a process of troweling a stubborn sludge of adhesive and glass shards away from at least part of the perimeter of the screen recess. However, barring slight unremovable marks on my LCD resulting from the issue, I'm satisfied so far with the robustness of the the screen replacement.
It might also be useful to mention that fresh adhesive and retrieval of the camera bracket and home button assembly aren't necessary if the replacement used is iFixit's iPad 3rd Gen Front Panel Assembly, which includes those.
This is a very good and thorough guide. I have done at least 12 repairs and I have to admit that it would be nice if the glass was "always" cracked this cleanly. However, the reality is that it isn't and a lot of times the glass is completely shattered and its a very messy job just to try and get the glass off cleanly and safely. Just keep in mind that the process of actually removing the glass is going to have to be tweaked depending on the condition and type of crack you're dealing with. All the best of luck and success on future repairs!
I've been using this site now for awhile to repair various electronics. The other day i was trying to repair an Ipad 3 and was having a ton of issues getting the digitizer off so i could replace the charge port. The guide gave me great tips and suggestions just like the rest of them on the site. I was able to repair it without damaging anything else on the device. Thanks for the time and hardwork.


