Giriş
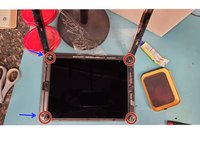
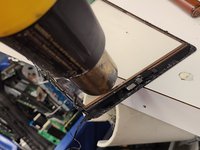
This guide will walk you through replacing the glass digitizer on an iPad 7/8. The most difficult part of this repair is removing the original damaged glass of the screen. It is important to do so fully prior to placing a replacement screen to avoid an improper seal or damage to the new screen.
Neye ihtiyacın var
-
-
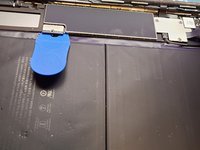
I prefer to use a heating pad to heat the screen enough in order to weaken the adhesive. You may also use a hair dryer and focus the heat onto the edges of the device in order to weaken the adhesive.
-
-
-
Bu adımda kullanılan alet:Tweezers$4.99
-
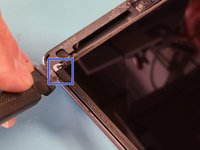
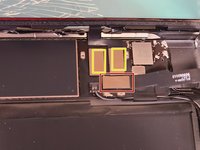
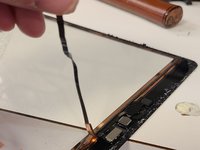
Disconnect the LCD ribbon cable.
-
Disconnect the digitizer's two ribbon cable connections.
-
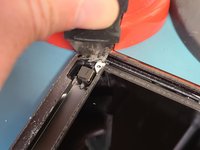
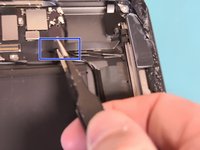
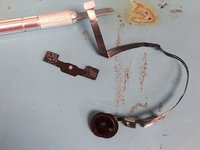
Swing open the lock which holds the home button ribbon cable in place.
-
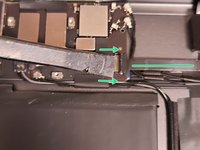
Disconnect the home button ribbon cable with the flat end of a plastic spudger, or gently slide it out of the connection port with tweezers.
-
-
-
Use a heat gun or heating pad to heat up the home button for removal. A blow dryer may also work.
-
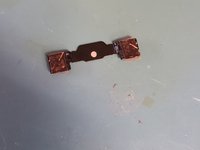
Lift the home button upwards pulling gently on the ribbon cable. Be careful to not damage the cable.
-
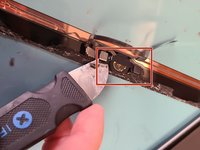
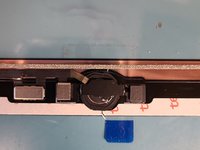
Gently pry off the metal home button bracket with a metal pry tool.
-
-
-
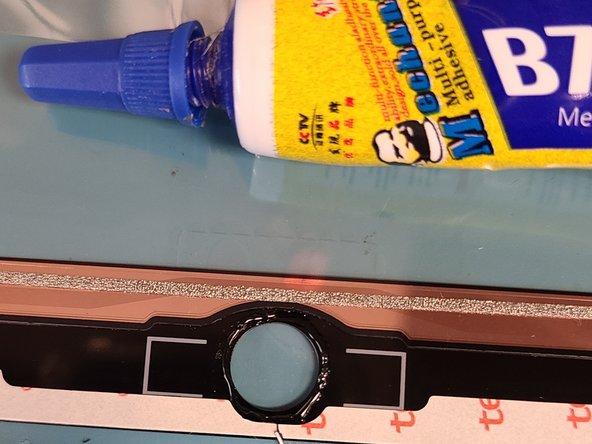
With the home button and bracket removed, apply liquid adhesive around the new glass digitizer's home buttonhole.
-
-
-
Place the home button down first, then place the metal bracket. Give the button some test clicks to insure it is mounted correctly and stable.
-
Prepare for testing, by reconnecting the home button and glass digitizer's ribbon cables in the same way they were disconnected in step 7.
-
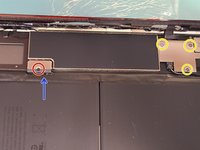
Remove the plastic pick from the battery connector and replace the PH000 screw.
-
Replace the display cable bracket with its 3 PH000 screws.
-
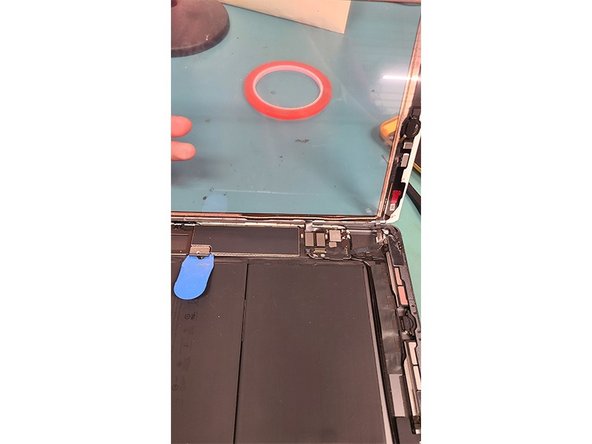
Remount the LCD using its 4 PH000 screws into the iPad housing.
-
-
-
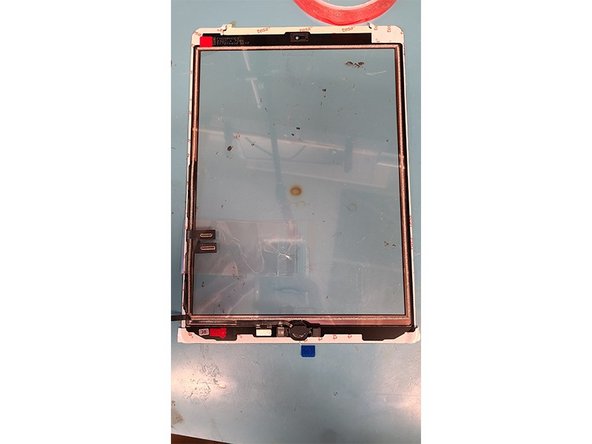
Lay the new digitizer into its groove.
-
Power on the iPad and verify the device is working properly.
-
Lift the digitizer back up gently, ensure the LCD and inside pane of the digitizer are clean.
-
Run a small bead of glue along the edge of the digitizer groove on the iPad housing.
-
Relay the digitizer into its groove and gently clamp until the glue sets.
-


The replaced screen should function identically to the original prior to the damage.
The replaced screen should function identically to the original prior to the damage.
İptal et: Bu kılavuzu tamamlamadım.
17 farklı kişi bu kılavuzu tamamladı.
