Neye ihtiyacın var


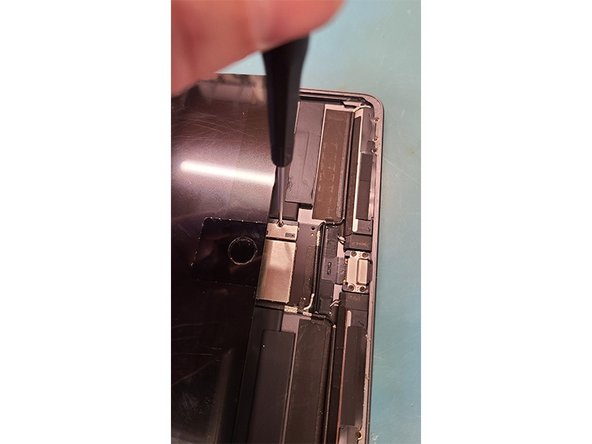

Neredeyse bitti!
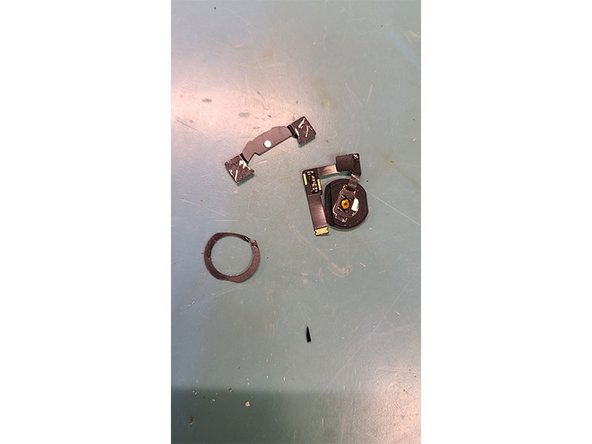
Bitiş Çizgisi
İptal et: Bu kılavuzu tamamlamadım.
2 farklı kişi bu kılavuzu tamamladı.
