Giriş
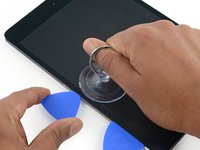
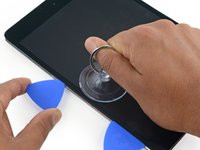
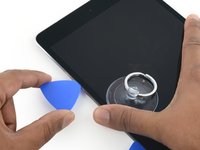
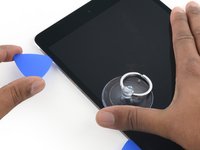
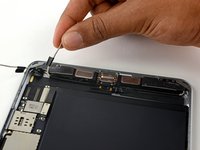
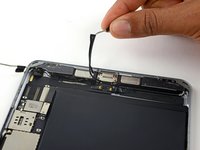
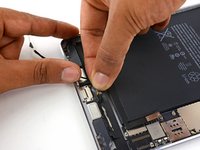
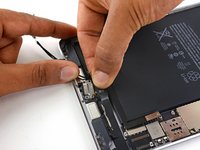
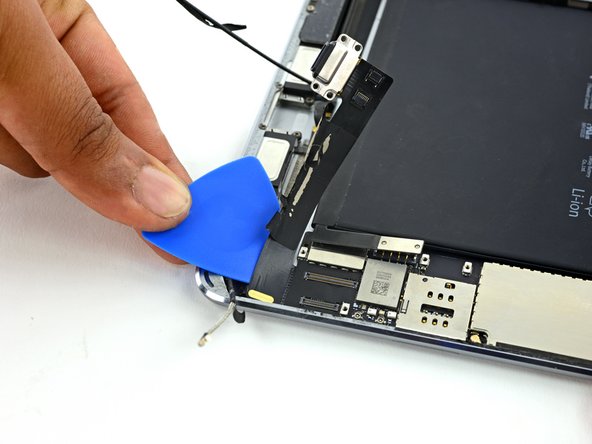
Follow the steps in this guide to remove or replace a faulty or water-damaged logic board in an iPad mini 4 LTE.
Note that if you replace your logic board without a paired home button, you will lose Touch ID functionality.
Parts of this guide were shot with a Wi-Fi model and as such the internals may look slightly different from the LTE model. The procedure is the same for both models except where noted.
Neye ihtiyacın var
-
Bu adımda kullanılan alet:Safety Glasses$3.19
-
If your display glass is cracked, keep further breakage contained and prevent bodily harm during your repair by taping the glass.
-
Lay overlapping strips of clear packing tape over the iPad's display until the whole face is covered. For particularly bad breaks, you may need to lay down two layers.
-
Do your best to follow the rest of the guide as described. However, once the glass is broken, it will likely continue to crack as you work, and you may need to use a metal prying tool to scoop the glass out.
-
-
-
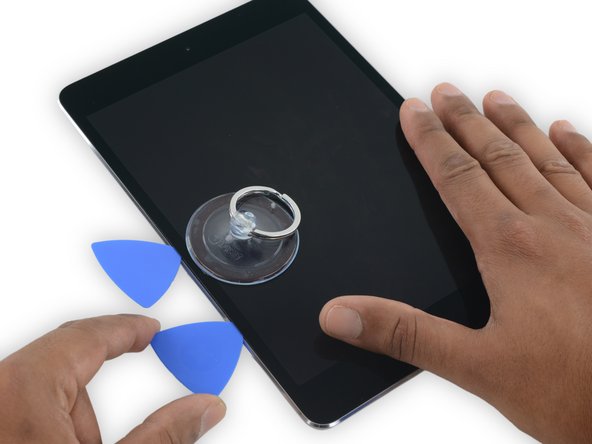
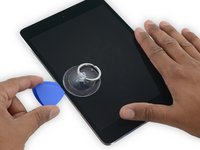
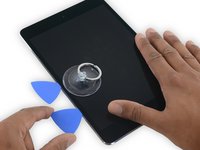
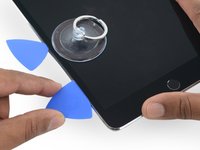
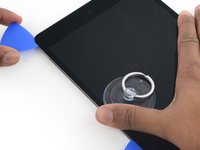
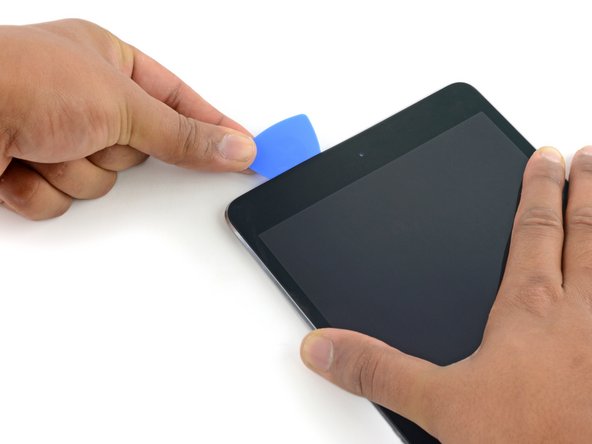
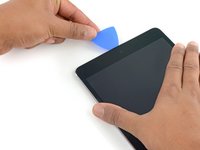
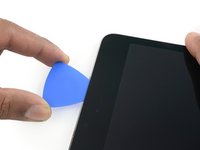
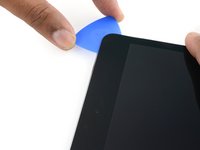
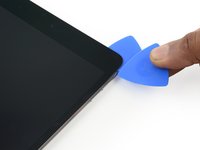
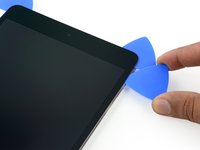
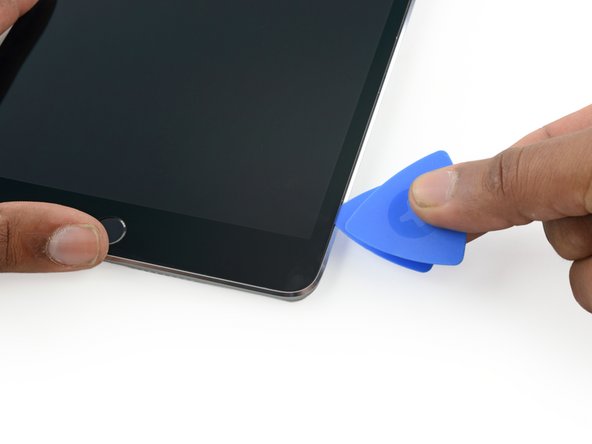
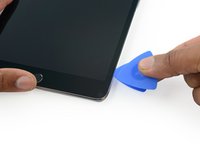
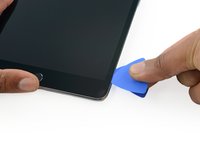
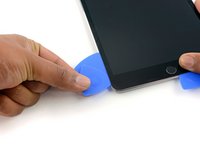
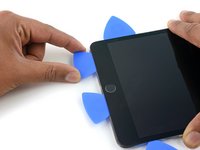
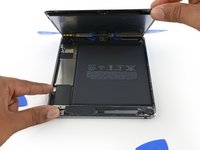
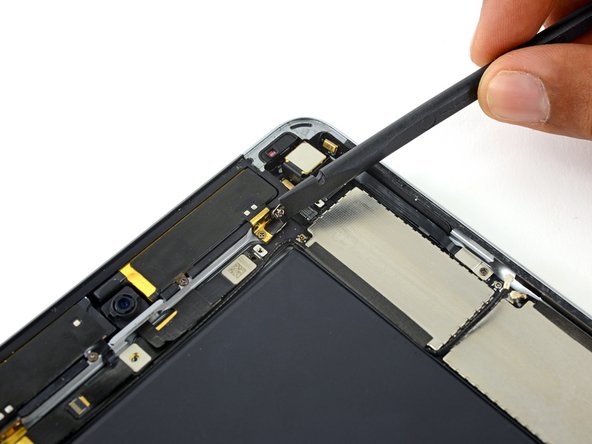
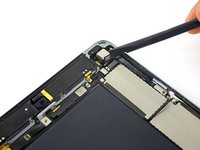
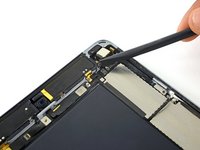
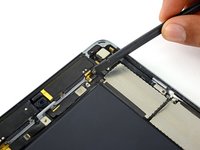
Leave the opening pick in the iPad slightly past the front-facing camera.
-
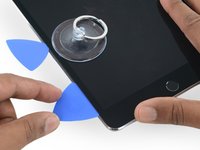
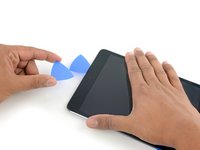
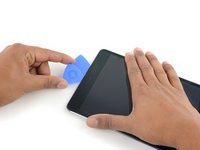
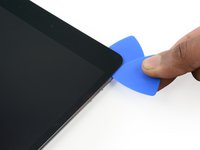
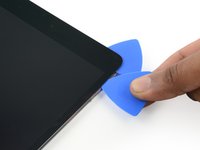
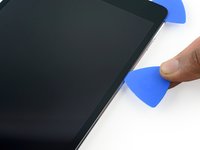
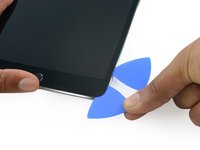
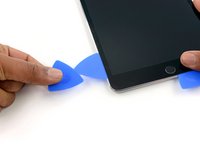
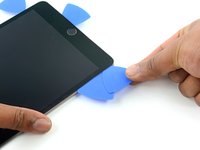
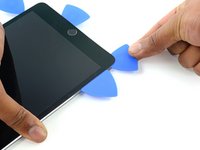
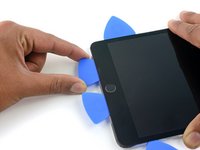
Take a second pick and insert it to the left of the camera, where the first pick just was. Slide it back to the corner to completely cut any remaining adhesive.
-
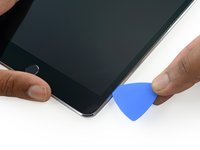
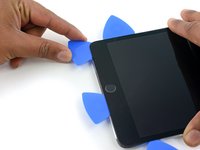
Leave the second pick in place to prevent the corner adhesive from re-sealing as it cools.
-
-
-
-
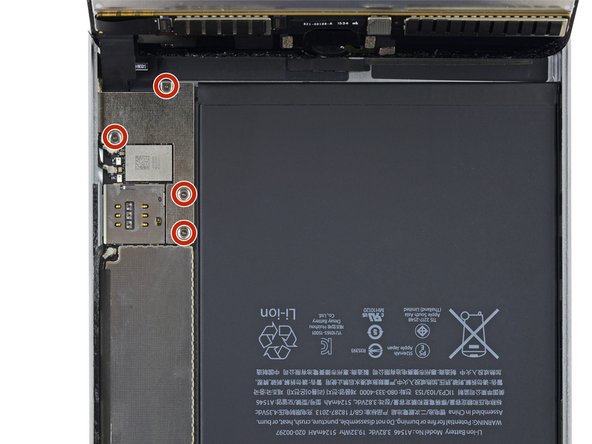
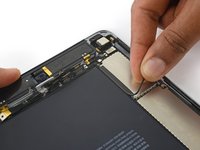
Remove the four 1.2 mm Phillips screws over the battery/display connector bracket.
-
-
-
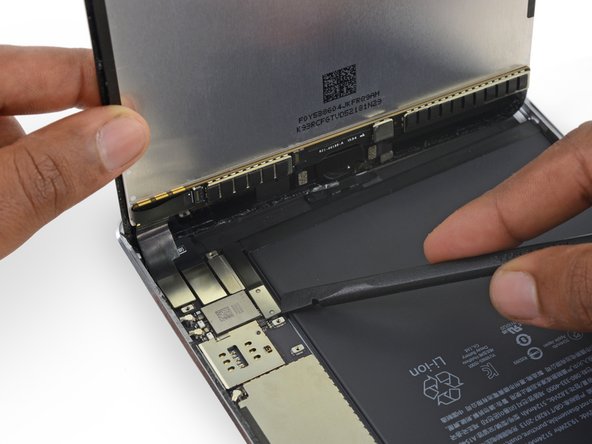
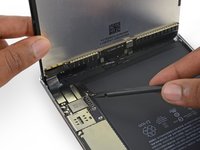
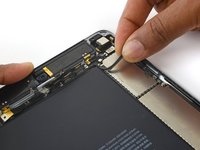
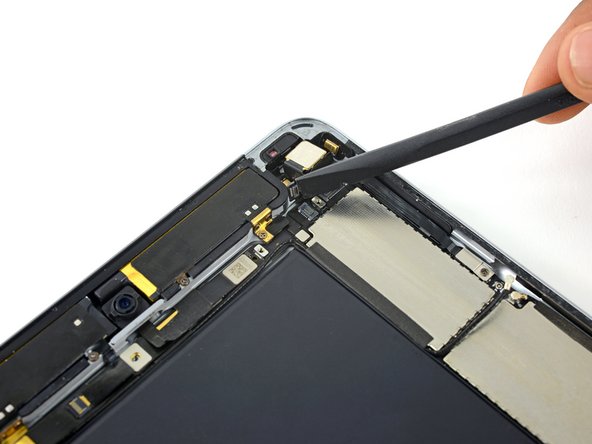
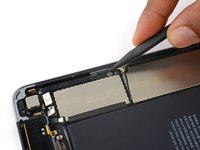
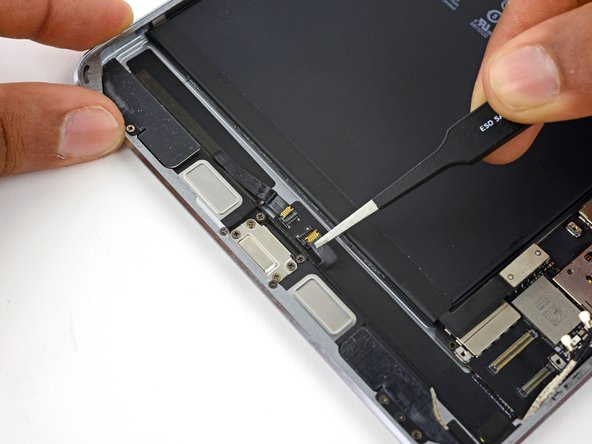
Use the pointed end of a spudger to disconnect the display data connector from its socket on the logic board.
-
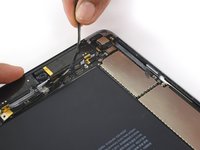
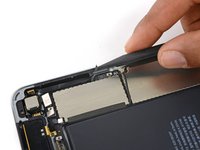
Use the pointed end of a spudger to disconnect the digitizer cable connector from its socket on the logic board.
-
-
-
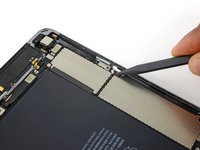
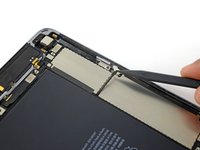
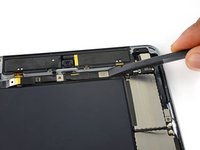
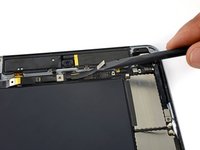
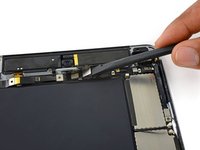
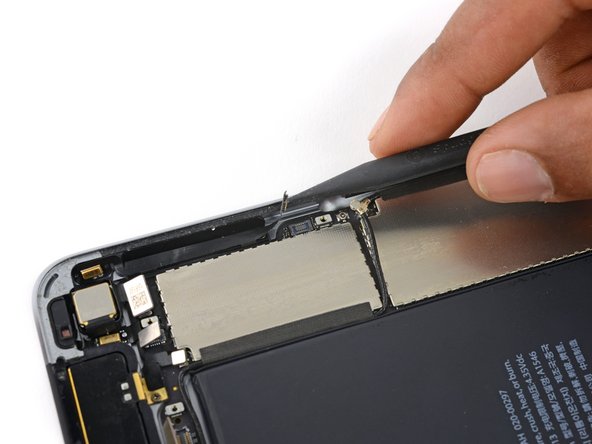
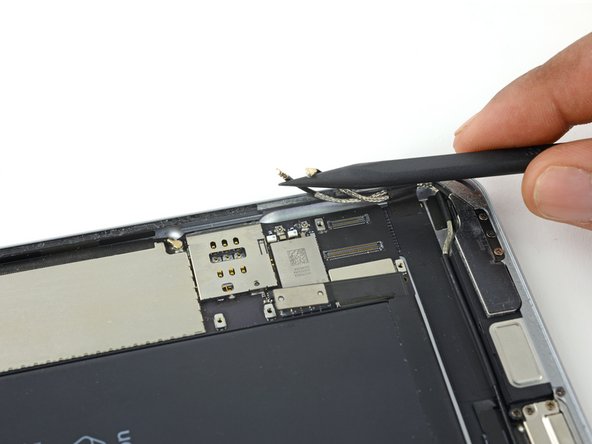
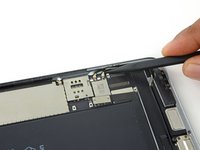
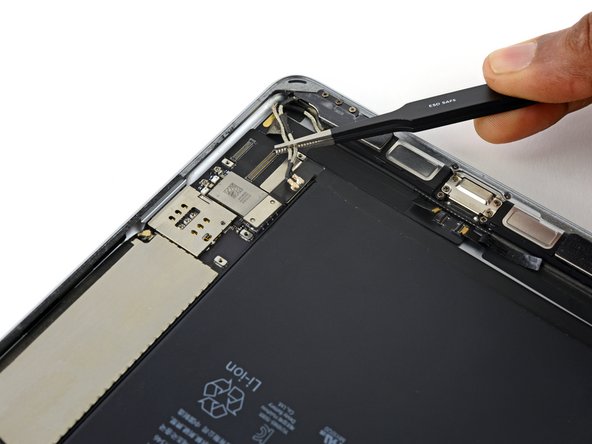
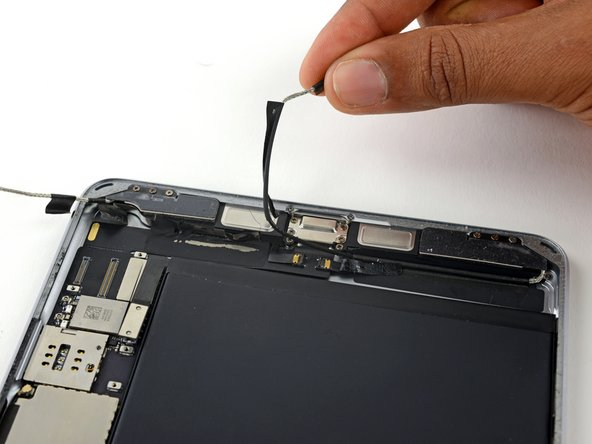
Run the pointed end of a spudger between the looped tape and the plastic cellular antenna housing to make it easier to peel the tape up.
-
-
-
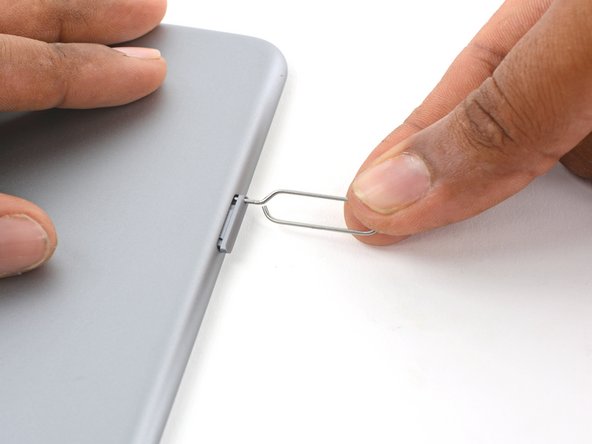
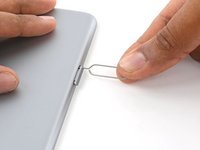
Press a paper clip or SIM eject tool into the SIM eject hole.
-
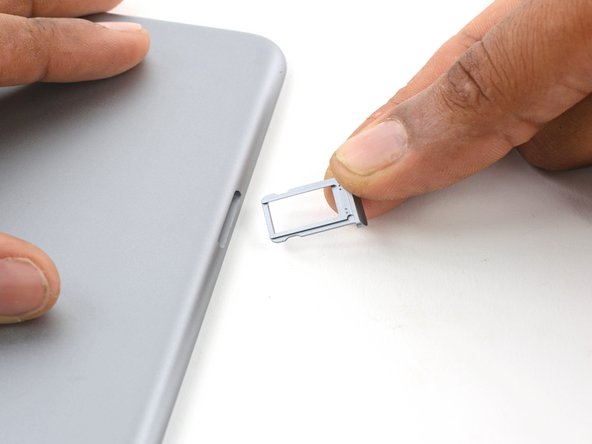
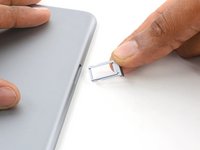
Remove the SIM card tray.
-
-
Bu adımda kullanılan alet:Plastic Cards$2.99
-
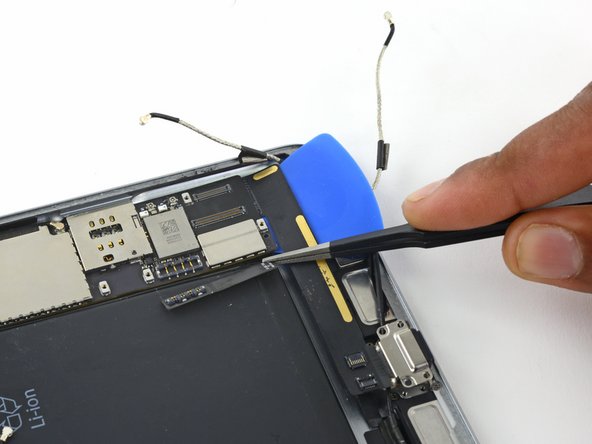
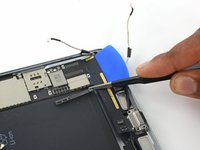
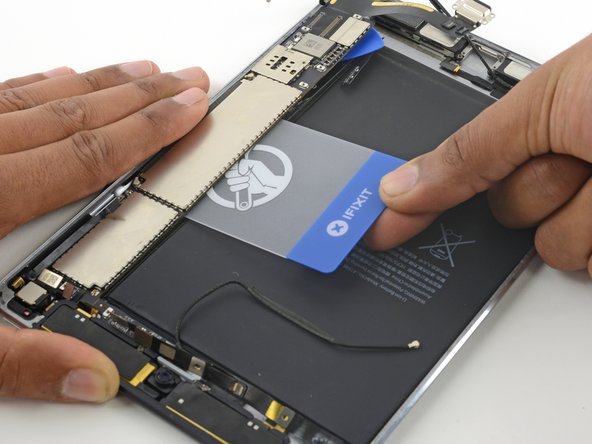
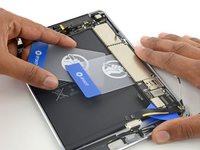
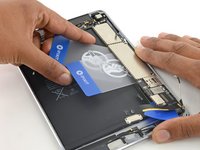
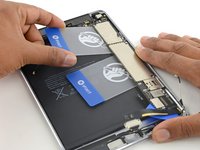
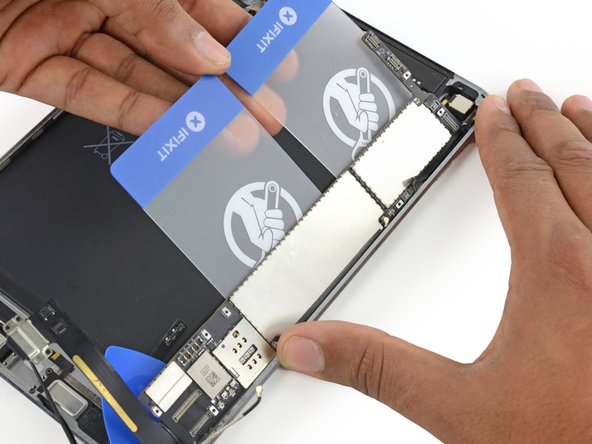
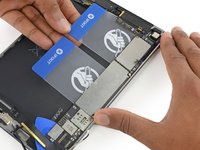
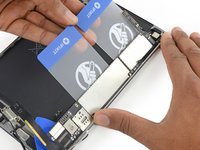
Once the opening pick has lifted a corner of the logic board, you can insert a plastic card under the board.
-
Slide the plastic card under the logic board, toward the top of the iPad, near the cameras.
-
To reassemble your device, follow these instructions in reverse order.
To reassemble your device, follow these instructions in reverse order.
İptal et: Bu kılavuzu tamamlamadım.
7 farklı kişi bu kılavuzu tamamladı.
1Rehber Yorum
This guide needs amending urgently before more people destroy their LCD displays by cutting through the tape holding the backlight to the LCD glass, or pushing a pick or other tool between the LCD glass and touchscreen glass.
The guide states:
Don't insert the opening pick any deeper than the black bezel on the side of the display.
This is WRONG and will destroy your display. The black bezel is 5mm wide, this is beyond the 1mm wide adhesive and into the LCD display and backlight assembly. Do not insert anything more than 2mm down the sides of the display.
Any further than 2mm and, like me, you will be looking at a very expensive LCD display replacement.
Thanks IFIXIT.COM for publishing an incorrect guide that has destroyed my display.


