Bu çeviri bir makine tarafından oluşturulmuştur ve henüz bir kişi tarafından incelenmemiştir. Bu dili konuşuyor musunuz? İnceleme için.
Giriş
iPhone 3GS üzerindeki ön paneli ve sayısallaştırıcıyı ayırmak ve değiştirmek için bu kılavuzu kullanın.
Neye ihtiyacın var
Videoya Genel Bakış
-
-
-
Ekran camınız çatlaksa, onarım sırasında daha fazla kırılmayı önlemek ve fiziksel yaralanmaları engellemek için camı bantlayın.
-
iPhone'un ekranının tüm yüzeyi kapanana kadar şeffaf koli bandını üst üste gelecek şekilde şeritler halinde yapıştırın.
 FixBot'a Sor
-
-
-
-
-
iPhone'un dock konnektör ucundaki iki adet Yıldız vida (Phillips #00) çıkarın.
-
-
-
Metal sapı vantuzdan çıkarın. Vantuzun tabanını tutmak, metal saptan tutmaktan daha kolay ve güvenlidir.
-
iPhone'un ekran düzeneğinin alt kısmını nazikçe yukarı çekmek için ana sayfa düğmesinin yakınında küçük bir vantuz kullanın.
-
-
-
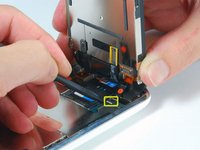
Ekran düzeneğini bir elinizle tutmaya devam edin ve diğer elinizle bir plastik kanırtma aparatı kullanarak "1" etiketli siyah ribbon kabloyu ayırın.
-
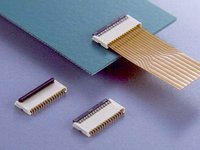
"1" numaralı ribbon kablo, fiş tipi bir konnektörle bağlanmıştır. Kablonun ucundaki blok, devre kartı üzerindeki bir sokete basitçe itilerek takılan fiştir. Başka herhangi bir kilitleme mekanizması kullanılmaz.
-
-
-
Ekran düzeneğini yaklaşık dikey konuma gelene kadar yukarı doğru döndürün. Bu, kalan kabloları ayırmak için daha kolay erişim sağlayacaktır.
-
"2" olarak etiketlenmiş siyah ribbon kabloyu ayırmak için bir plastik kanırtma aparatı kullanın.
-
-
-
Ribbon kabloyu konnektörden dışarı kaydırın ve ekran düzeneğini iPhone'dan çıkarın.
-
-
-
Ekran düzeneğinin köşesindeki tek bir #00 Phillips vidayı çıkarın.
-
-
-
Ekran düzeneğinin sağ tarafından iki adet Phillips #00 vidayı çıkarın.
-
-
-
-
Ekranı çevirin ve ekran düzeneğinin kenarında ince bir siyah bant şeridi varsa dikkatlice soyun.
-
-
-
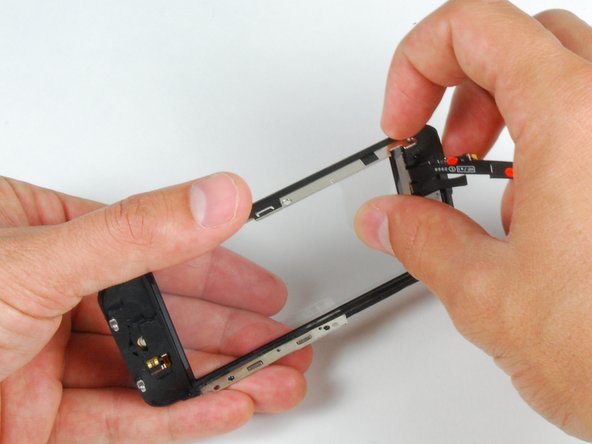
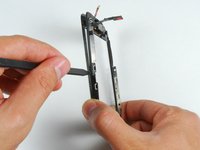
Ekran düzeneğini ters çevirin ve bir metal plastik kanırtma aparatını ekran düzeneğinin kenarı boyunca uzanan iki metal ray arasına tekrar dikkatlice yerleştirin. LCD ekranı camdan ayırmak için plastik kanırtma aparatını yavaşça döndürerek kaldırın.
-
-
-
LCD panelini cam üzerindeki ribbon kablolardan uzağa kaydırarak LCD ve camı birbirinden ayırın.
-
-
-
-
-
Cam üst veya alt kısımda kırıldıysa, parçaları çıkarırken özellikle sabırlı ve nazik olun. Aşırı durumlarda, plastiklere yapışmış halde kalan cam kırıklarını tek tek ayıklamanız gerekebilir.
-
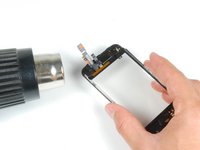
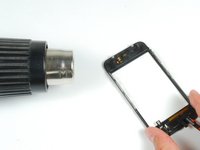
Bir ısı tabancası veya saç kurutma makinesi kullanarak, dokunmatik ekranın sol üst bölgesini ısıtın.
-
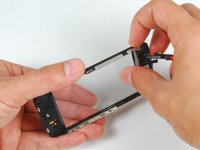
Sol köşeyi yavaşça kaldırmak için tırnaklarınızı kullanın. Dokunmatik ekran plastikleri, dokunmatik ekrana yapıştırıcı ile tutturulmuştur. Köşeleri kurtarmak biraz çaba gerektirebilir.
-
Isıtın ve aynı işlemi sağ taraf için tekrarlayın.
-
-
-
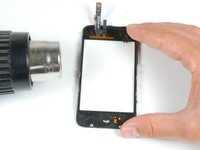
Üst kısım serbest kaldığında, dokunmatik ekranın kenarlarını ısıtmak için ısı tabancasını kullanın.
-
Dokunmatik ekranın plastik kısımlarının kenarlarını serbest bırakmak için plastik kanırtma aparatını kullanın.
-
-
-
Alt köşeleri ısı tabancasıyla ısıtın.
-
Köşeleri kurtarmak için yine tırnaklarınızı kullanın.
-
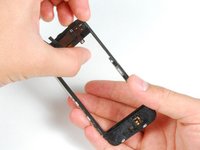
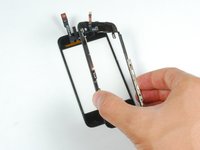
Dokunmatik ekran plastiklerini dokunmatik ekrandan çıkarın.
-
-
-
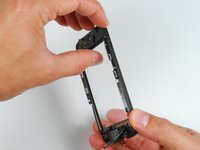
Yeni paneli yapıştırmak için, ön panel çerçevesindeki mevcut yapışkanın mümkün olduğunca çoğunu soyarak çıkarın.
-
-
-
Ön panel plastiklerinin üst kısmına özel üretim yapışkan bantları veya çift taraflı bant yerleştirin.
-
Yapışkan bantları plastik çerçeveye bastırmak için bir plastik kanırtma aparatının düz ucunu kullanın.
-
-
-
İkinci yapışkan bandı veya çift taraflı bandı ön panel çerçevesinin ana sayfa düğmesi ucuna yerleştirin.
-
Bandı yapıştırmak ve çıkartmanın altındaki hava kabarcıklarını dışarı itmek için plastik kanırtma aparatının düz ucunu bandın üzerinde gezdirin.
-
-
-
Başlamak için bir plastik kanırtma aparatının ucunu kullanarak, ön panel plastiğindeki yapışkan bantların arka kısımlarını soyun.
-
-
-
Ön panel kablolarını, engel oluşturmamaları için ana sayfa düğmesi girintisine doğru katlayın.
-
-
-
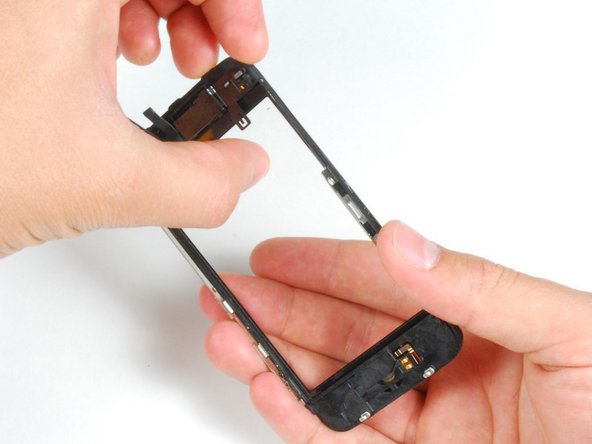
Üst kabloların engellemeyecek şekilde katlandığından emin olarak ön camın üst kısmını ön panel çerçevesi ile hizalayın.
-
-
-
Ön paneli ve ön panel çerçevesini birbirine bastırın ve ana sayfa düğmesi uçlarının hizalı olduğundan emin olun.
-
-
-
Yapışkanın tam olarak yapıştığından emin olmak için telefonun her iki ucuna sıkıca bastırın.
-










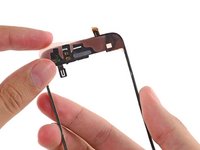
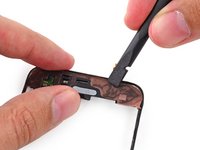
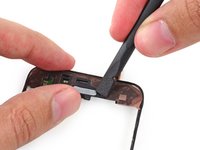
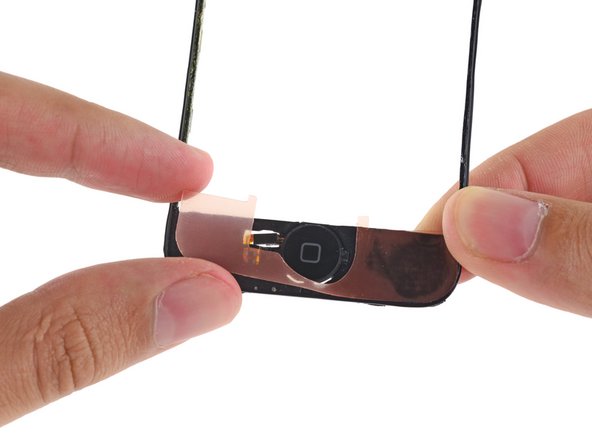


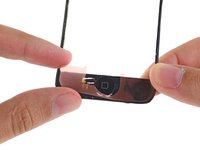
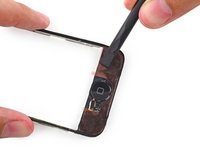
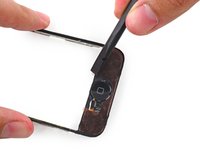


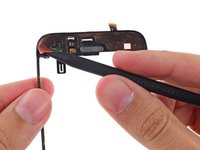
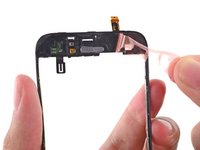
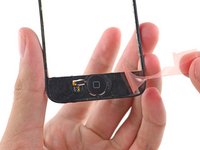


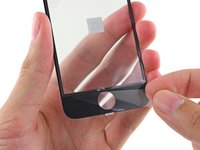
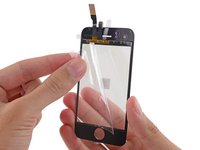
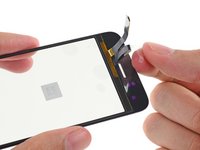


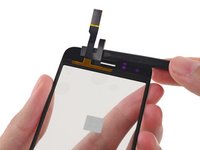
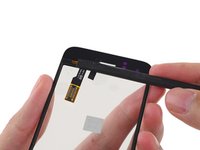
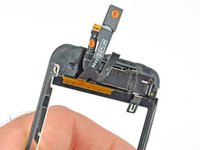


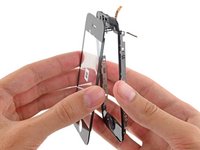
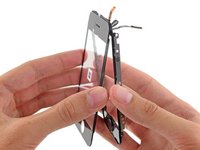


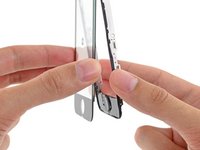
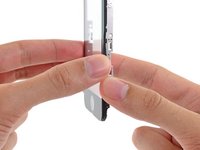

Cihazınızı tekrar birleştirmek için bu talimatları tersten uygulayın.
İptal et: Bu kılavuzu tamamlamadım.
541 farklı kişi bu kılavuzu tamamladı.

8Kılavuz Yorumları
Step 15:
the screen sort of sits in the plastic because of the band of material running around the perimeter of the assembly being more firmly attached to the plastic than the screen. I found this step much easier to complete the second time around because i knew to dig my nail in between the screen and the material running around the perimeter of the assembly in a front to back motion. Then i pivoted my nail up 90 degrees so it was between the plastic and the screen and was able to gently pry them apart while heating.
i second that, it should really be another bulletpoint because its really hard to see if you are not looking for it. Something like:
Push gently on the thin plastic bezel surrounding the frontpanel, do not try to push into the side of the assembly. It can look like there is a seam but there is not!
Its really the only way to get it done without ripping off any parts of the plastic bezel... it does not show when reassembled but its creating a wide portal for dust particles.
NOTE: Just completed the installation and was supremely frustrated when the screen didn't turn back on. My first inclination was that the 3rd connector wasn't seated properly...so I opened up and re-attached 3 times. With girlfriend peering over my 'soon to be a failure of a bf' shoulder, I asked her to google up a 'hard reset'. Eureka. Hold down the black nav button and the top power button at the same time until the silver apple reappears. Crisis averted, great tutorial otherwise!
When removing the broken glass, be sure to remove adhesive from the side rails of the iPhone front panel assembly, otherwise your front panel won't fit as snugly as it should.
When reassembling, take care to properly insert ribbon cable 3, as it is much easier to remove it than it is to install it. Having an extra set of hands was invaluable for this repair.
I wish the instructions warned me to make sure a sim card is in the socket before reassembling, and/or they gave detailed reassembly instructions, and/or had higher quality pictures (I zoomed in on the pictures multiple times while reassembling, and could not see exactly how things were supposed to fit back together). My replacement went well, and all was working perfectly, but a piece of the cable was apparently sticking down into the sim card socket, and when my 21 yr old son forced the sim card it, it destroyed the cable that is attached to the plastic speaker assembly. Now I get to buy the more expensive repair kit that includes that part, and try again. D amn, I'm frustrated. -Bill
