Giriş
Use this guide to replace the earpiece speaker in your iPhone 5c and turn it from micro iPad back to usable phone again.
Neye ihtiyacın var
-
-
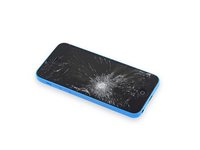
If your display glass is cracked, keep further breakage contained and prevent bodily harm during your repair by taping the glass.
-
Lay overlapping strips of clear packing tape over the iPhone's display until the whole face is covered.
-
-
-
Power off your iPhone before beginning disassembly.
-
Remove the two 3.8 mm P2 Pentalobe screws on either side of the Lightning connector.
-
-
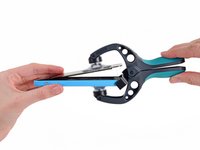
Bu adımda kullanılan alet:iSclack$24.99
-
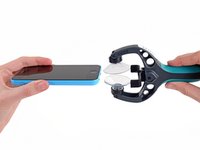
Close the handle on the iSclack, opening the suction-cup jaws.
-
Place the bottom of your iPhone in between the suction cups, against the plastic depth gauge.
-
The top suction cup should rest just above the home button.
-
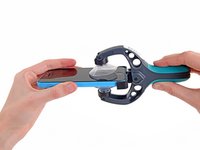
Open the handles to close the jaws of the iSclack. Center the suction cups and press them firmly onto the top and bottom of the iPhone.
-
-
-
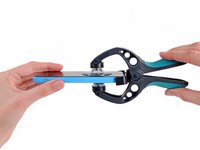
Hold onto your iPhone securely and close the handle of the iSclack to separate the suction cups, pulling the front panel up from the rear case.
-
The iSclack is designed to safely open your iPhone just enough to separate the pieces, but not enough to damage any cables.
-
Skip the next three steps and continue on to Step 8.
-
-
-
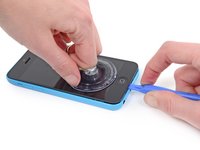
Press a suction cup onto the screen, just above the home button.
-
-
-
While holding the iPhone down with one hand, pull up on the suction cup to slightly separate the front panel assembly from the rear case.
-
With a plastic opening tool, begin to gently pry the rear case down, away from the display assembly, while you pull up with the suction cup.
-
-
-
-
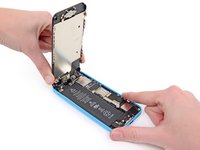
Lift the home button end of the front panel up to gain access to the connectors near the top of the phone.
-
Open the display to about a 90º angle, and lean it against something to keep it propped up while you're working on the phone.
-
In a pinch, you can use an unopened canned beverage to hold the display.
-
Add a rubber band to keep the display securely in place while you work. This prevents undue strain on the display cables.
-
-
-
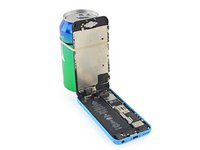
Use a spudger or a clean fingernail to gently pry the battery connector up from its socket on the logic board.
-
-
-
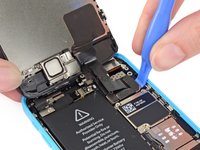
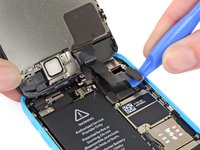
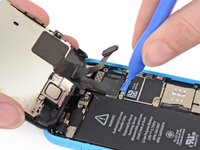
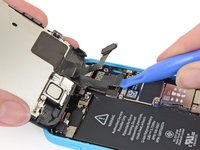
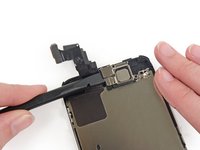
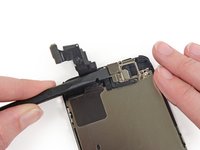
Use a plastic opening tool or a fingernail to disconnect the front-facing camera and sensor cable connector.
-
-
-
Remove the front panel assembly from the rear case.
-
-
-
Remove two Phillips #000 screws securing the upper component bracket to the display assembly.
-
One 4.2 mm screw
-
One 2.3 mm screw
-


To reassemble your device, follow these instructions in reverse order.
İptal et: Bu kılavuzu tamamlamadım.
76 farklı kişi bu kılavuzu tamamladı.

3Kılavuz Yorumları
Everything went well; ordered the parts and tools from iFixit. The screws are super tiny and was too lazy to fully clean my counter before starting. One screw was almost lost. Next time I'll fully clean the counter to account for those wayward screws. My wife is happy with her new ear speaker.
Ganz tolle Anleitung zur Reparatur des Lautsprechers. Vielen Dank!