Bu kılavuzda güncel değişiklikler var. En son onaylanmamış sürüme geçin.
Giriş
Use this guide to bring life back to your iPhone 7 Plus with a new battery. If your battery is swollen, take appropriate precautions.
This guide instructs you to completely detach the display assembly; this is intended to prevent damage to the display cables. If you feel comfortable removing the battery without putting undue strain on the display cables, you can skip the steps for disconnecting the display.
For optimal performance, after completing this guide, calibrate your newly installed battery: Charge it to 100% and keep charging it for at least two more hours. Then use your iPhone until it shuts off due to low battery. Finally, charge it uninterrupted to 100%.
Neye ihtiyacın var
Videoya Genel Bakış
-
-
Power off your iPhone before beginning disassembly.
-
Remove the two 3.4 mm pentalobe screws at the bottom edge of the iPhone.
-
-
-
Use a hairdryer or prepare an iOpener and apply it to the lower edge of the iPhone for about a minute in order to soften up the adhesive underneath.
-
-
-
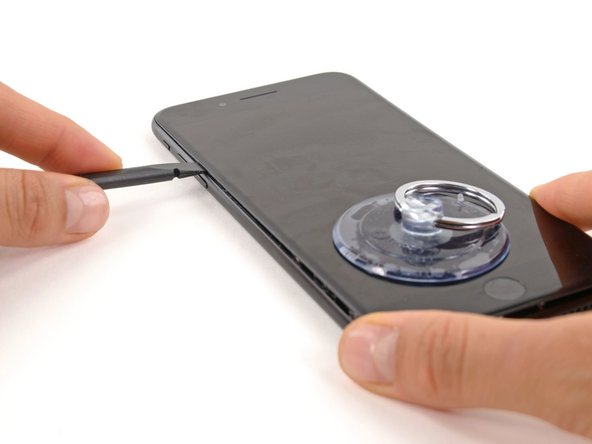
Insert the flat end of the spudger between the front panel and the rear case at the lower left edge of the iPhone.
-
Slide the spudger up the left edge of the phone starting at the lower edge and moving towards the volume control buttons and silent switch, breaking up the adhesive holding the display in place.
-
-
-
-
Remove the following four tri-point Y000 screws securing the lower display cable bracket to the logic board:
-
Three 1.2 mm screws
-
One 2.6 mm screw
-
-
-
Use the flat end of a spudger or a fingernail to disconnect the two lower display connectors by prying them straight up from their sockets on the logic board.
-
-
-
Remove the following two Phillips screws securing the barometric vent to the rear case:
-
One 2.9 mm screw
-
One 2.1 mm screw
-
-
-
Use the flat end of a spudger to disconnect the Taptic Engine connector from its socket on the logic board.
-
-
-
If any of the adhesive strips broke off and the battery remains stuck to the rear case, prepare an iOpener or use a hair dryer to heat the rear case directly behind the battery. It should be slightly too warm to touch comfortably.
-
Flip the phone over and use a plastic card to break up any remaining adhesive behind the battery.
-
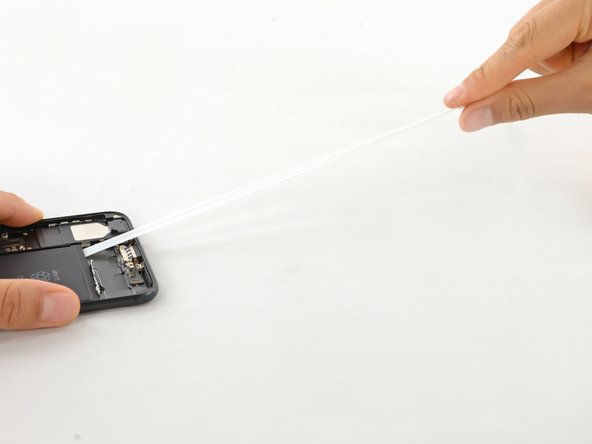
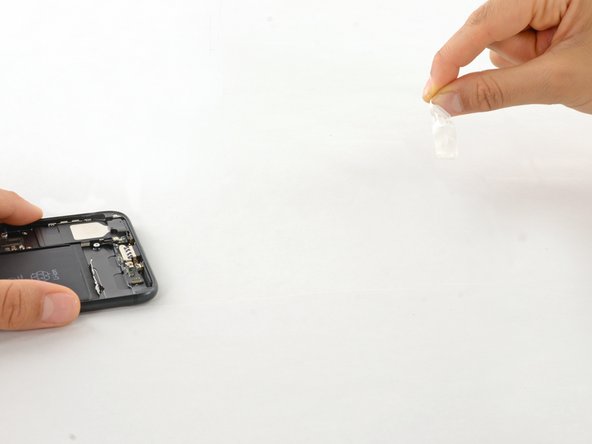
Thread the floss or string behind the upper battery corners, bring the ends together, wrap them around a folded cloth, and pull evenly.
-


To reassemble your device, follow the above steps in reverse order.
Take your e-waste to an R2 or e-Stewards certified recycler.
Repair didn’t go as planned? Check out our Answers community for troubleshooting help.
To reassemble your device, follow the above steps in reverse order.
Take your e-waste to an R2 or e-Stewards certified recycler.
Repair didn’t go as planned? Check out our Answers community for troubleshooting help.
İptal et: Bu kılavuzu tamamlamadım.
406 farklı kişi bu kılavuzu tamamladı.

51 Yorum
can the battery from iPhone 7plus fit in the 6s plus? looks to me like is the same type of connector and same dimensions so it would be an easy way to gain 150 extra mah by using the iphone 7 plus battery
Alex
No, because the size are diferents
Of course you can! WHY NOT?
How can I attach the screen back to the body after replacing the old battery,do i need any adhesive to attach the screen to the body?
Not necessarily.