Bu sürüm, hatalı düzenlemeler içerebilir. En son doğrulanmış bellek kopyası dönün.
Neye ihtiyacın var
-
Bu adım çevrilmemiş. Çevrilmesine yardım edin
-
Flip the device over onto its back.
-
Find the side brush, and unscrew the single screw that connects to brush motor by using the Phillips head #2 screwdriver.
-
-
Bu adım çevrilmemiş. Çevrilmesine yardım edin
-
Using a Phillips #1 screwdriver, remove the four screws on the back panel.
-
Once the screws are loose gently pry the back plate away from the body by using the spudger tool.
-
-
Bu adım çevrilmemiş. Çevrilmesine yardım edin
-
Grab the two pieces of green tape with your thumb and index finger
-
Pull up on the battery in an upwards direction to remove it
-
-
-
Bu adım çevrilmemiş. Çevrilmesine yardım edin
-
These are the contact points on the Roomba for the battery
-
These are the contact points on the battery
-
-
Bu adım çevrilmemiş. Çevrilmesine yardım edin
-
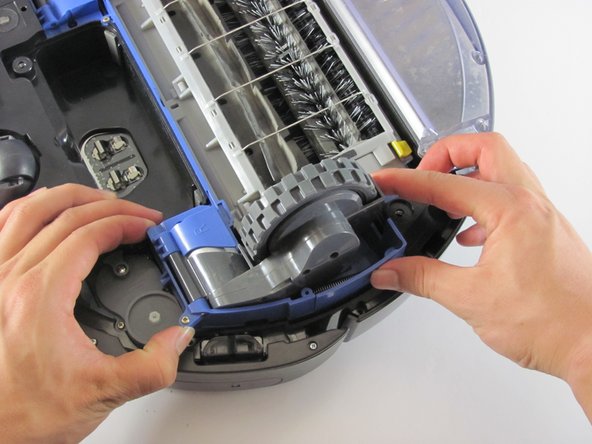
Remove the three screws with your Phillips head #1, holding the drive wheels in place
-
-
Bu adım çevrilmemiş. Çevrilmesine yardım edin
-
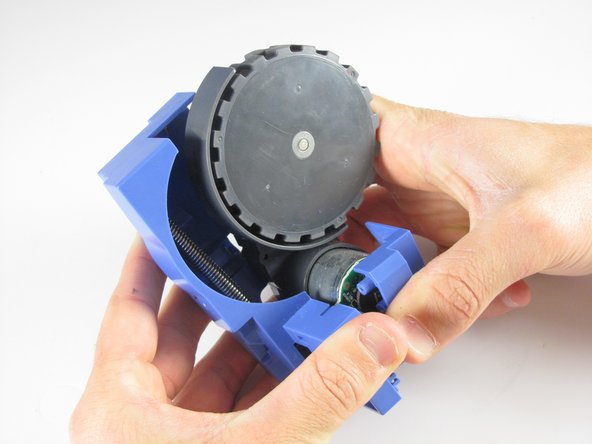
Unscrew the actual wheel from the blue plastic holder
-
Pull apart the blue holder to completely remove the wheel
-
-
Bu adım çevrilmemiş. Çevrilmesine yardım edin
-
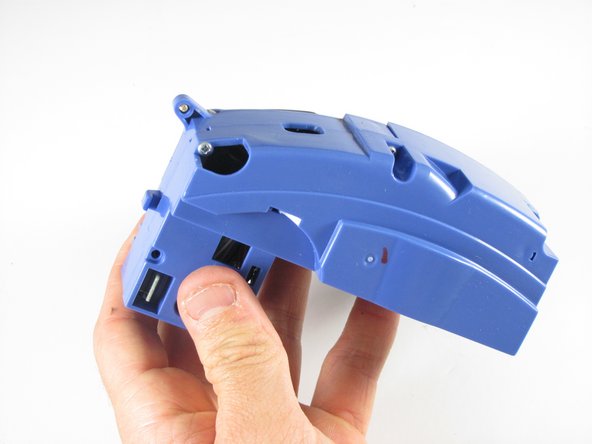
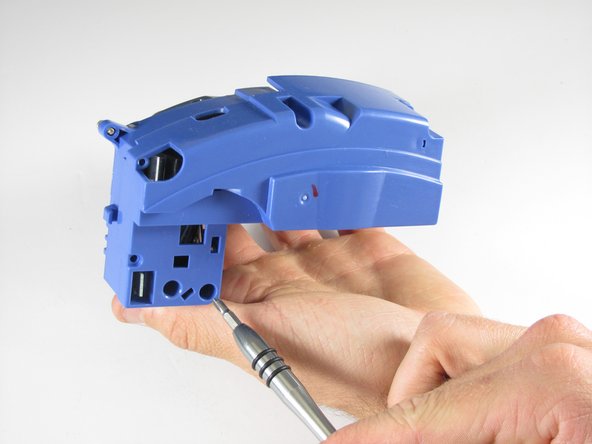
To go further into the holder to access the programming chips you can unscrew these compartments
-


İptal et: Bu kılavuzu tamamlamadım.
Bir başkası bu kılavuzu tamamladı.
Ekip

Cal Poly, Team 21-20, Maness Winter 2015 Cal Poly, Team 21-20, Maness Winter 2015 üyesi
CPSU-MANESS-W15S21G20
4 Üyeler
14 adet Kılavuz yazıldı