Giriş
This guide provides a replacement walkthrough for the body of the ring Indoor Cam. This walkthrough is useful for opening the device for internal repairs or replacement of the camera base or body.
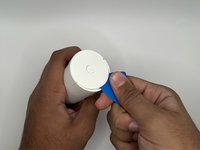
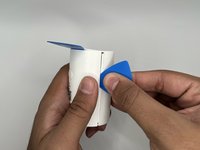
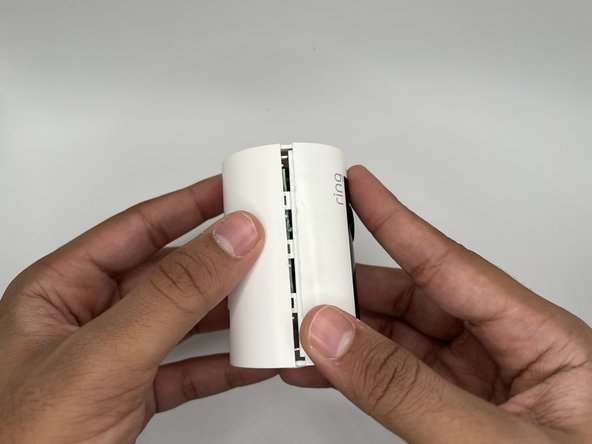
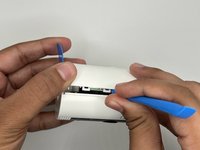
While prying the device, insert multiple iFixit opening picks into the creases to loosen the interlocking of the cam covers and prevent damaging your device.
Neye ihtiyacın var
-
-
Place the cam with the base facing towards you.
-
Loosen the 21.6 mm silver screw using a Phillips #1 screwdriver.
-
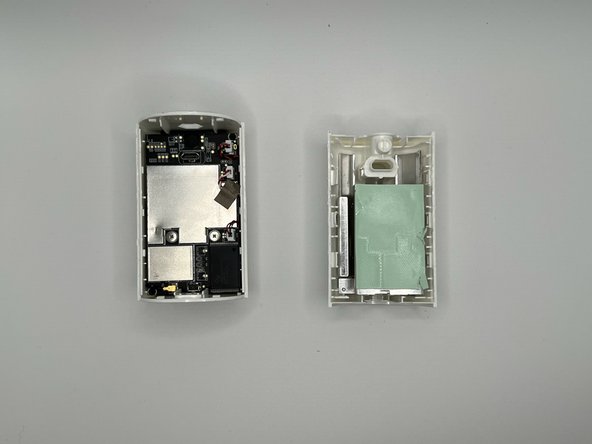
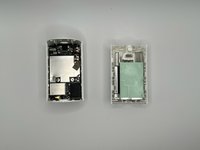
Remove the base from the rest of the camera.
-
-


To reassemble your device, follow these instructions in reverse order.
To reassemble your device, follow these instructions in reverse order.

Ekip

University of North Texas, Team 4-13, Harold Fall 2023 University of North Texas, Team 4-13, Harold Fall 2023 üyesi
UNT-HAROLD-F23S4G13
4 Üyeler
4 adet Kılavuz yazıldı