Ana içeriğe geç

samsung xcover 3 digitizer replacement Replacement

Neye ihtiyacın var

  1. samsung xcover 3 digitizer replacement Replacement, remove battery and backcover: adım 1, 3 resimden 1. samsung xcover 3 digitizer replacement Replacement, remove battery and backcover: adım 1, 3 resimden 2. samsung xcover 3 digitizer replacement Replacement, remove battery and backcover: adım 1, 3 resimden 3.
    • use a spudger and remove the back cover.

    • remove the battery

  2. samsung xcover 3 digitizer replacement Replacement: adım 2, 3 resimden 1. samsung xcover 3 digitizer replacement Replacement: adım 2, 3 resimden 2. samsung xcover 3 digitizer replacement Replacement: adım 2, 3 resimden 3.
    Bu adımda kullanılan alet:
    Plastic Cards
    $2.99
    Satın Al
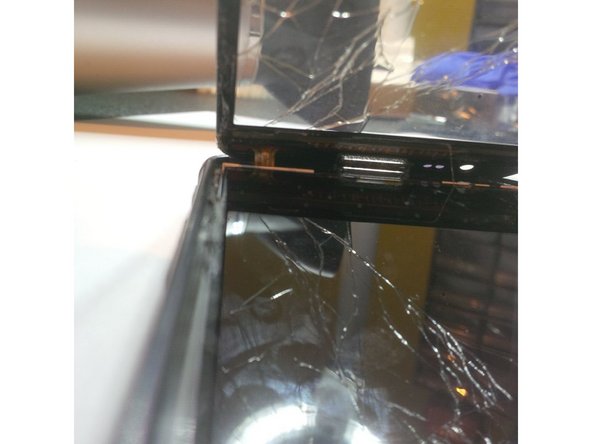
    • now you have to heat up the screen using a heat gun or hairdryer.

    • use the hair dryer or heatinggun not to close to the screen ( +- 15 cm from the screen and go up and down. )do it 2 min , stop and see that the adhesive is coming loose.) if not repeat this step.

    • Use a spudger and "peel" or "slide" the spudger under the digitizer, watch out for the lcd screen). Once you're under the digitizer use a credit card or plastic cards to slide between the adhesive and the digitizer. If the adhesive is still to hard , heat again.

    • The guys of smartfastfix ( youtube) link : https://www.youtube.com/watch?v=QLNTUO-f... did a well job on this.

  3. samsung xcover 3 digitizer replacement Replacement: adım 3, 3 resimden 1. samsung xcover 3 digitizer replacement Replacement: adım 3, 3 resimden 2. samsung xcover 3 digitizer replacement Replacement: adım 3, 3 resimden 3.
    • removing the digitizer.

    • when you put the digitizer in a 90 degrees position , you'll see a flex cable. You can cut it with pliers.

    • the digitizer is loose.

  4. samsung xcover 3 digitizer replacement Replacement, heating the lcd. step 1: adım 4, 3 resimden 1. samsung xcover 3 digitizer replacement Replacement, heating the lcd. step 1: adım 4, 3 resimden 2. samsung xcover 3 digitizer replacement Replacement, heating the lcd. step 1: adım 4, 3 resimden 3.
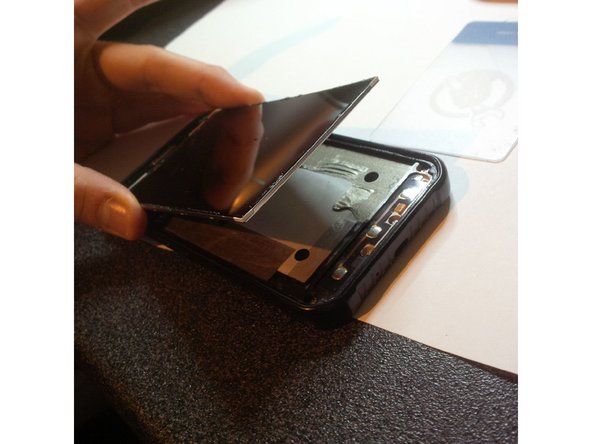
    • again heat the Phone to loose the adhesive under the lcd screen.

    • heat the Phone also at the back.

    • again don't heat to much...

  5. samsung xcover 3 digitizer replacement Replacement, heating the lcd and removing it step 2: adım 5, 2 resimden 1. samsung xcover 3 digitizer replacement Replacement, heating the lcd and removing it step 2: adım 5, 2 resimden 2.
    • use a spudger to go under the screen but do this very very gently. Take your time.

    I broke two screens now. The screen is glued quite tight with two wide stripes. Maybe it helps to start a little bit above the volume buttons on both sides and then move downwards. Maybe there is a nother method to dissolve the glue (alcohol?)?

    Max - Yanıt

  6. samsung xcover 3 digitizer replacement Replacement: adım 6, 3 resimden 1. samsung xcover 3 digitizer replacement Replacement: adım 6, 3 resimden 2. samsung xcover 3 digitizer replacement Replacement: adım 6, 3 resimden 3.
    • put the lcd in a 90 degrees position. You'll see in picture 1 there is a plastic lid and a tiny screw. remove the screw and the plastic lid.

    • under the lid there is a flex cable. use a spudger to remove the cable.

  7. samsung xcover 3 digitizer replacement Replacement: adım 7, 3 resimden 1. samsung xcover 3 digitizer replacement Replacement: adım 7, 3 resimden 2. samsung xcover 3 digitizer replacement Replacement: adım 7, 3 resimden 3.
    • a few steps ago you had to cut the cable from the digitizer. now you see that piece is still on the board at the lcd screen. use a spudger to open the connector's lid and remove the rest of the cable.

  8. samsung xcover 3 digitizer replacement Replacement: adım 8, 3 resimden 1. samsung xcover 3 digitizer replacement Replacement: adım 8, 3 resimden 2. samsung xcover 3 digitizer replacement Replacement: adım 8, 3 resimden 3.
    • take the old broken digitizer and remove the plastic/rubber buttons., there is adhesive so you have to use the spudger to peel it off..

  9. samsung xcover 3 digitizer replacement Replacement: adım 9, 3 resimden 1. samsung xcover 3 digitizer replacement Replacement: adım 9, 3 resimden 2. samsung xcover 3 digitizer replacement Replacement: adım 9, 3 resimden 3.
    • use the buttons to put it in the new digitizer.

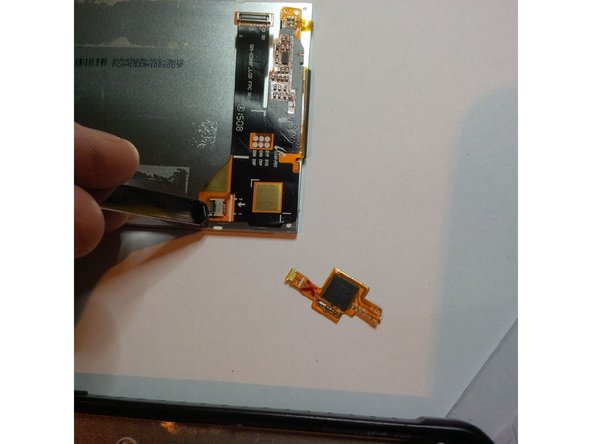
    • connect the flex cable to the board of the lcd screen. ( i forgot to take a picture of this , my apologies )

    • connect the flex cable again to the Phone ( where the plastic lid and screw was..)

    • put the digitizer again over the lcd screen. see that it is in the correct place.

    • these are the steps to follow. sometimes it is hard to see things on the pictures so again there is a good youtube movie from the guys from smartfastfix... see link in step 2 or 3 .

Sonuç

To reassemble your device, follow these instructions in reverse order.

10 farklı kişi bu kılavuzu tamamladı.

Kevin D

Üyelik tarihi: 05/02/14

7.276 İtibar

21 adet Kılavuz yazıldı

14 Yorum

Is it waterproof after repair?

Gerroe - Yanıt

Hey no i dont think it is 100% waterproof

Kevin D -

Reassembly instructions would have been nice as it's far more difficult to re-fit the screen than take it off. My advice to anyone doing this is to make sure the lcd is fitted in the correct position in the phone before sticking the screen down properly otherwise you might have to start the whole process again to realign the lcd.

Clems - Yanıt

Thats true. And my apologies for that. It was late that day and i did it alone so i needed both hands to do this. But your info i correct. thanks for that.

Kevin D -

Any ideas on where to buy parts? I have tried Aliexpress but ran into quality issues.

James Moloney - Yanıt

Hey , i only know stores in belgium, Holland and Germany ...

Kevin D -

I don't know where you are from but here in Europe you can order these at replacedirect.be or at a known service center for Samsung. If you Want i can give you a couple of sites if you like ...

Kevin D - Yanıt

Does anyone actually have a source for the Original Gorilla glass samsung digitisers without paying the earth , Samsung New Zealand are over priced , and the Chinese copy glass ones are terrible be prepared to go through 3 of them to get one on , and then it customer breaks it in a week due to to copy glass weakness. Anyone ? thanks

Tim - Yanıt

Hi Tim

If you can source this part and able to fix them at a fair rate, I have a client going through 3-4 LCDs per month.

Cheers

James (NZ)

James Moloney -

here in Belgium you can order a Original at replacedirect.be ( or nl) and they are price correct. i know sometimes they ask to much for spare parts. i think thats a commercial reason.. i had the same with spare parts for my tv, so it makes replacing parts to expensive to repair.

or check ( if possible for your region) EETeuroparts

Kevin D - Yanıt

Hi Kevin. Thanks for the walk-through!

To me the glueing part when assembling the screen, is a major question and problem. Where to glue and where to definately avoid it. To My Wonder its quite rare that tutorials even mentioned this.

In this case, do you Just use the remainders from the old glueing or is it maybe this model is a sort of click-on..?...

Jan - Yanıt

Hey Jan

I used some New adhesive strips ... I dont know werd hou are from but in belgium or Holland you can order these at replacedirect.be or nl ... I used it on the side and the bottom also on the upper side from the Phone but not arround the whole phone..

Kevin D -

Removing the screen without breaking it seems to be nearly impossible ( I broke two now) because it is glued with two wide stripes. I think it is easyer to just replace both, the touchscreen and display.

Max - Yanıt

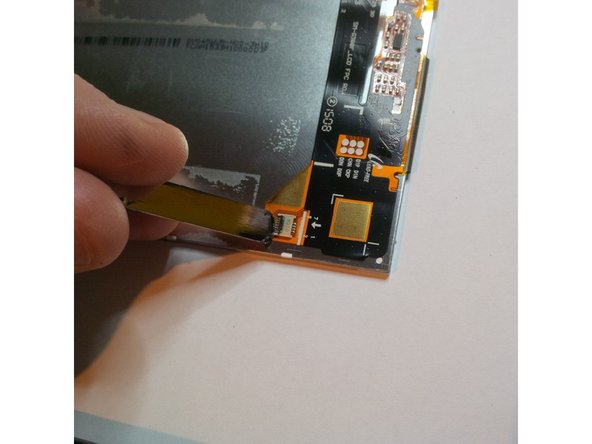
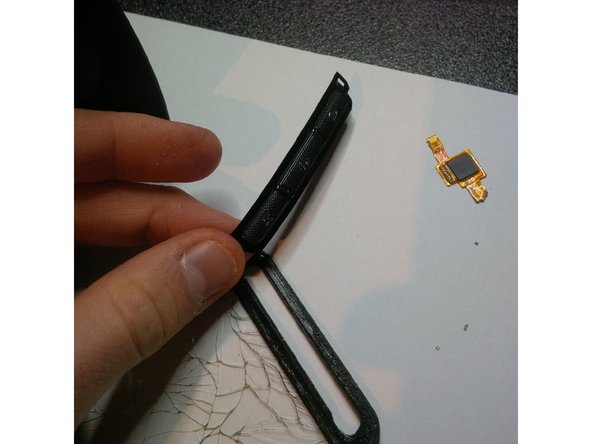
Actually, it's not necessary to cut the digitizer cable as shown in step 3. Extracting the LCD display gets slightly harder if you don't do that but it is still possible. It might come useful in case you have a working old digitizer but with a broken glass and you don't want to destroy it completely but save it for the future, just in case.

Also, I think it is not necessary to remove the screw in step 6. In my G388F XCover3, the plastic lid covering the LCD connector can be removed regardless of whether the screw is in or out.

Marek W - Yanıt

Yorum Ekle

İstatistikleri Görüntüle:

Son 24 Saat: 2

Son 7 gün: 4

Son 30 gün: 19

Her zaman: 17,786